When we moved into our home, back in the spring of 2021, I took full advantage of the in-ground garden the original owners built and used. I’ve heard from several neighbors how beautiful and successful her garden was, so I couldn’t wait to get my hands in the dirt!
The summer of that year we had an amazing harvest, all the cucumbers we could ever imagine (I was giving them away by the dozen!), we made lotsa green salsa from our tomatillos, snap peas growing up a trellis, and we even got a few pumpkins. A true beautiful success!
So why the need to build a new garden? A few reasons. One reason was that our neighbors get their lawn sprayed throughout the spring and summer and we didn’t want any of the chemicals running into our garden. Secondly we had some curious little critters and I didn’t want to keep shooing them out of our garden. Another reason is all the bending over, trying to get in and out of the garden was tough. So building new, raised boxes was the solution.
If you know me and Alexander, we enjoy doing projects together and have the mentality of if it doesn’t take too much time and it’ll save us money, we’ll do it ourselves! And the process was so simple, so I wanted to share what we did!
I had the vision and did hours of research to figure out which vegetables grow best together, how far apart to plant the seeds. All of this helped in choosing the size of the boxes, the depth, and how many we needed.
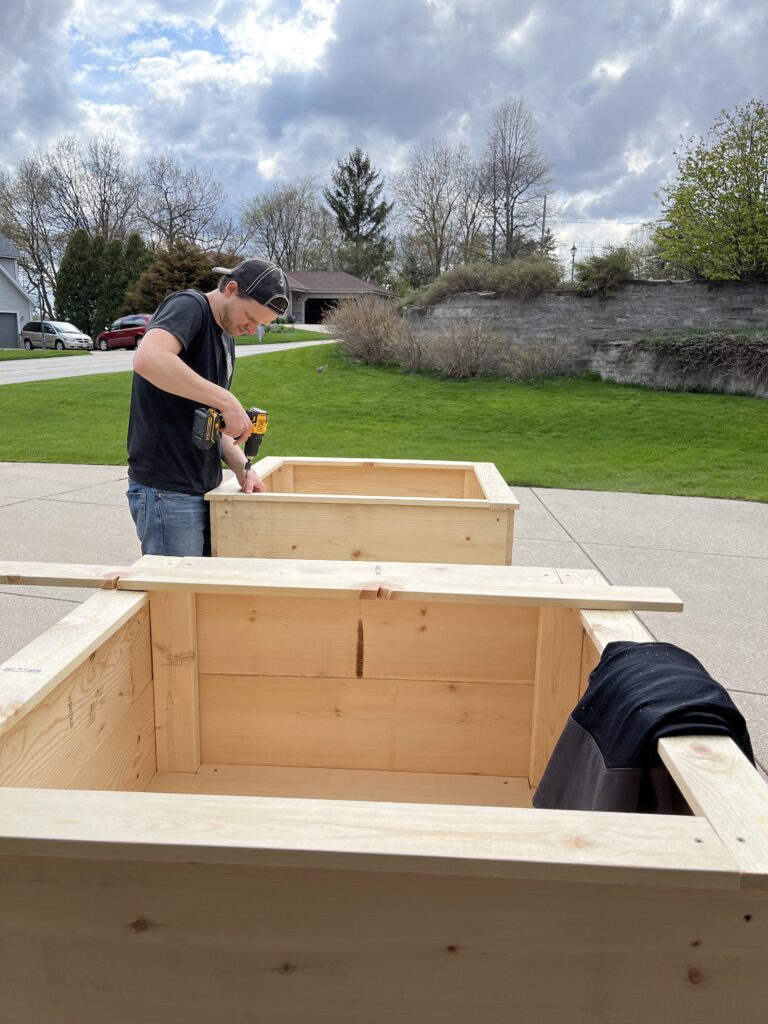
Initially I wanted four, but we decided to start with two – we can always build more. And two fit perfectly!
When researching the best type of wood to build with, cedar was at the top. But if you’ve looked at prices of wood lately, ooofta. It’s still absurdly pricey. So we went with pine and I couldn’t be happier!
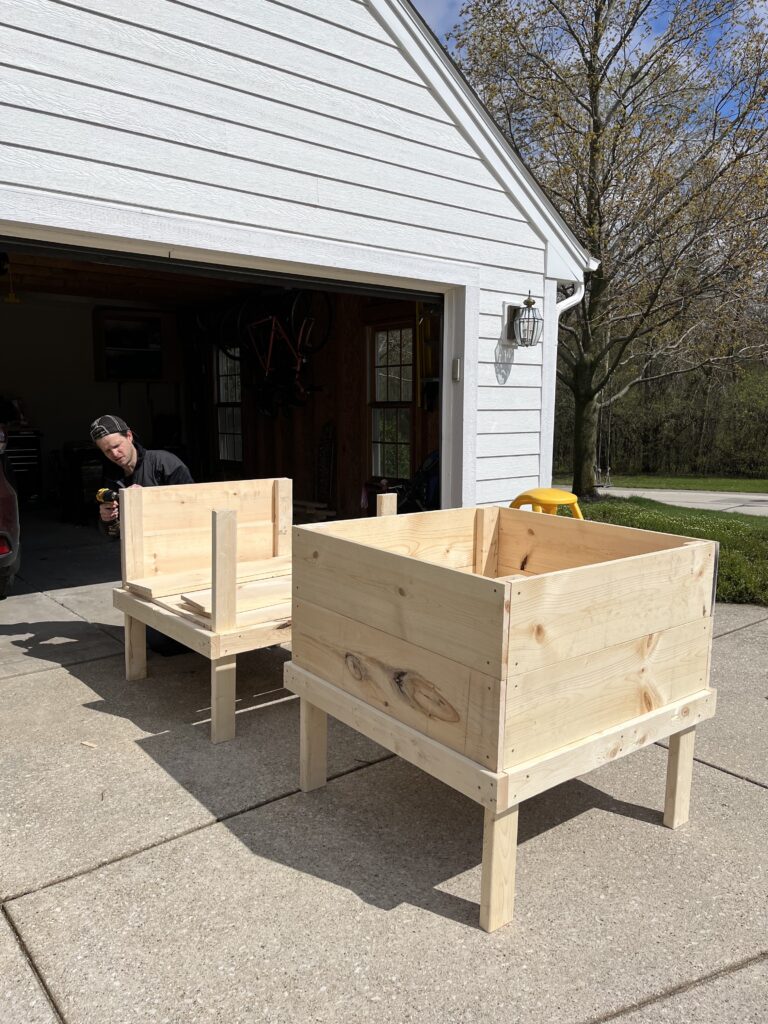
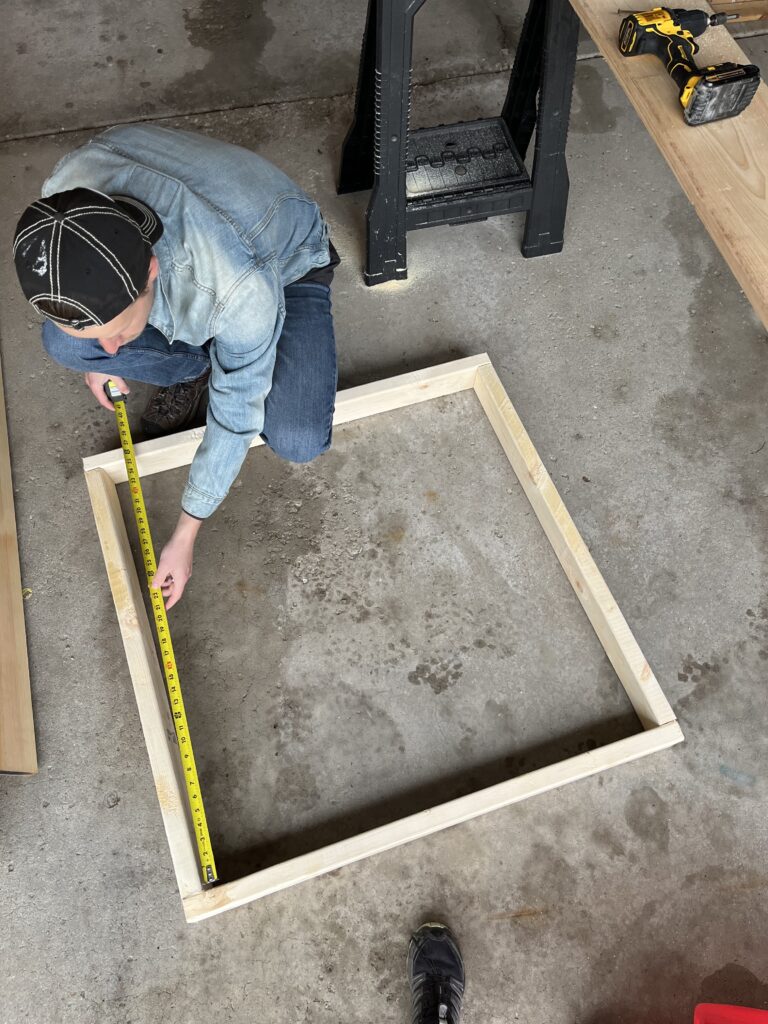
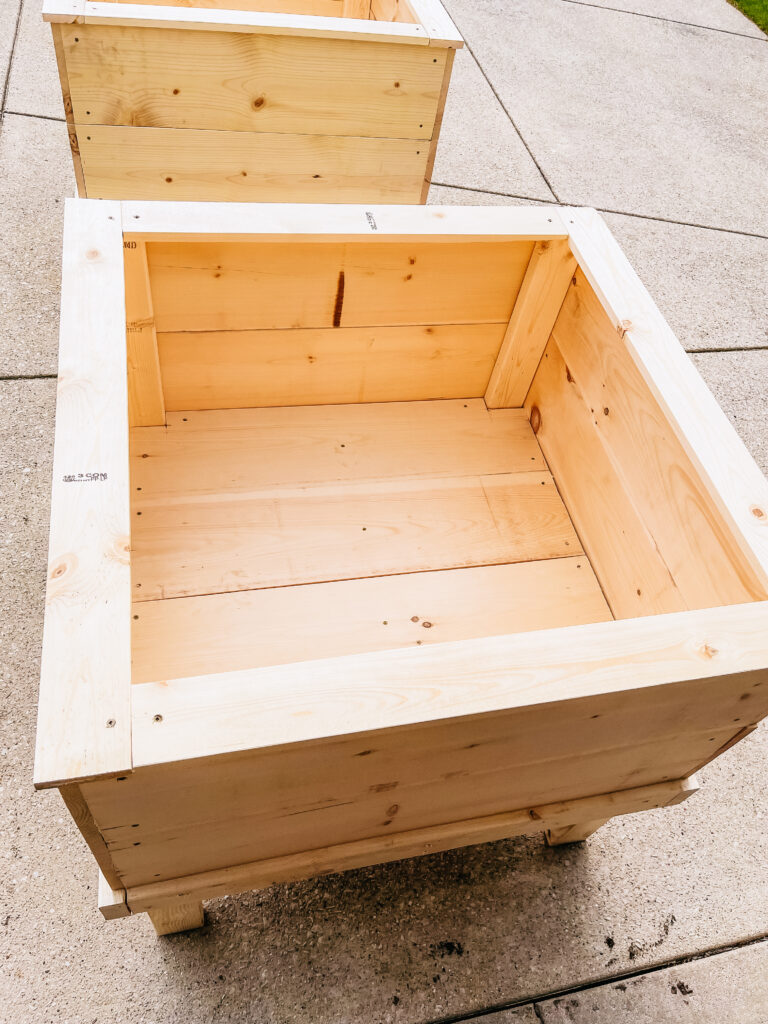
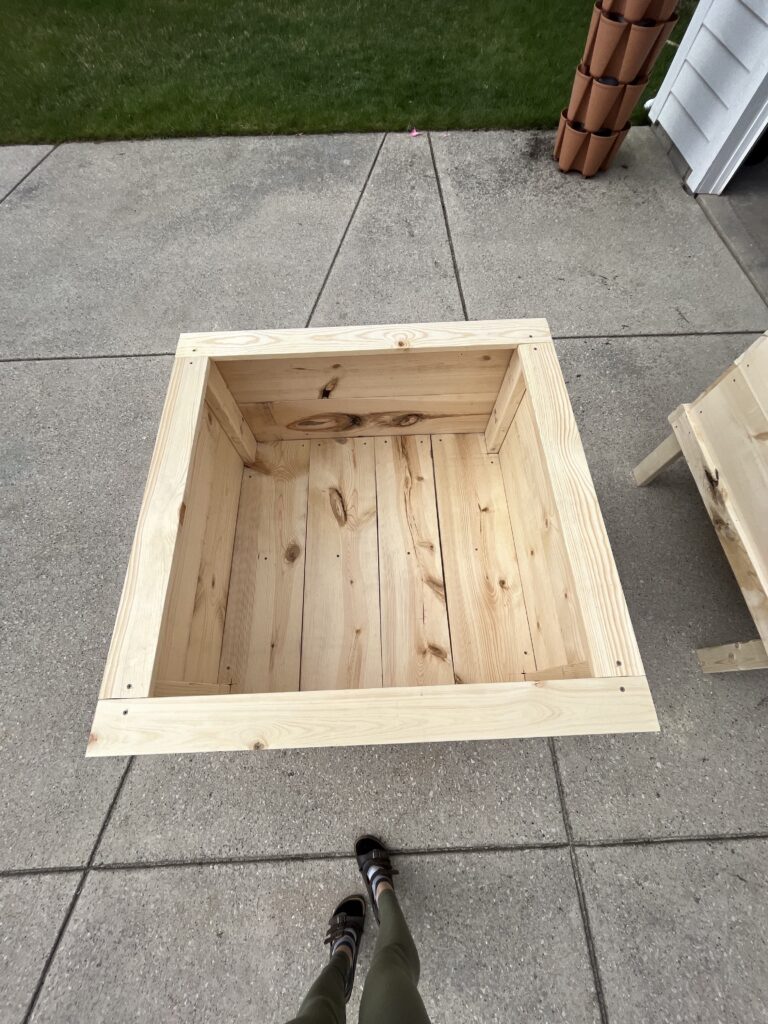
Our plans for the boxes were 3’ x 3’, with a depth of 18” and overall height of 36”. We bought 2 x 4’s for the frame and boards that were 9 1/4″ x 12′ with a thickness of 1/2″ for the rest.
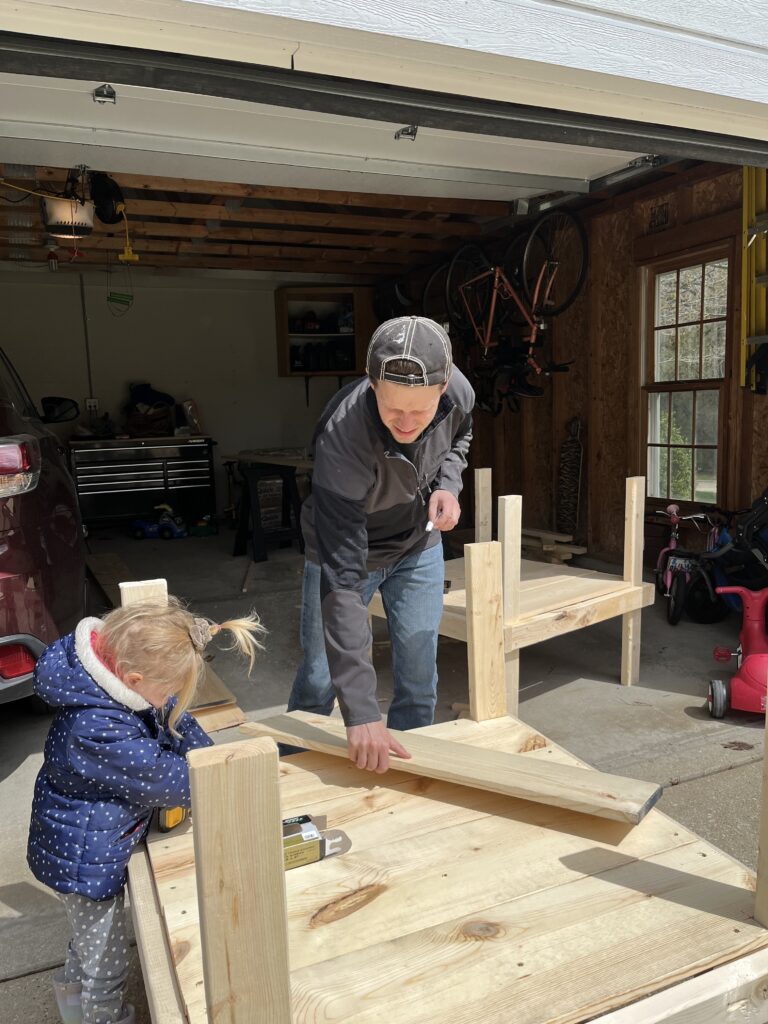
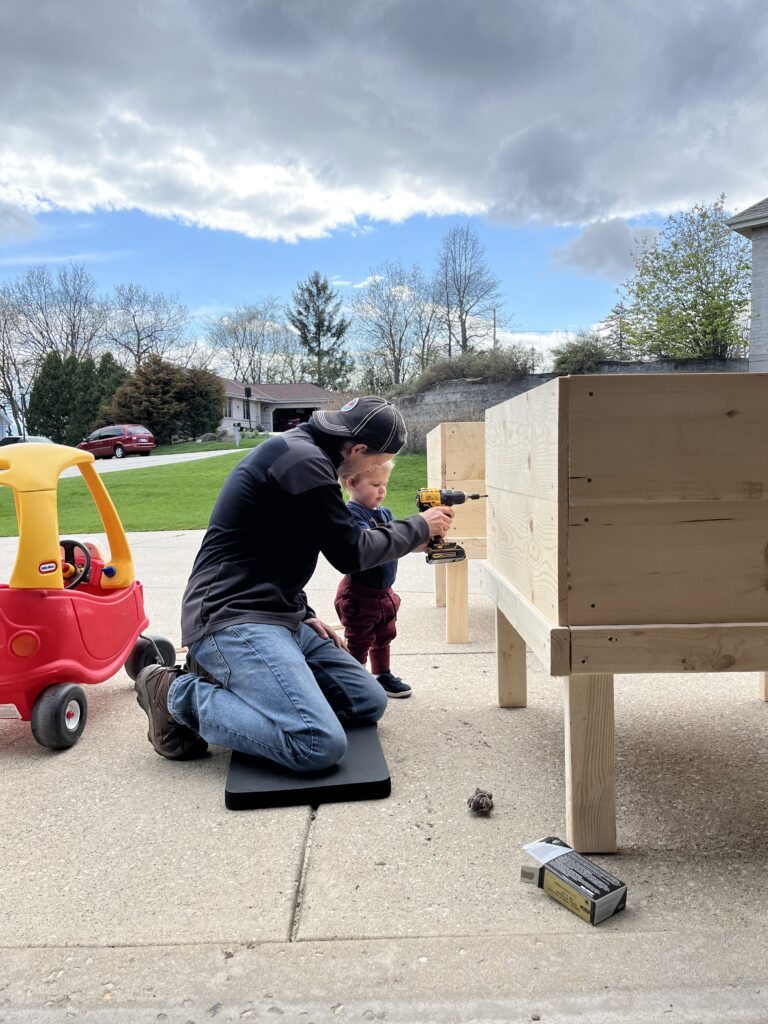
While the kids watched a movie on a rainy day, we got started in the garage!
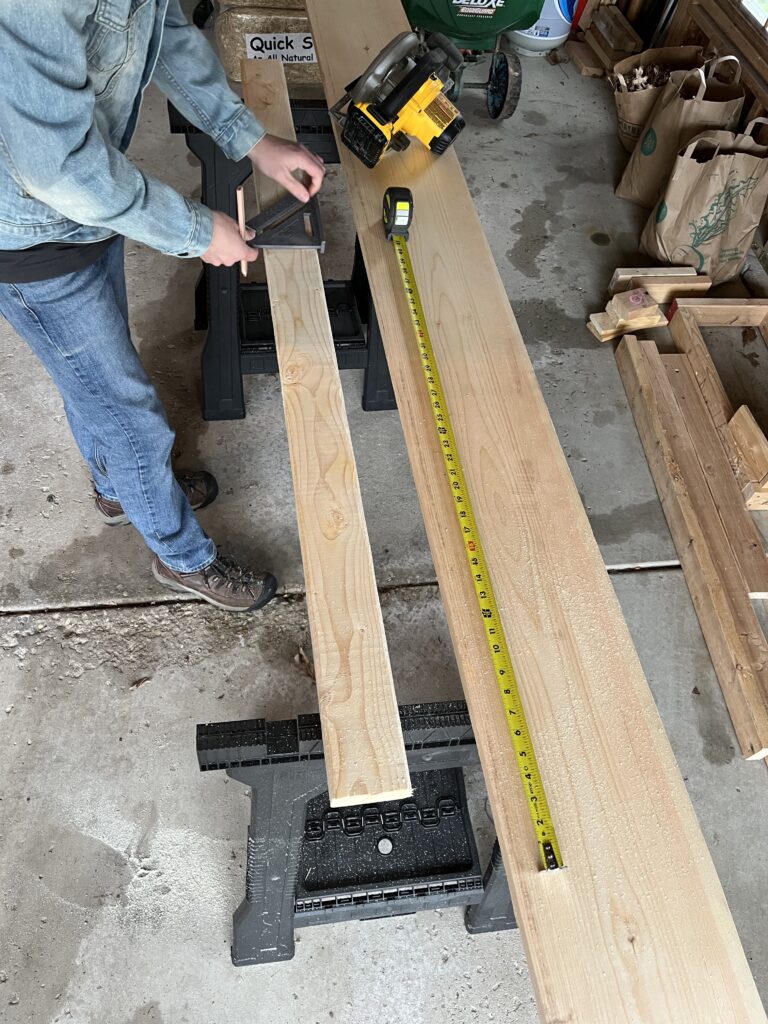
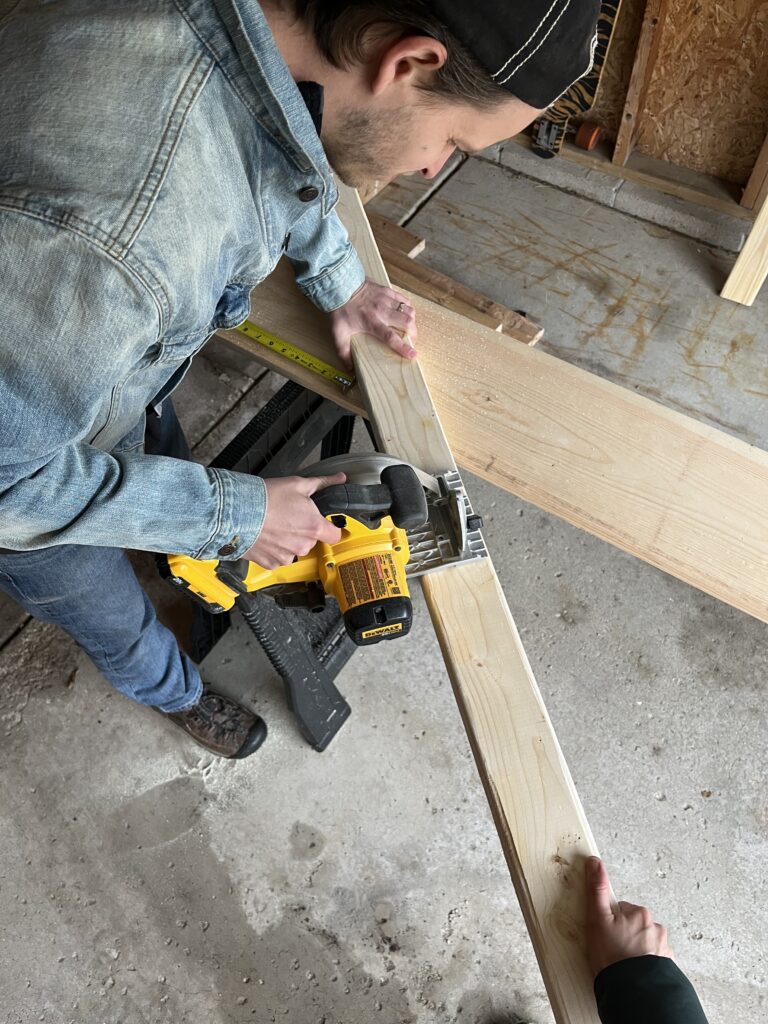
We started with the frame.
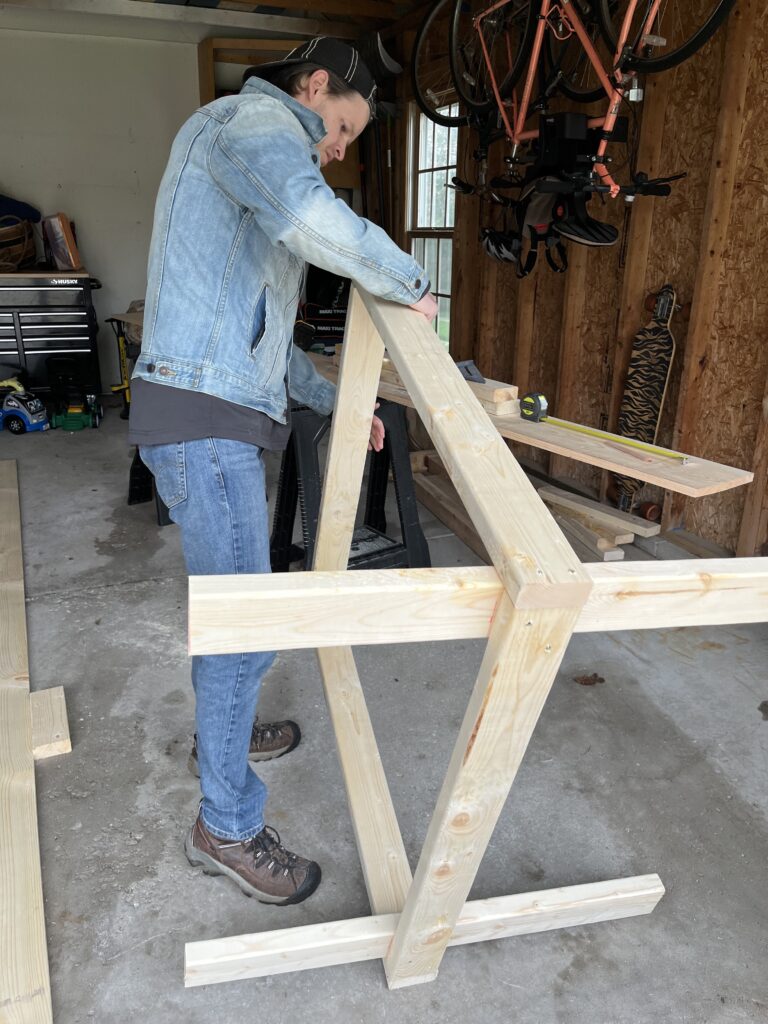
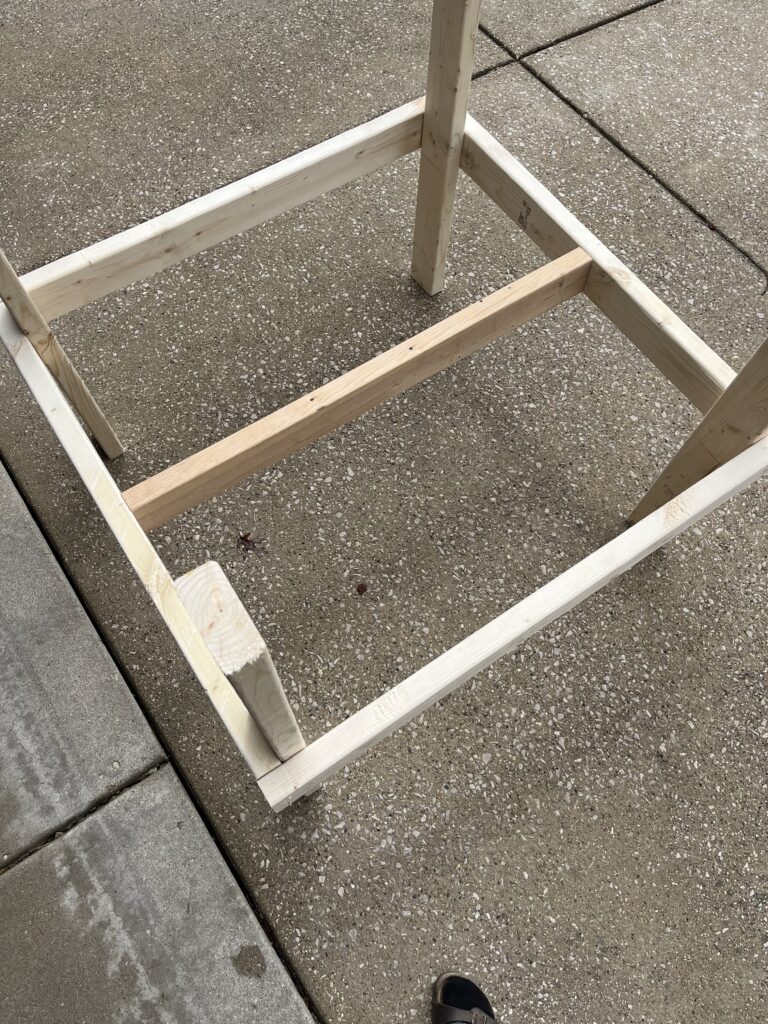
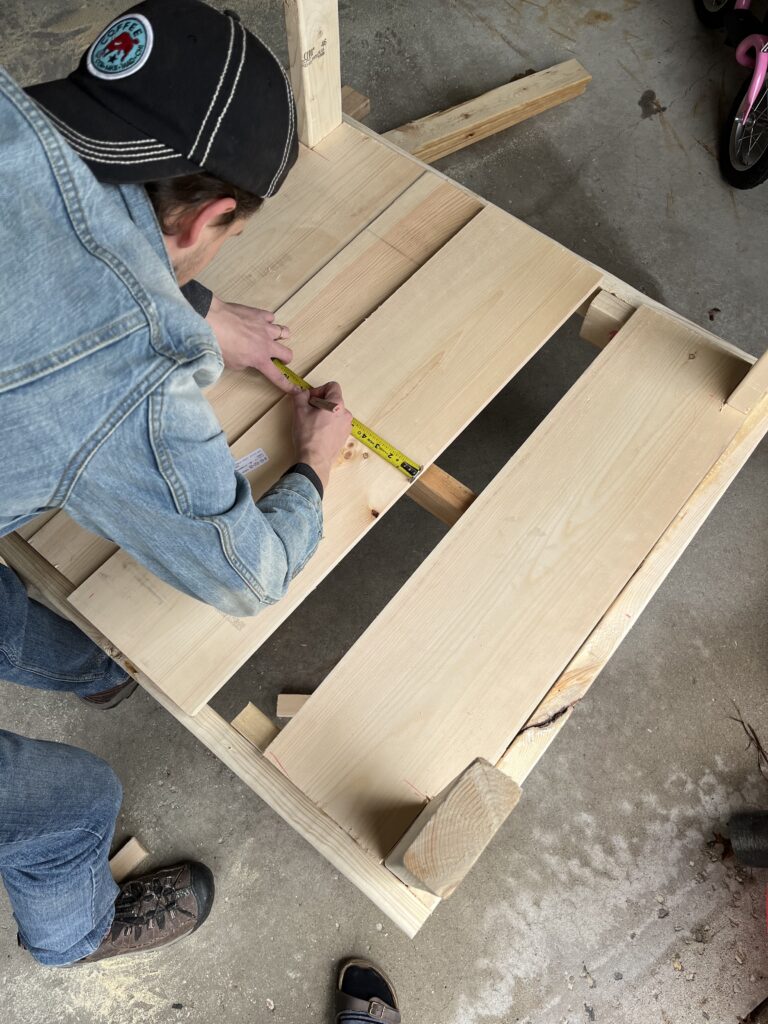
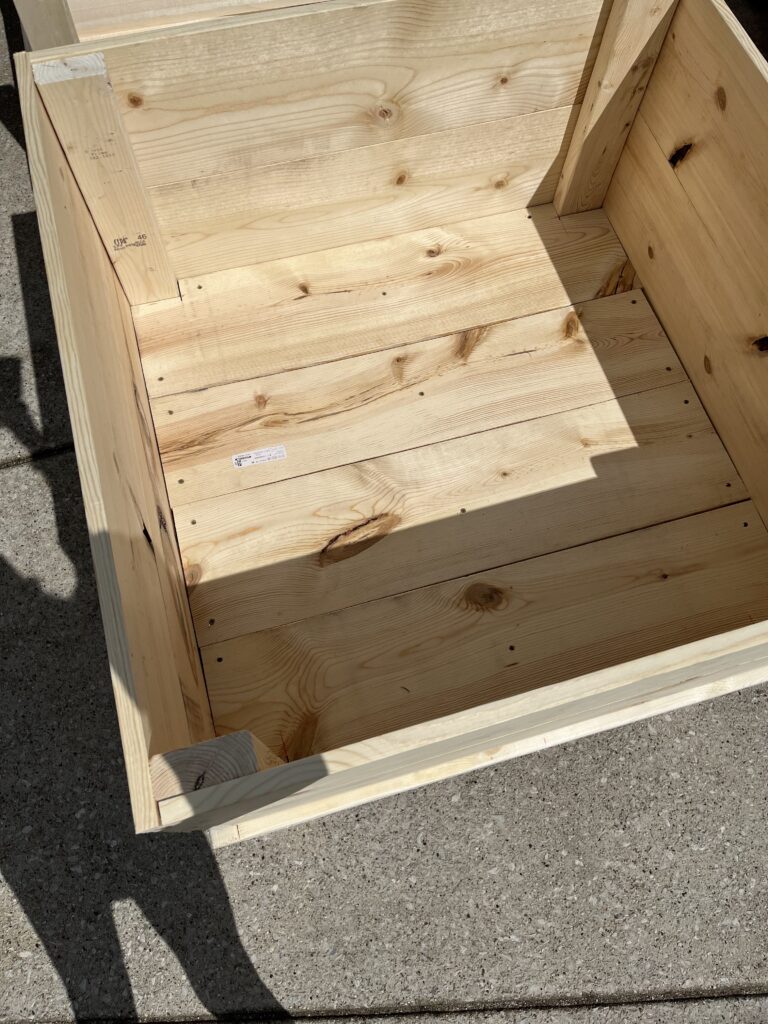
Built around it.
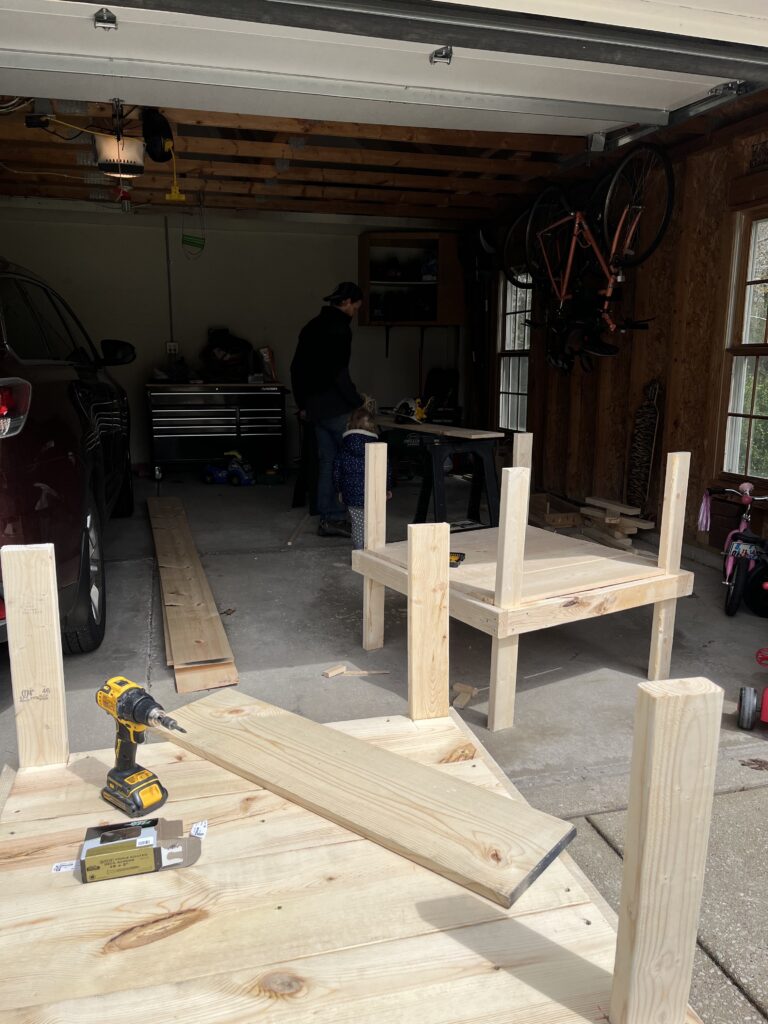
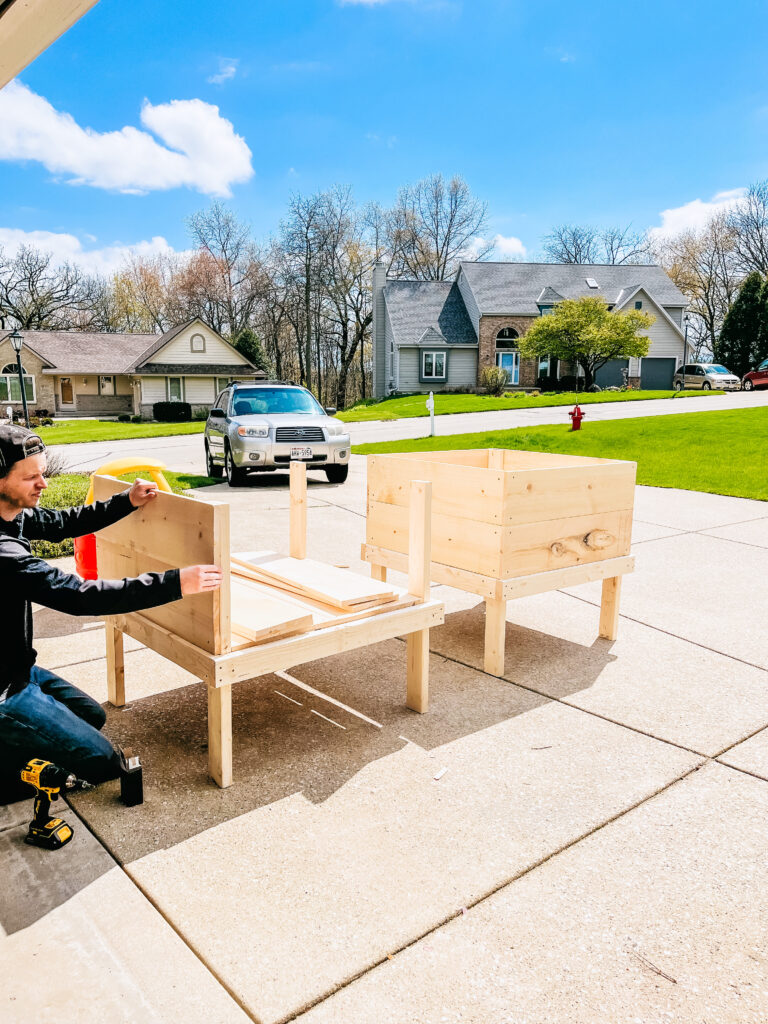
Added top pieces.

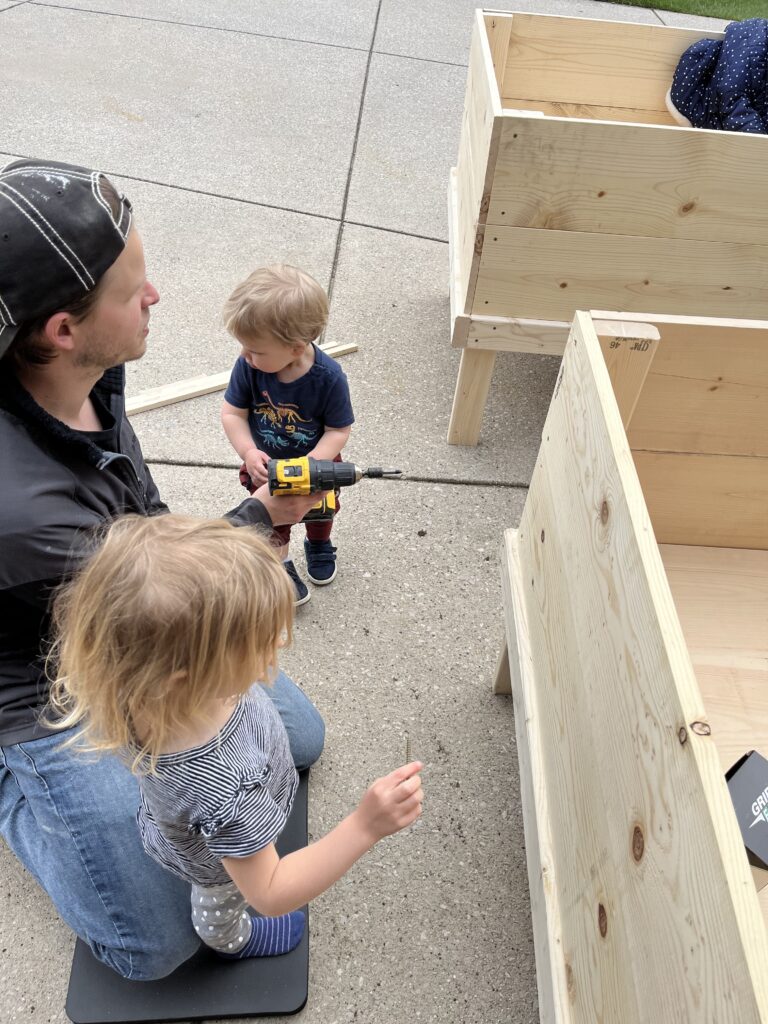
Kids helped too!

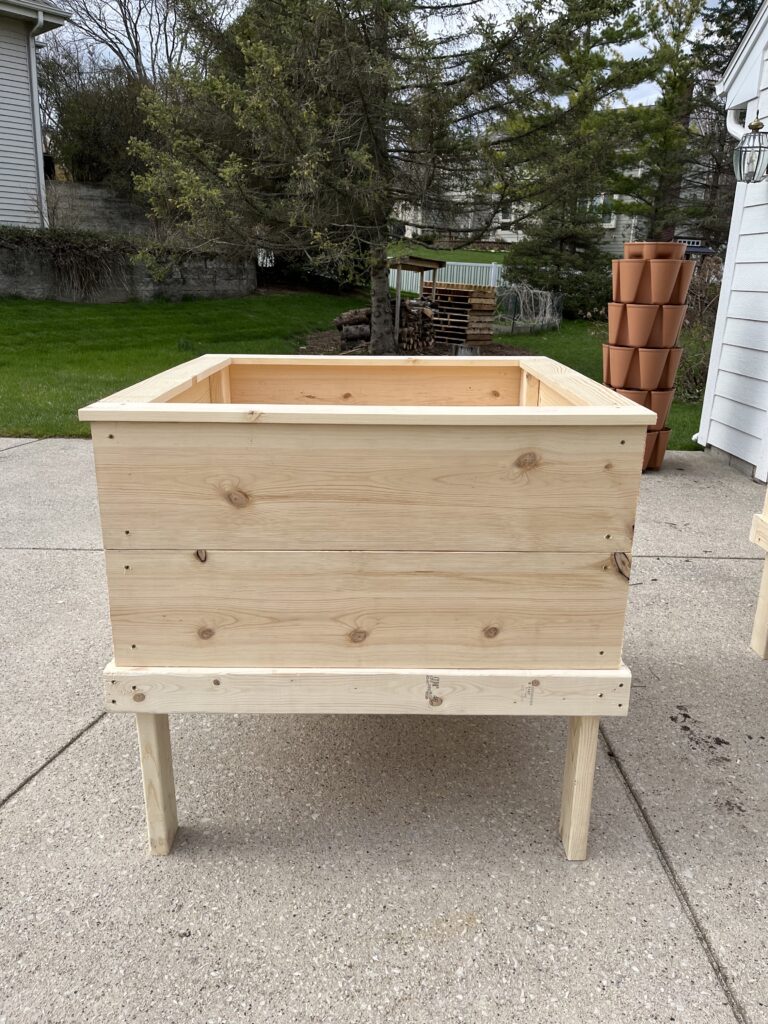
It was simple and only took a few hours! After they were complete, and after leveling out the ground, we placed the boxes in the area where the garden was, secured them on top of bricks for stability and put down mulch. We filled them with the dirt and compost from the original garden and I planted seeds later that week.
I later added two pots for tomatoes and tomatillos and plan to surround in with small rocks and add in some flowers for pops of color!
I’m loving how it all turned out!
