This post contains affiliate links, which means I make a small commission at no extra cost to you.
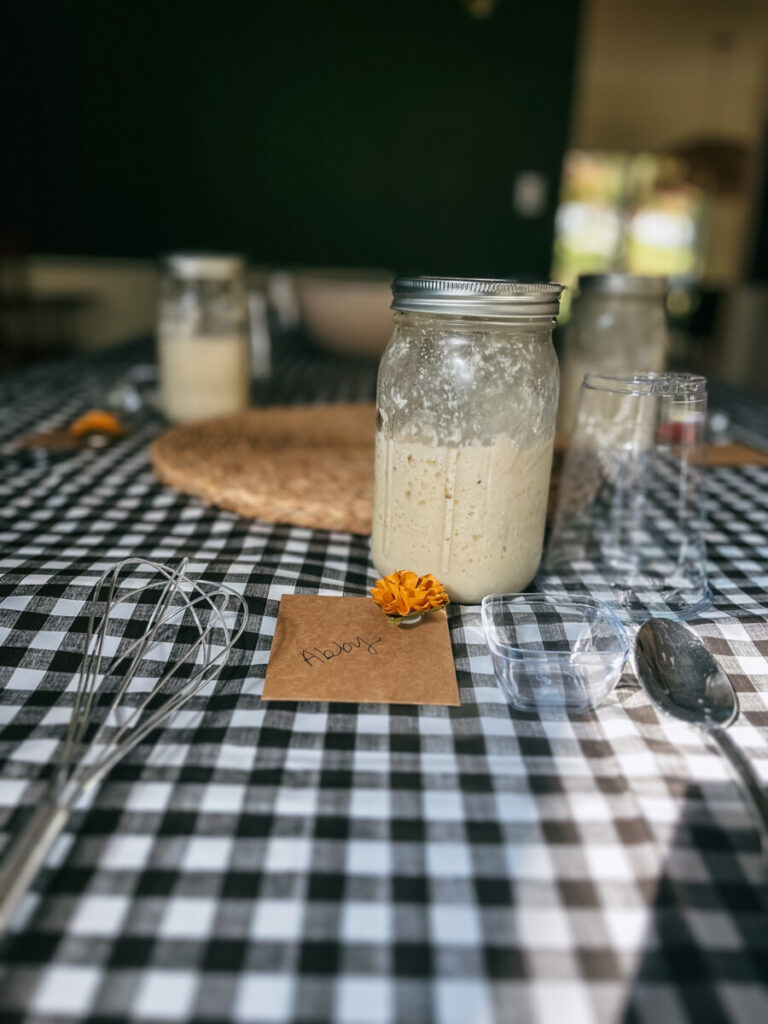
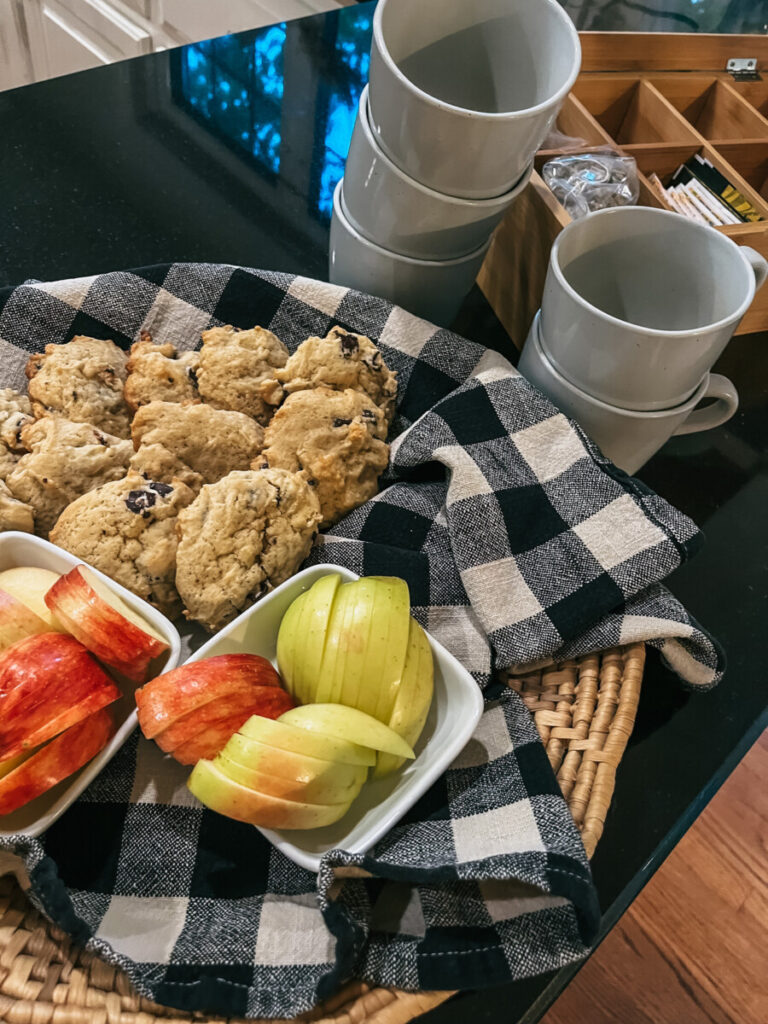
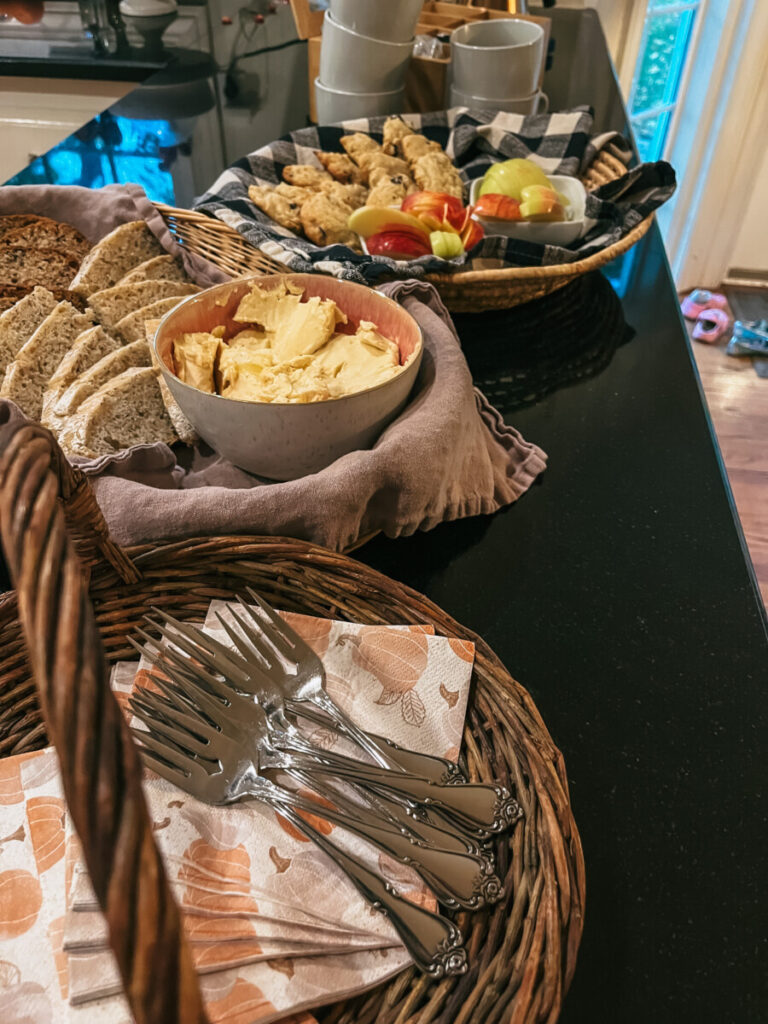
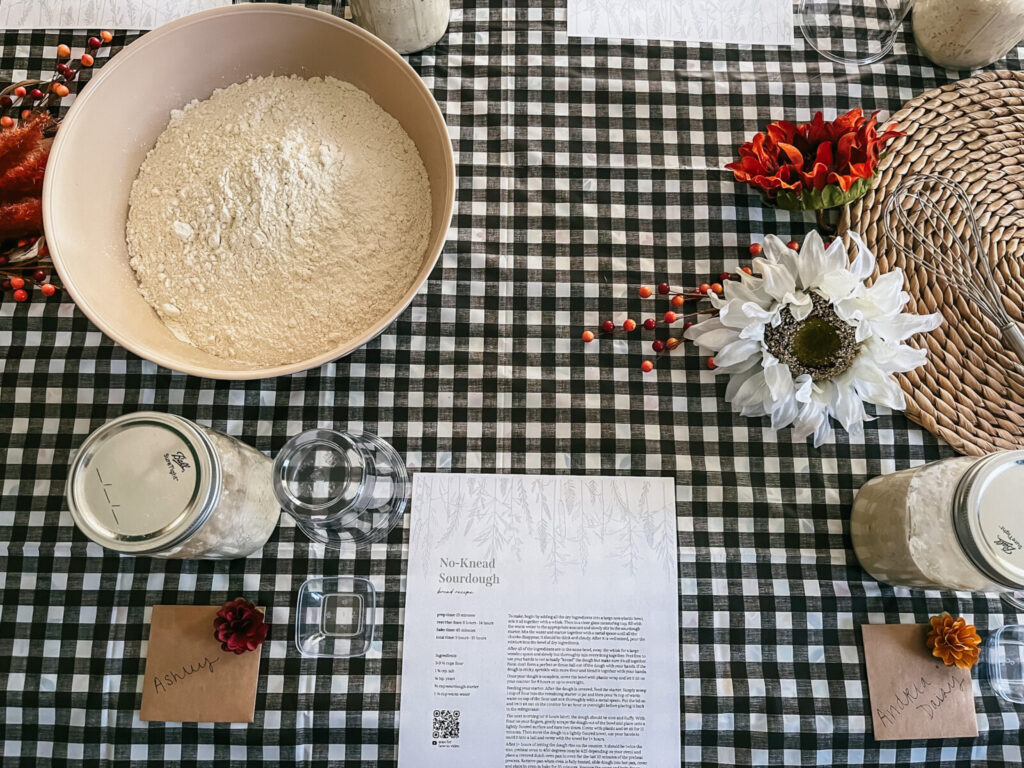
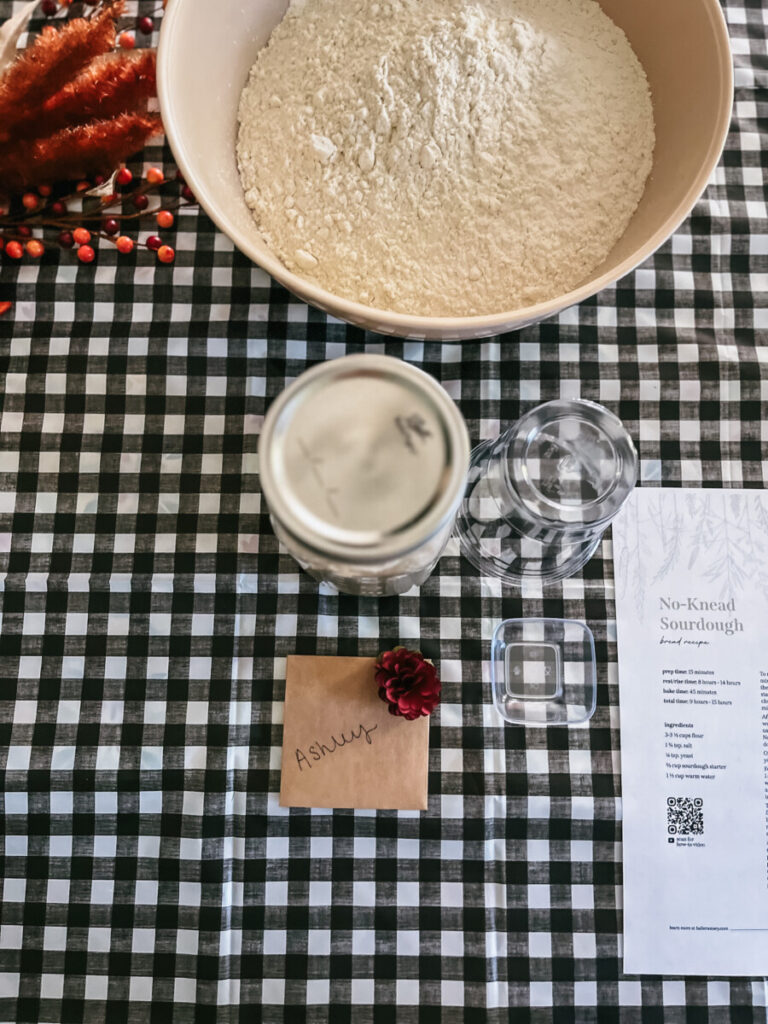
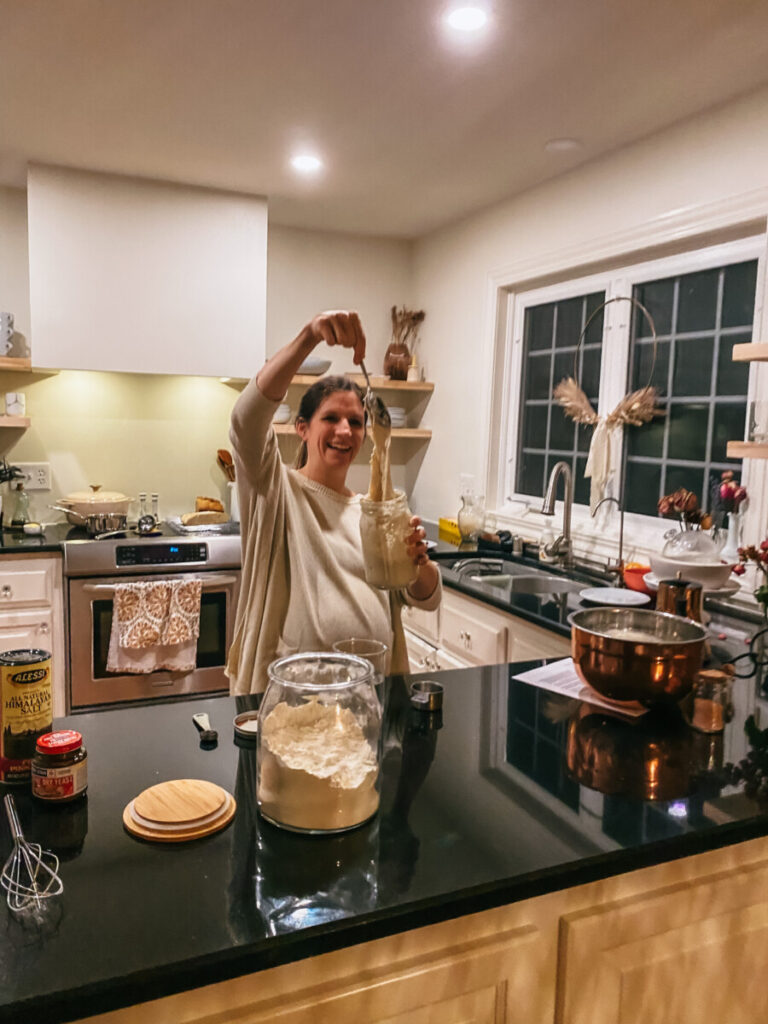
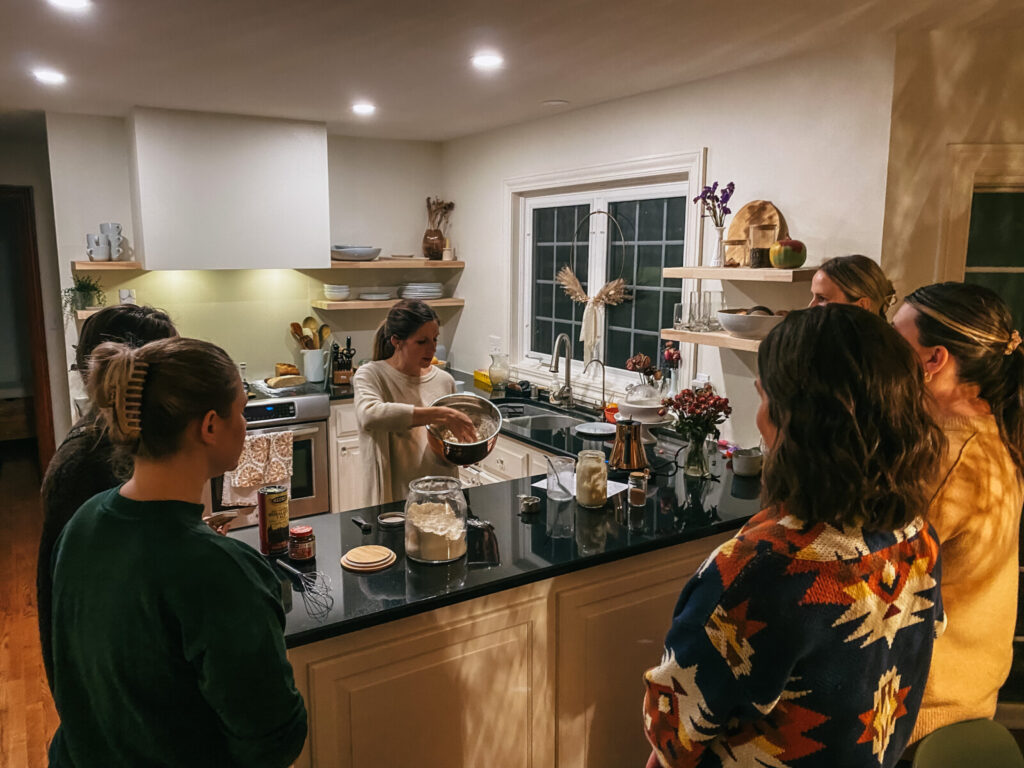
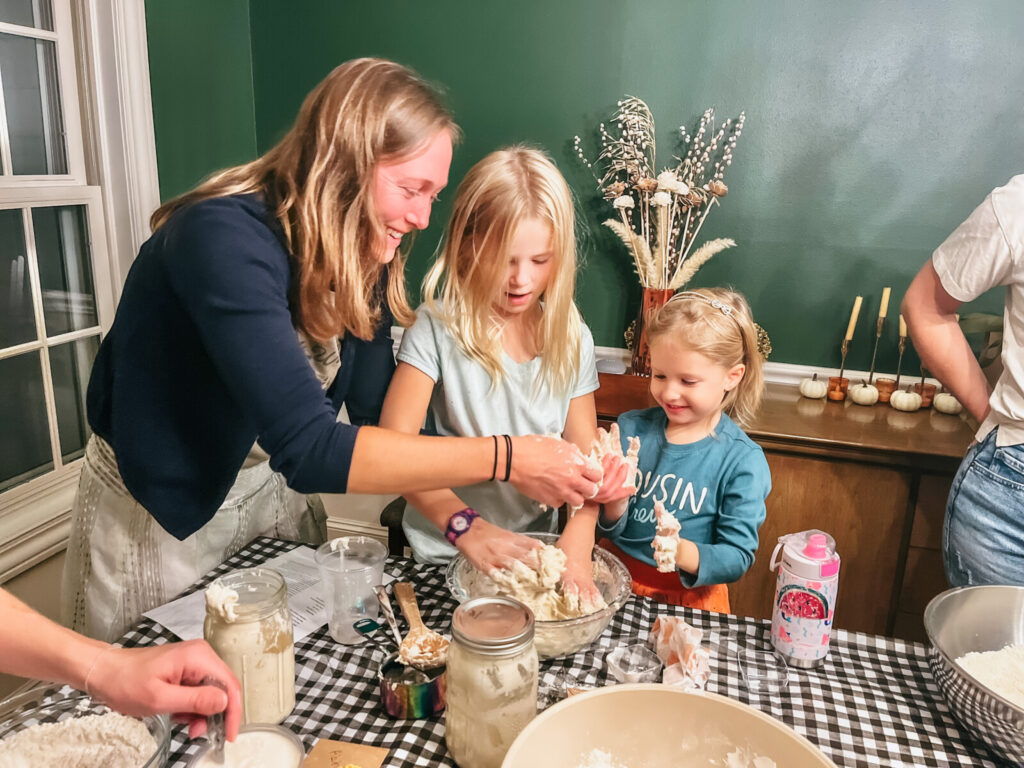
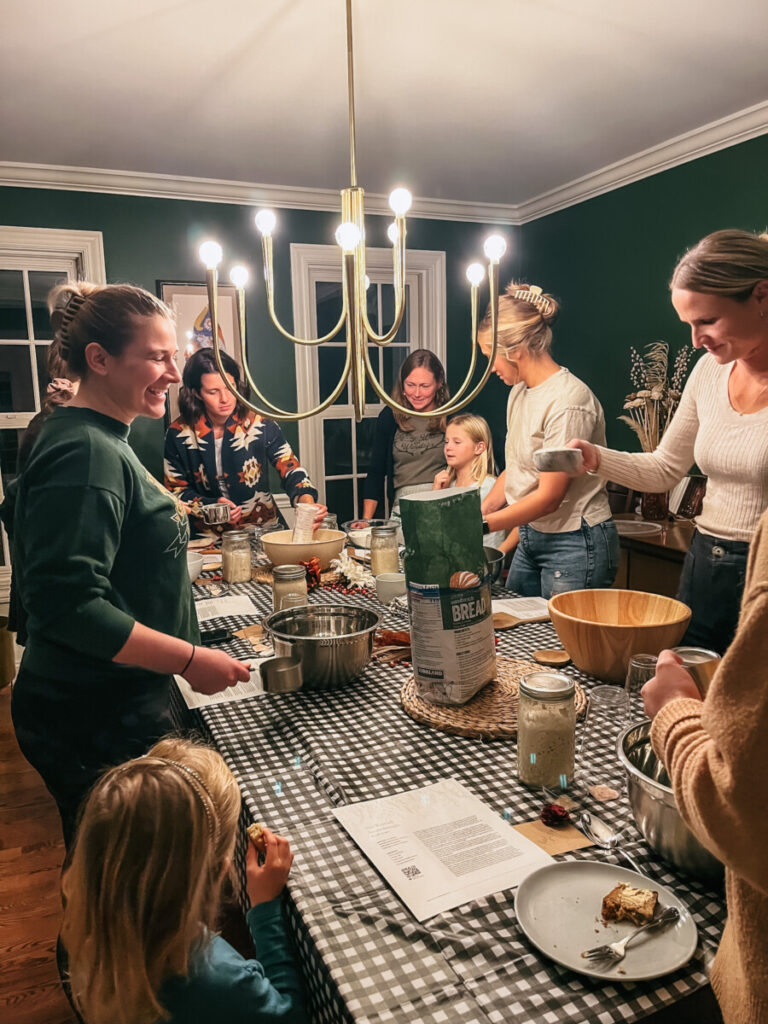
A few weeks ago I hosted my first in-home sourdough class and I made this loaf recipe for everyone to try, along with sourdough banana bread with maple whipped butter and dark chocolate chip sourdough cookies. Everything was a hit, so I wanted to share about this loaf — how easy it is to make and a couple health benefits of sourdough.
If you like this recipe, then you’ll also love my Everyday No-Knead Sourdough Bread recipe and my Dried Cherry & Cinnamon loaf recipe as well! Both of which I’ve made into a step-by-step class to walk you through if you’re new to sourdough with printable recipe cards.


Why You’ll Love This Recipe
Sourdough has several health benefits and cost benefits as well. Sourdough, since it is naturally fermented by a culture of wild yeast and good bacteria, it is more easily digestible because it helps break down gluten, it is less likely to spike blood sugar levels and it is more nutrient rich than other breads. Making your own sourdough costs less than $2 per loaf (compared to $12 at most grocery stores or bakery’s) and besides the health and financial benefits, a few others are: you know the ingredients (and there’s only 5 basic ingredients in this recipe), you’re equipping yourself and your kids with a life skill and it’s something creative to do with your hands.
The recipe I’m sharing in this post is a personal favorite to make and to eat, especially when topped with Half Baked Harvest’s Maple Whipped Butter!
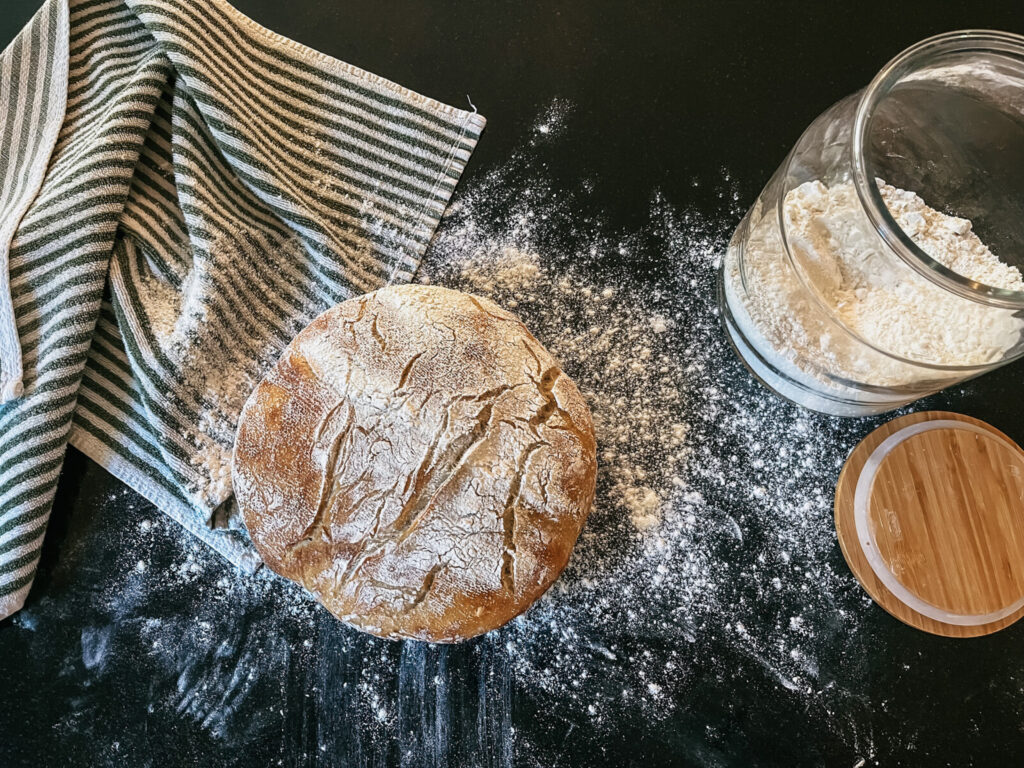
prep time: 15 minutes
rest/rise time: 8 hours – 14 hours
bake time: 45 minutes
total time: 9 hours – 15 hours
What You’ll Need
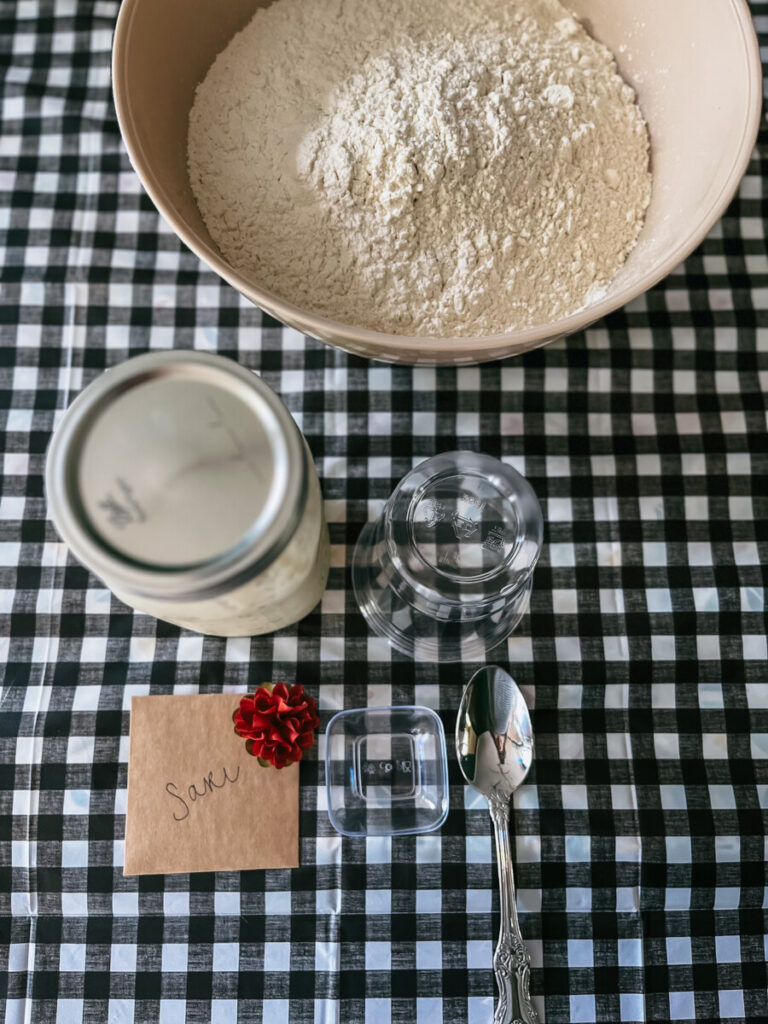
Large, non-plastic mixing bowl
Whisk
Wooden spoon
Tea towel
Plastic wrap
Dutch oven (and here’s one off Amazon that isn’t enameled if you feel more comfortable with that!)
Ingredients:
3-3 1/2 cups flour
1 3/4 tsp. salt
1/4 tsp. yeast
2 tsp. cinnamon
½ cup dried oats
1 Tbsp flax seed
½ Tbsp chia seeds
2/3 cup sourdough starter
1 1/2 cup warm water
How to Make
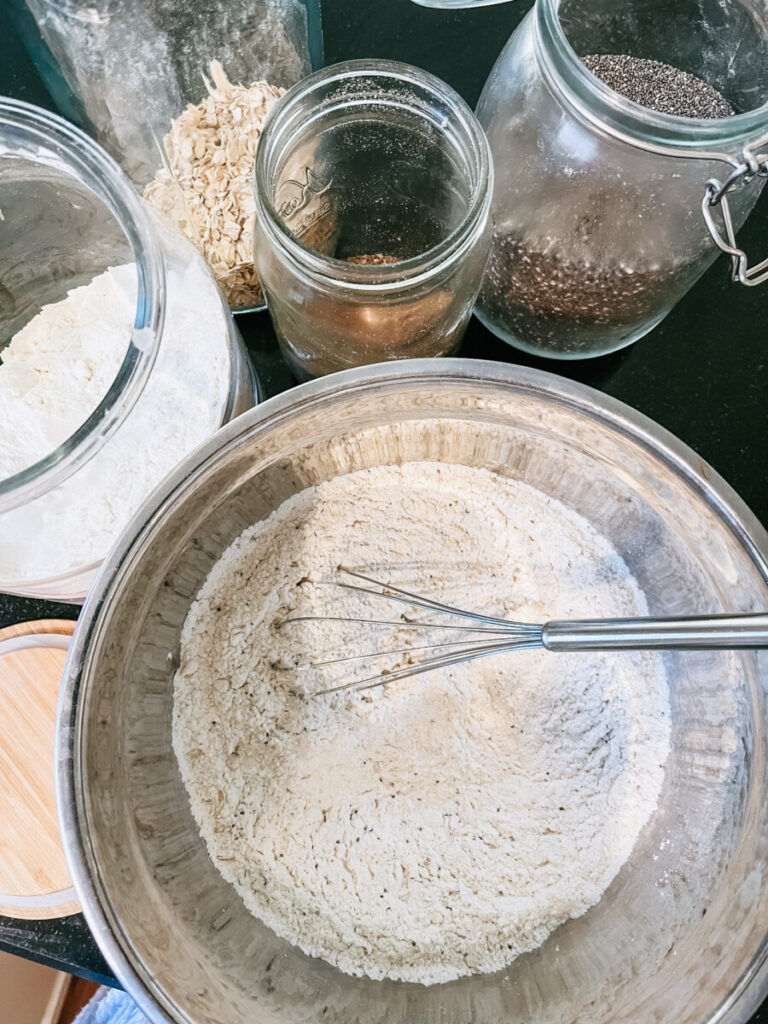
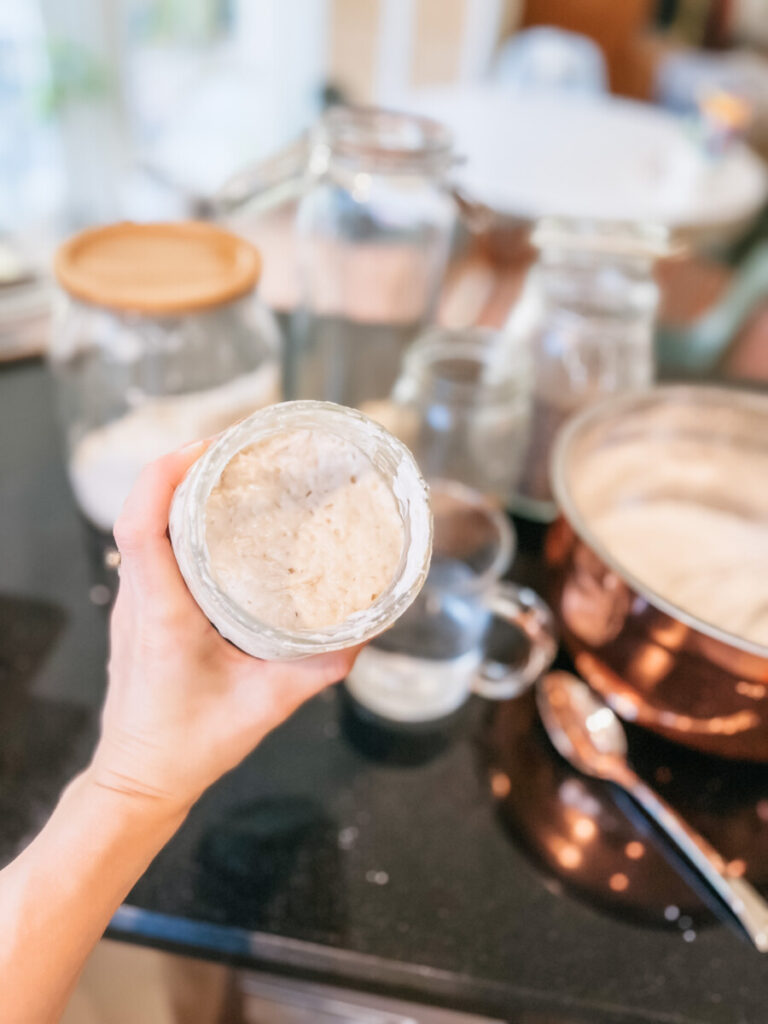
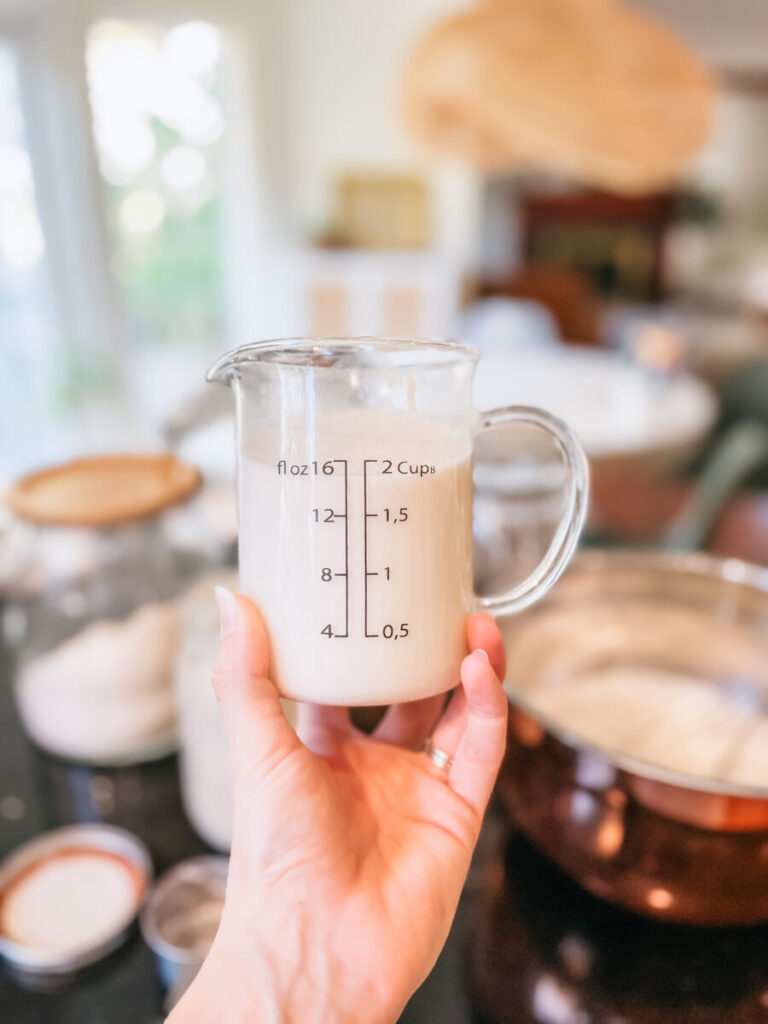
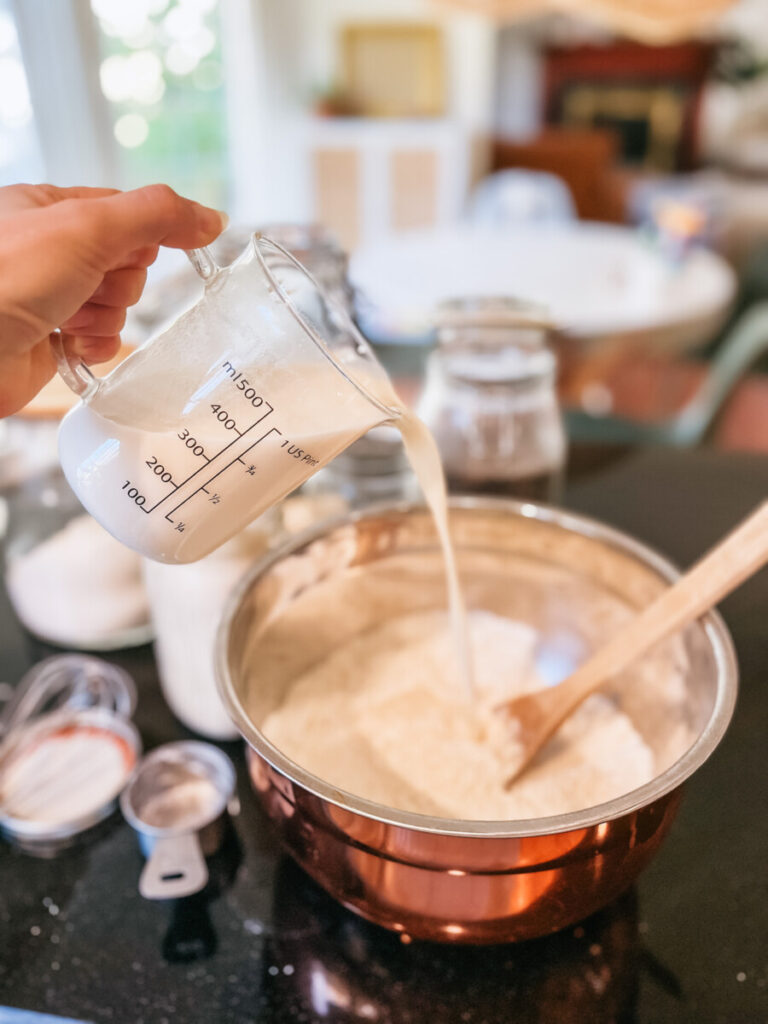
To make, begin by adding all the dry ingredients into a large non-plastic bowl, mix it all together with a whisk. Then in a clear glass measuring cup, fill with the warm water to the appropriate amount and slowly stir in the sourdough starter. Mix the water and starter together with a metal spoon until all the chunks disappear, it should be thick and cloudy. After it is well mixed, pour the mixture into the bowl of dry ingredients.
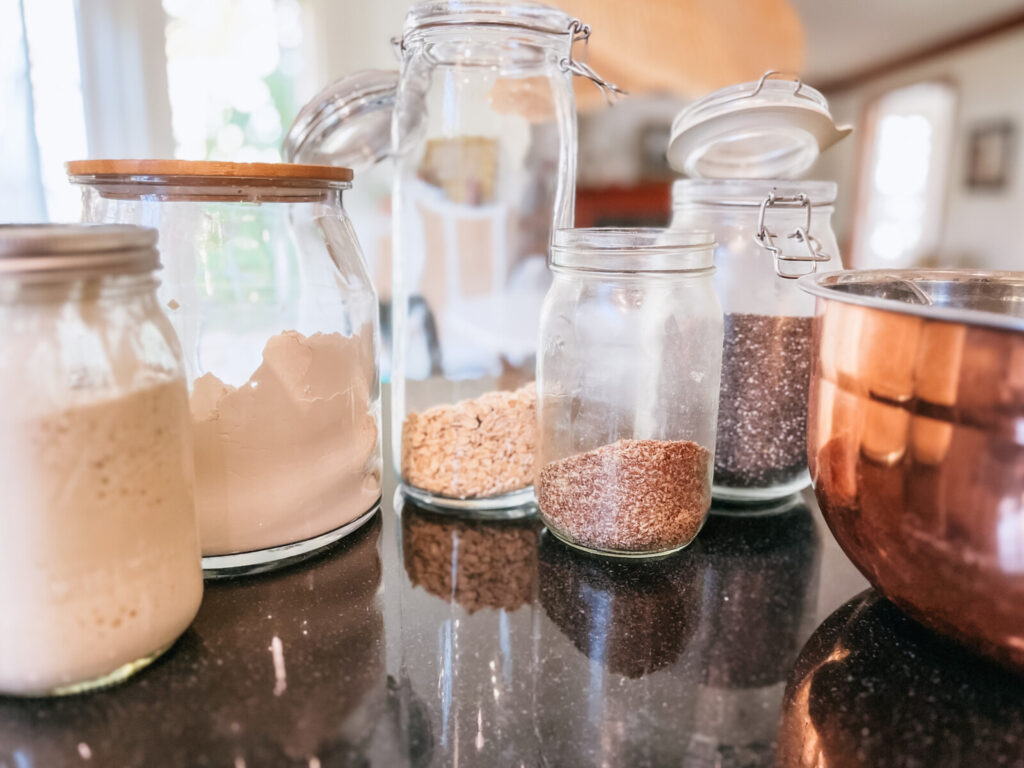
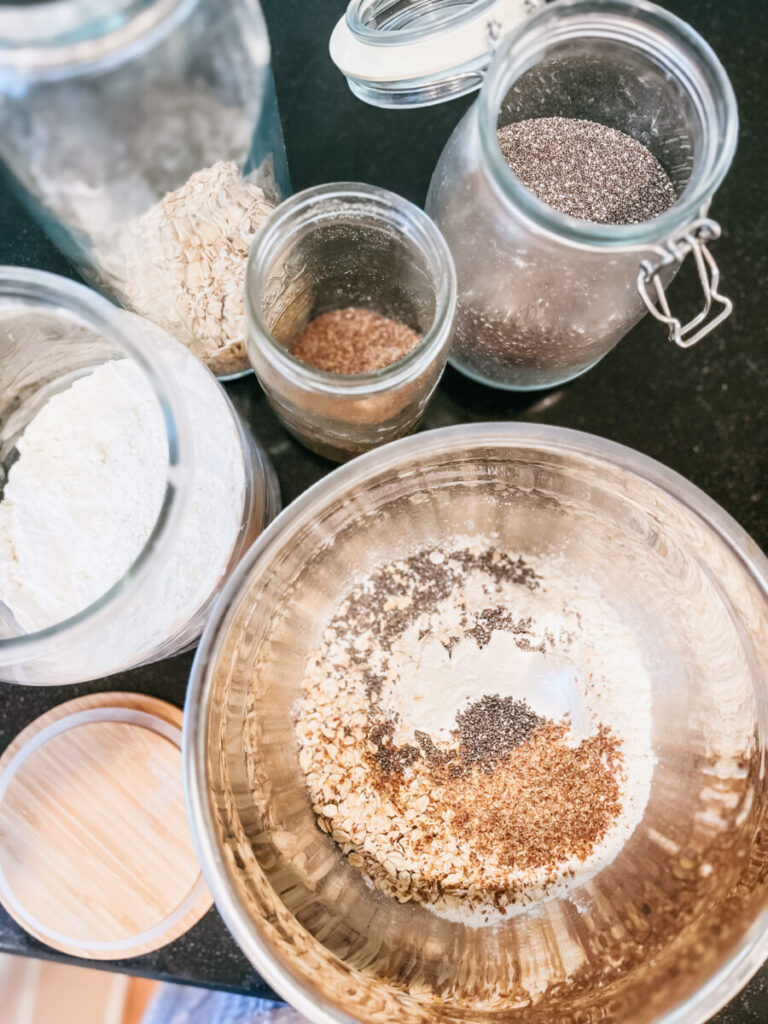
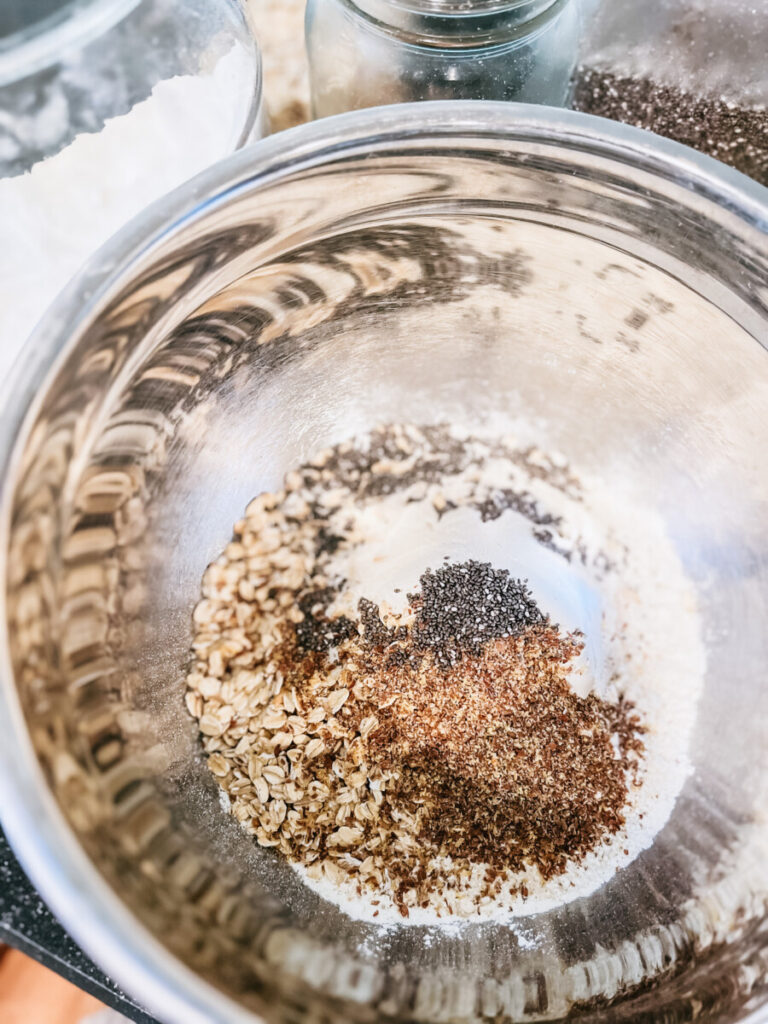
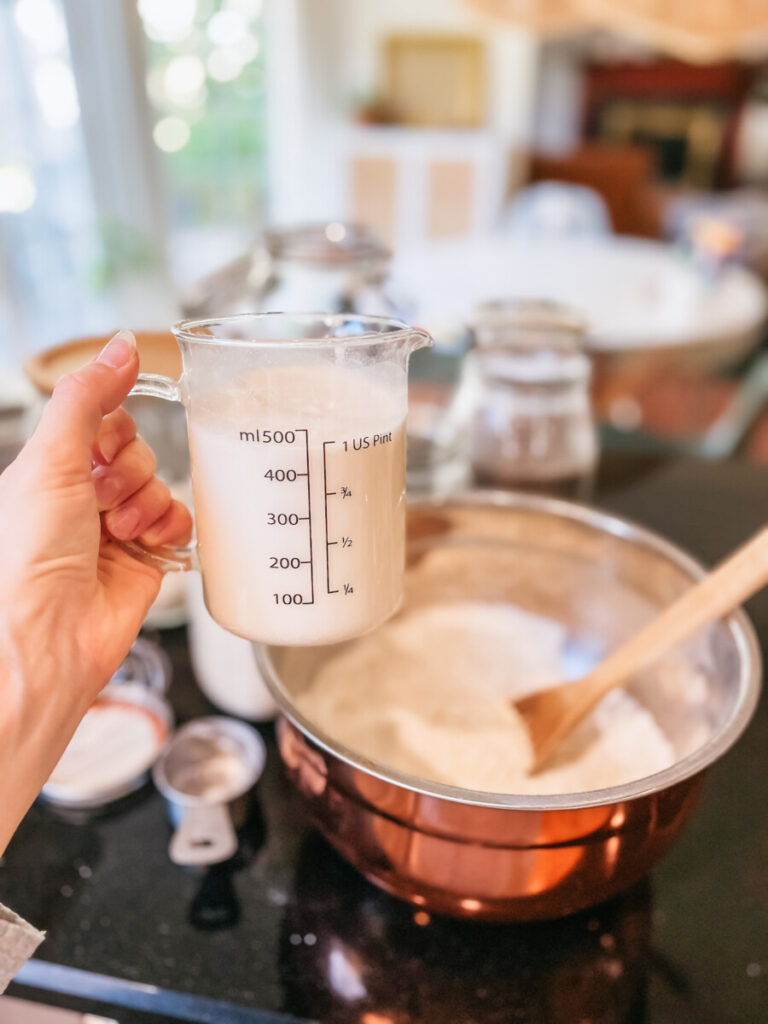
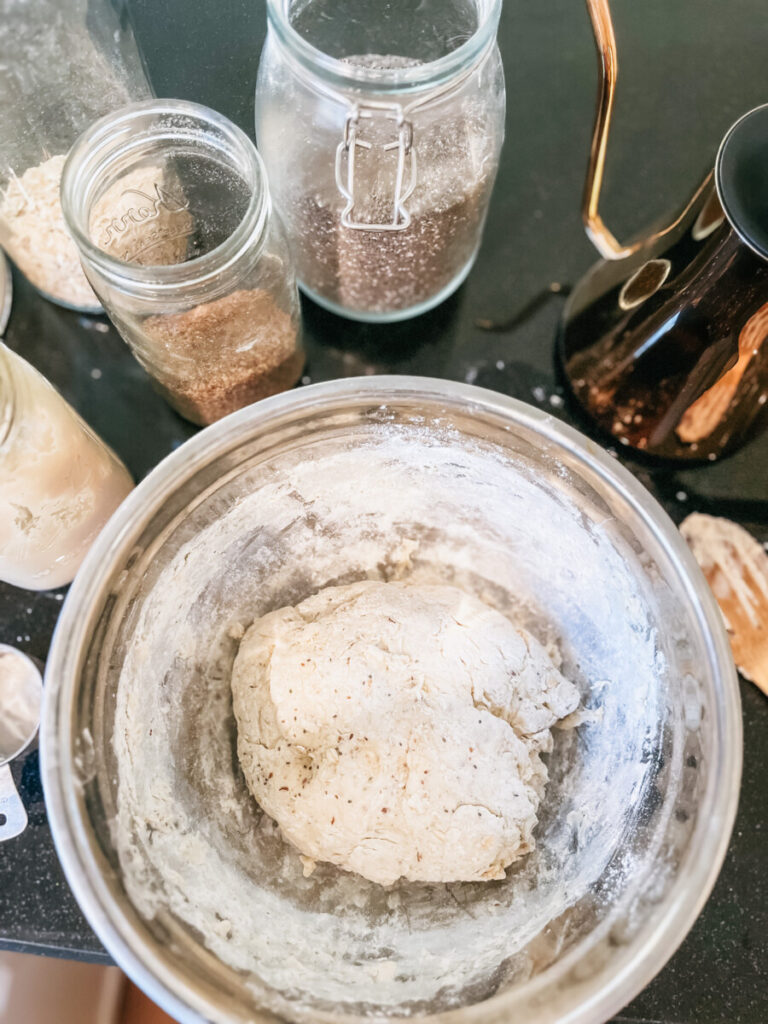
After all of the ingredients are in the same bowl, swap the whisk for a large wooden spoon and slowly but thoroughly mix everything together. Feel free to use your hands to not actually “knead” the dough but make sure it’s all together. Note: don’t form a perfect or dense ball out of the dough with your hands. If the dough is sticky, sprinkle with more flour and blend it together with your hands.
Once your dough is complete, cover the bowl with plastic wrap and let it sit on your counter for 8 hours or up to overnight.

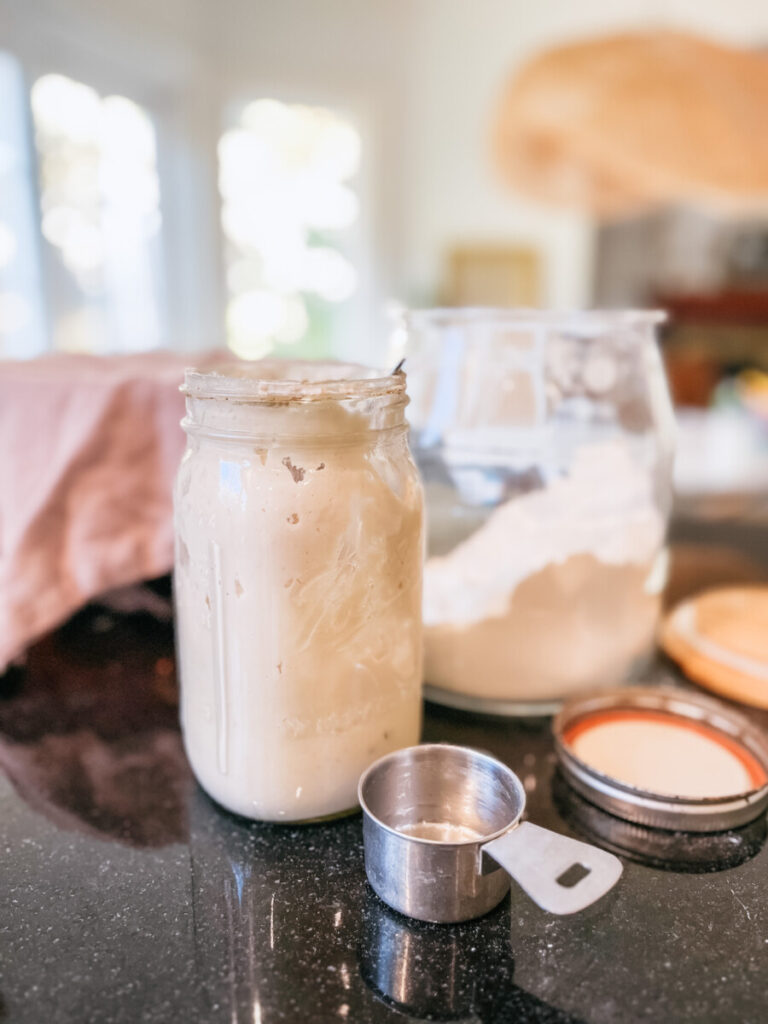
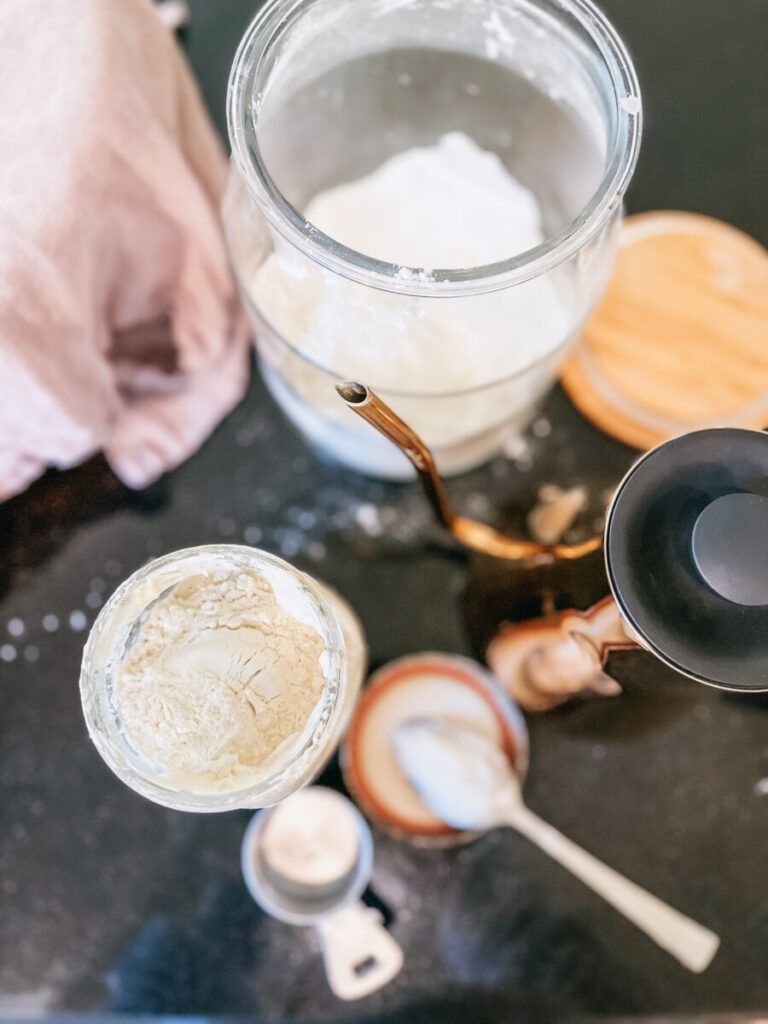
Feeding your starter: After the dough is covered, feed the starter. Simply scoop 1 cup of flour into the remaining starter in jar and then pour 1/2 cup of warm water on top of the flour and mix thoroughly with a metal spoon. Put the lid on and let it sit out on the counter for an hour or overnight before placing it back in the refrigerator.
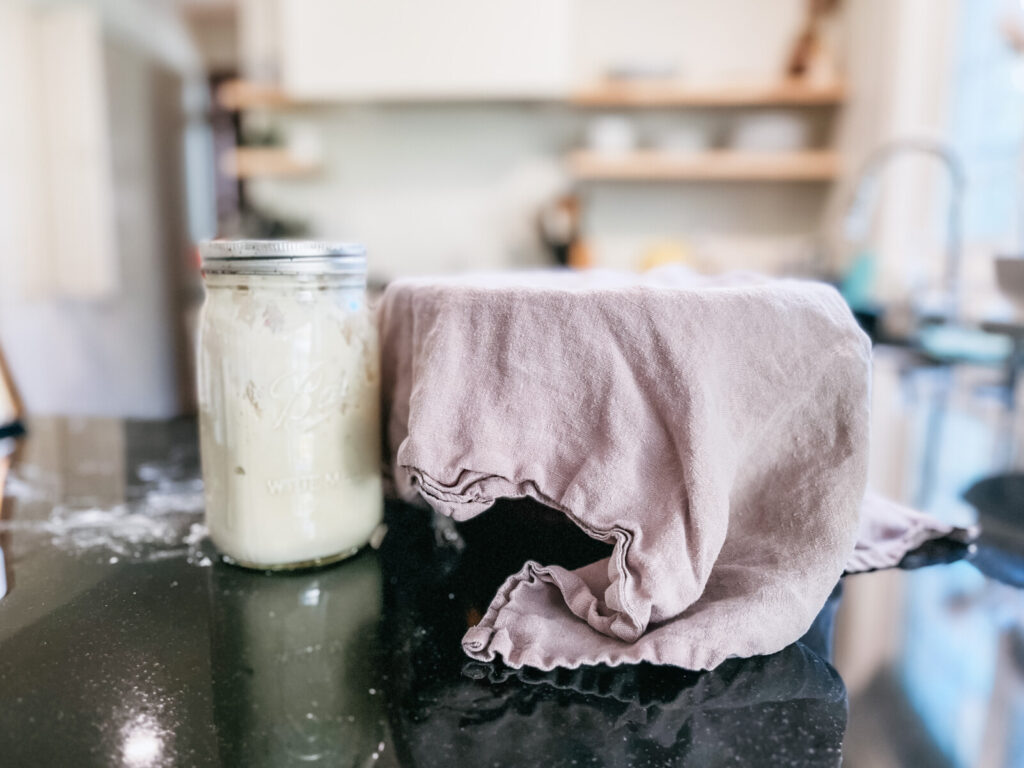
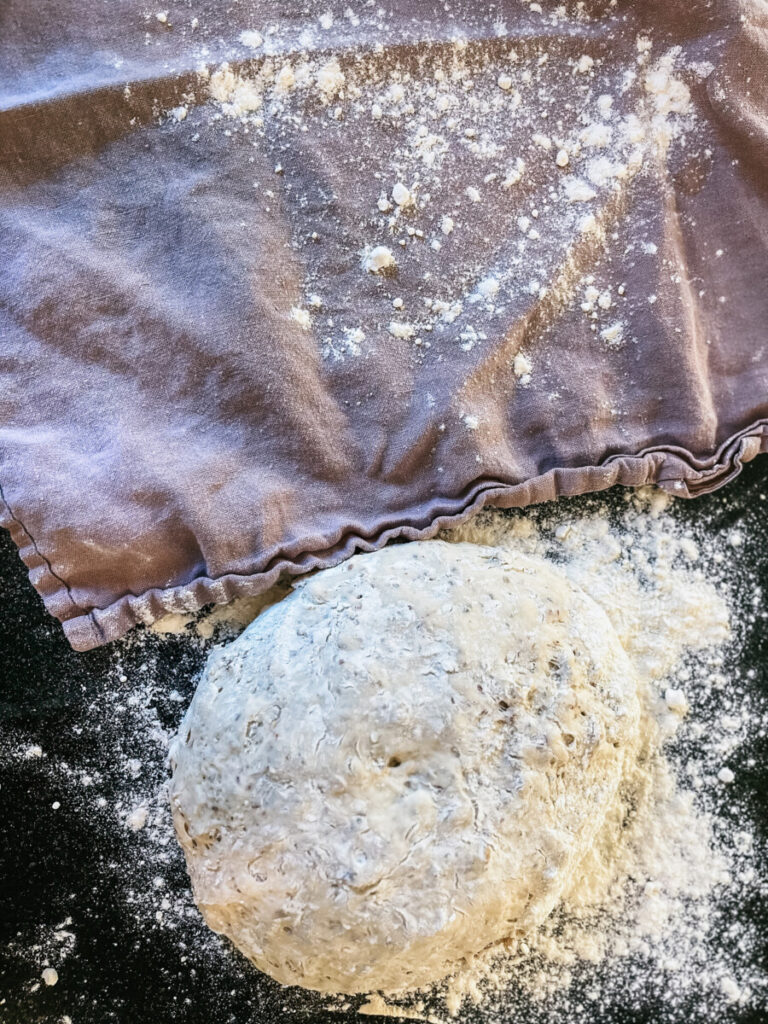
The next morning (or 8 hours later), the dough should be nice and fluffy. With flour on your fingers, gently scrape the dough out of the bowl and place onto a lightly floured surface and turn two times. Cover with plastic and let sit for 15 minutes. Then move the dough to a lightly floured towel, use your hands to mold it into a ball and cover with the towel for 1+ hours.
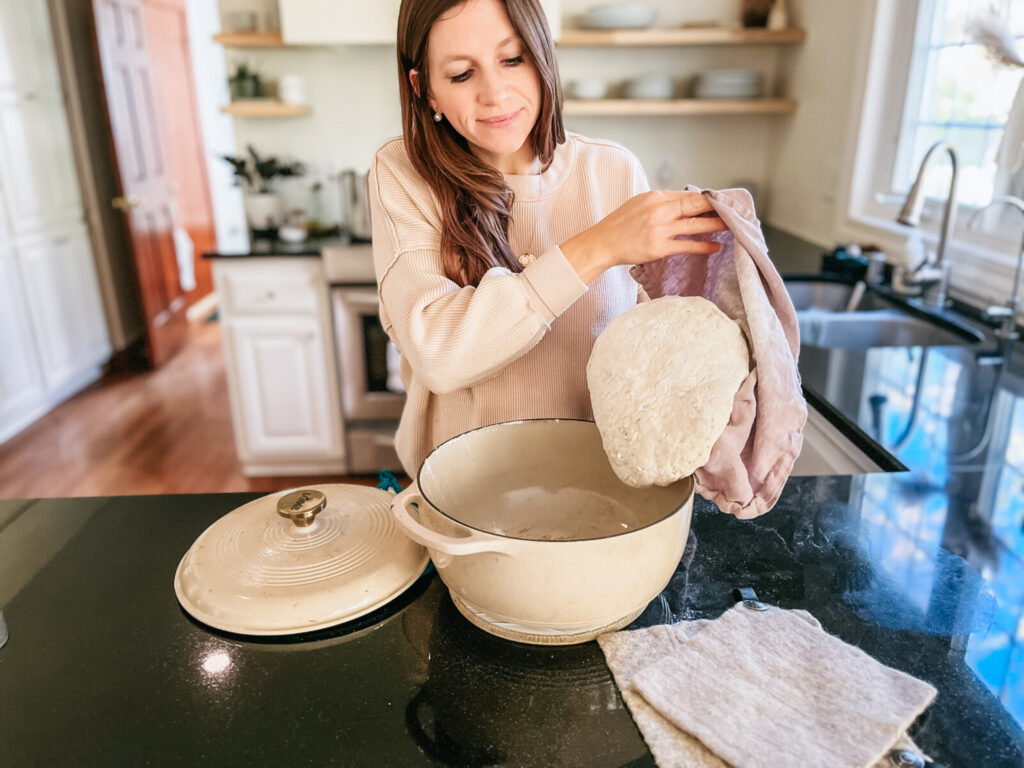
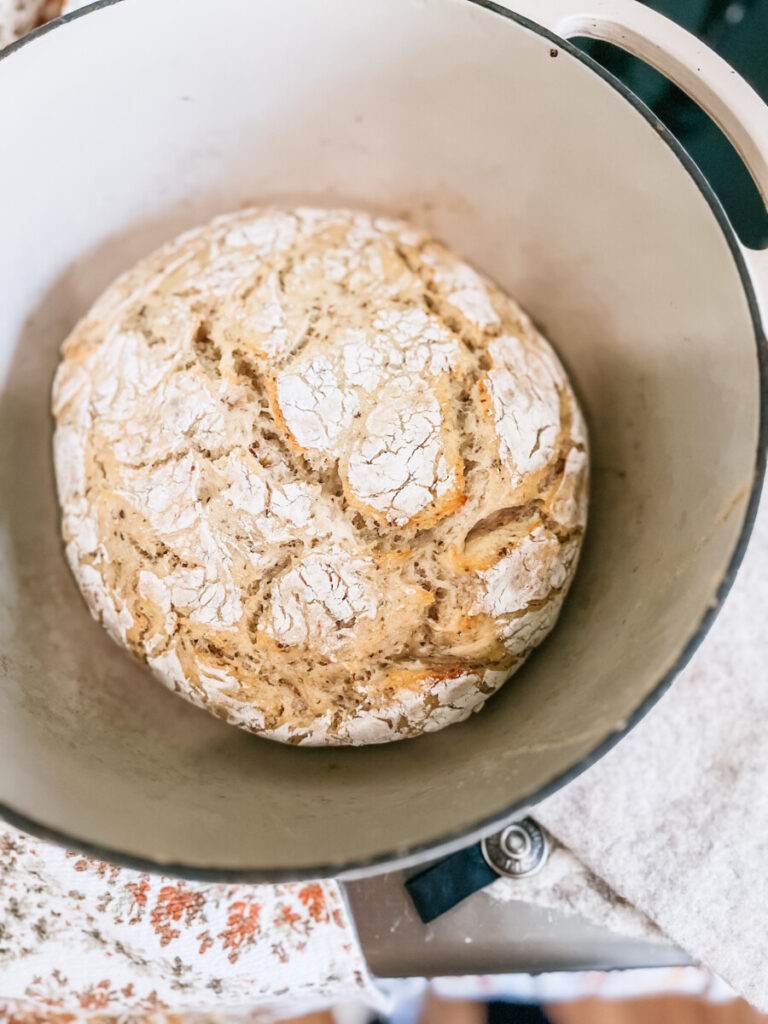
After 1+ hours of letting the dough rise on the counter, it should be twice the size, preheat oven to 450 degrees (maybe 425 depending on your oven) and place a covered dutch oven pan in oven for the last 10 minutes of the preheat process. Remove pan when oven is fully heated, slide dough into hot pan, cover and place in oven to bake for 35 minutes. Remove the cover and bake for an additional 5-15 minutes (be sure to not burnt the bottom of your loaf). Remove pan from oven and let loaf cool on a rack for up to 2 hours before slicing into it.
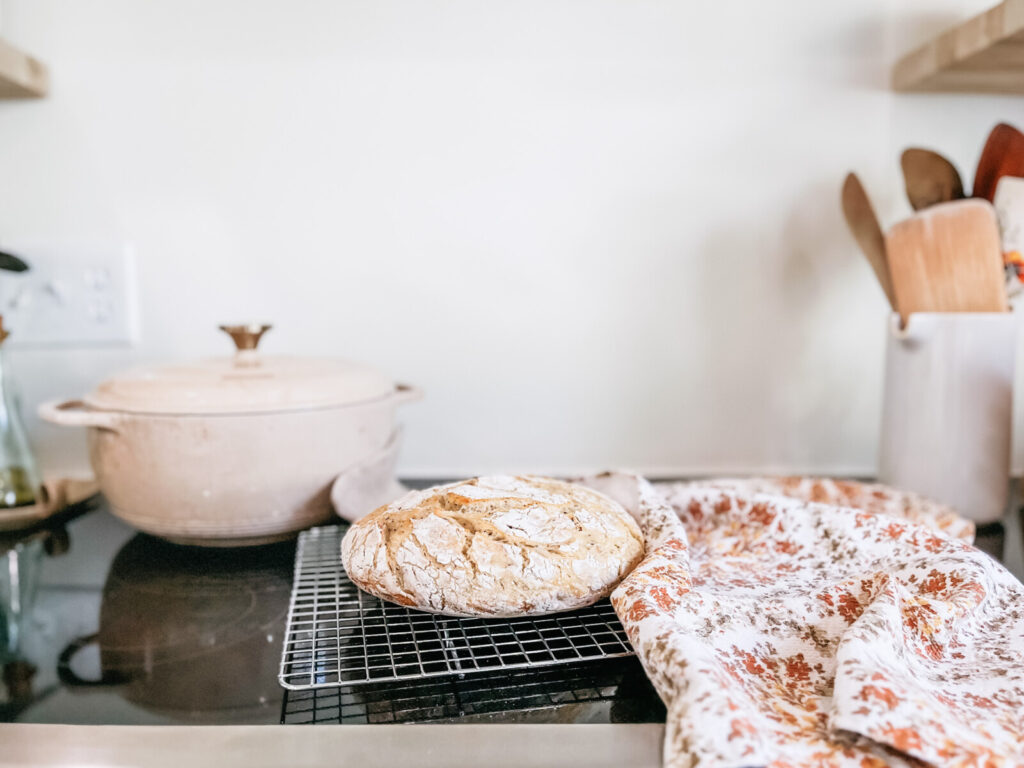
I hope you enjoy this loaf! To get access to how-to videos for making this recipe from start to finish, along with how to feed and care for your starter, click here.
Make More Sourdough with Halie Ramsey
If you love this recipe, let me know by giving it 5 stars!