This post contains affiliate links, which means I make a small commission at no extra cost to you.
I’ve been baking bread since 2015, right around the time Alexander and I started dating. His mom gave me an old-fashioned bread maker (one of those metal box-like machines where you dump all the ingredients into a container and out pops a loaf!), and then I eased my way into kneading dough and eventually settled on sourdough not long before we got married.
If you like this recipe, then you’ll also love my Hearty No-Knead Sourdough Bread recipe and my Dried Cherry & Cinnamon loaf recipe as well! Both of which I’ve made into a step-by-step class to walk you through if you’re new to sourdough with printable recipe cards.
Bread making is a slow and beautiful process. Using our hands and mind, our creativity and most of our senses from the time we pour flour and sprinkle salt into the bowl until we pull the hot pan out of the oven and carefully slide the steaming loaf onto a rack to cool (or as I do, just slice into it because there’s nothing better than warm bread with a dollop of butter on top). I joke that I’m not a baker (because I truly dislike baking), but I could bake bread all day long.
Typical baking, like cakes and cookies and muffins, feels too tedious and the measurements have to be perfect. But with bread, I can sprinkle more flour if need be and can even add ingredients just because. And when it comes to sourdough I started with this no-knead recipe and switched to the more lengthy process of pulling and folding, but I’ve nestled back into this simple recipe with no extra steps, no complexity, just a simple and tasteful loaf of bread with all the benefits from the fermentation process and the joy of watching the dough rise on the countertop.
Why You Will Love This Recipe
Healthy & gut friendly – the fermentation of sourdough gives it the health benefits
Tasty, simple ingredients – it’s a delicious, every day loaf and you most likely have all the ingredients already in your pantry, just add in the sourdough starter!
Easy to make – no pulling or stretching or extra steps for a simple loaf of bread
What You’ll Need
Large, non-plastic mixing bowl
Whisk
Wooden spoon
Tea towel
Plastic wrap
Dutch oven (and here’s one off Amazon that isn’t enameled if you feel more comfortable with that!)
The ingredients are simple
3-3 1/2 cups four + optional dry ingredients (mostly flour, then you can add oats, seeds, bran, dried fruit, cinnamon, etc)
1 3/4 tsp. salt
1/4 tsp. yeast
2/3 cup sourdough starter
1 1/2 cup warm water
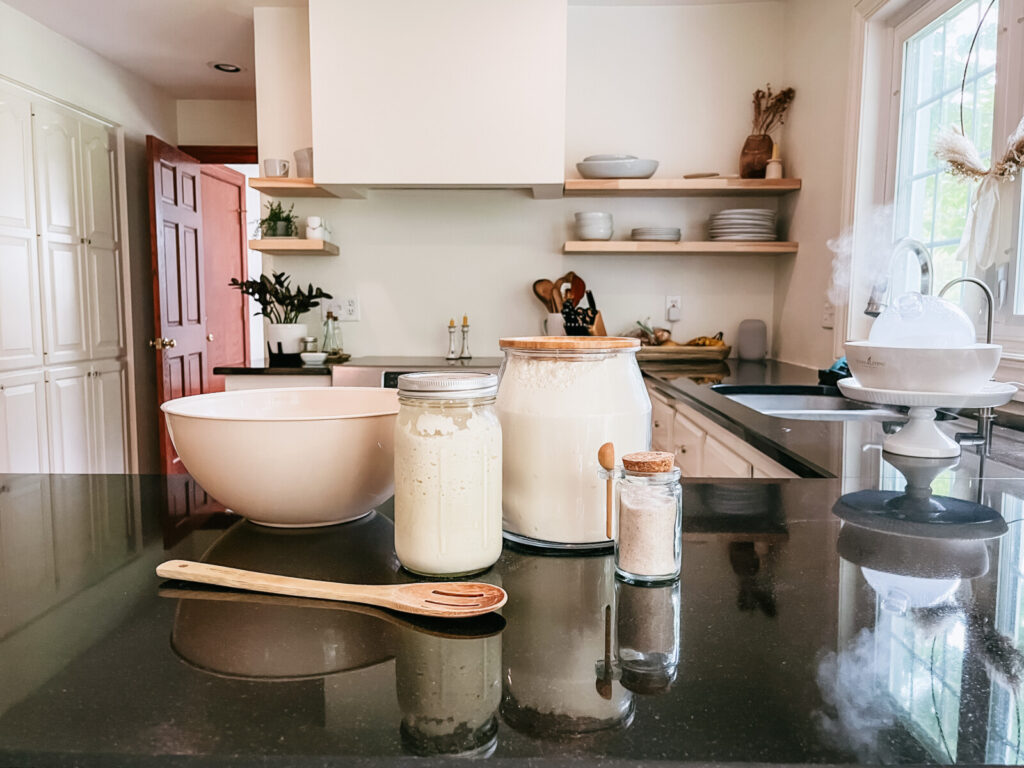
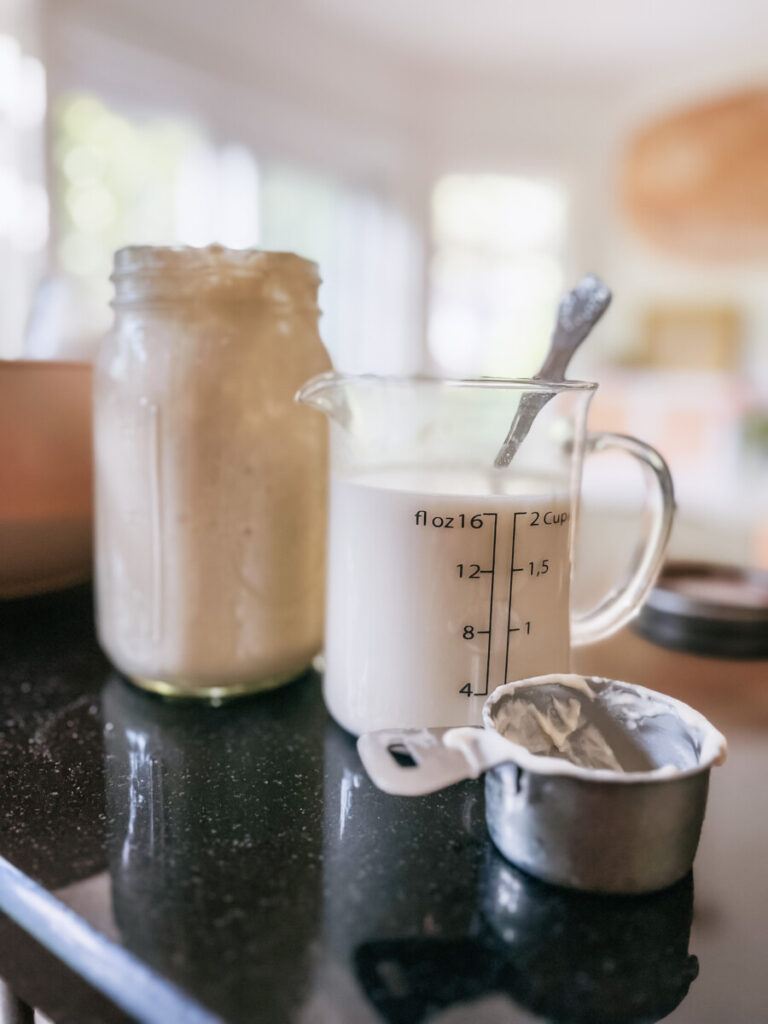
To make, begin by adding all the dry ingredients (flour with optional additives, salt and yeast) into a large non-plastic bowl, mix it all together with a whisk. Then in a clear glass measuring cup fill it with warm water to the appropriate amount and slowly stir in the sourdough starter. I personally mix the water and starter together with a metal spoon until all the chunks disappear, it should be thick and cloudy. After it is well mixed, pour the mixture into the bowl of dry ingredients.
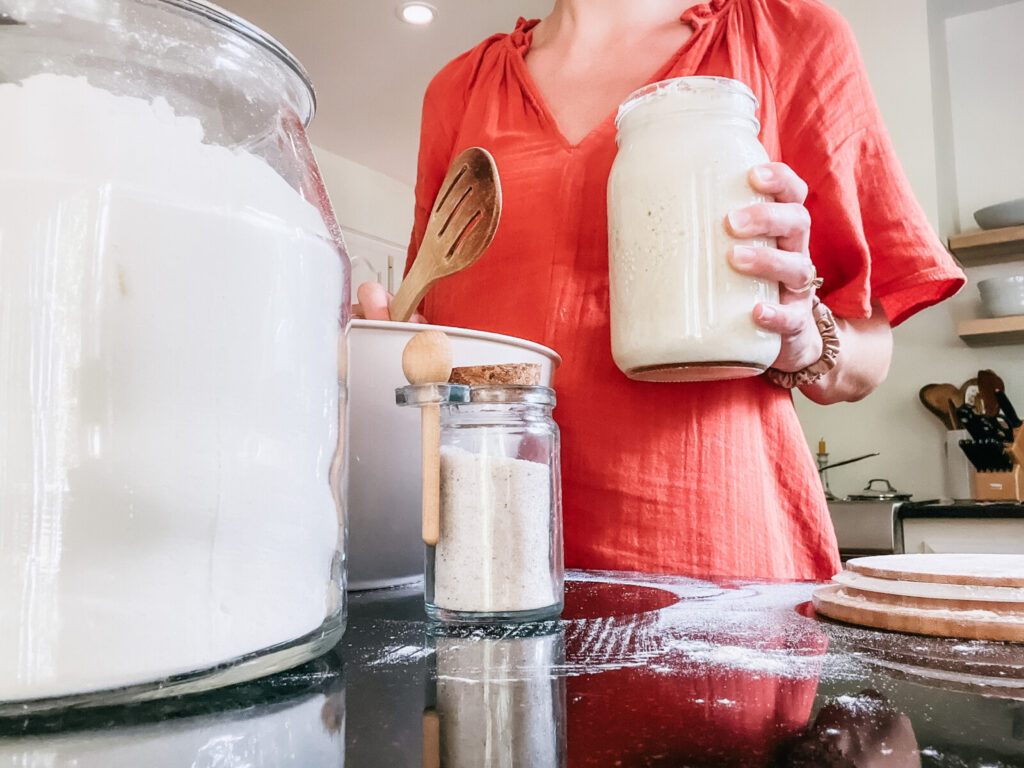
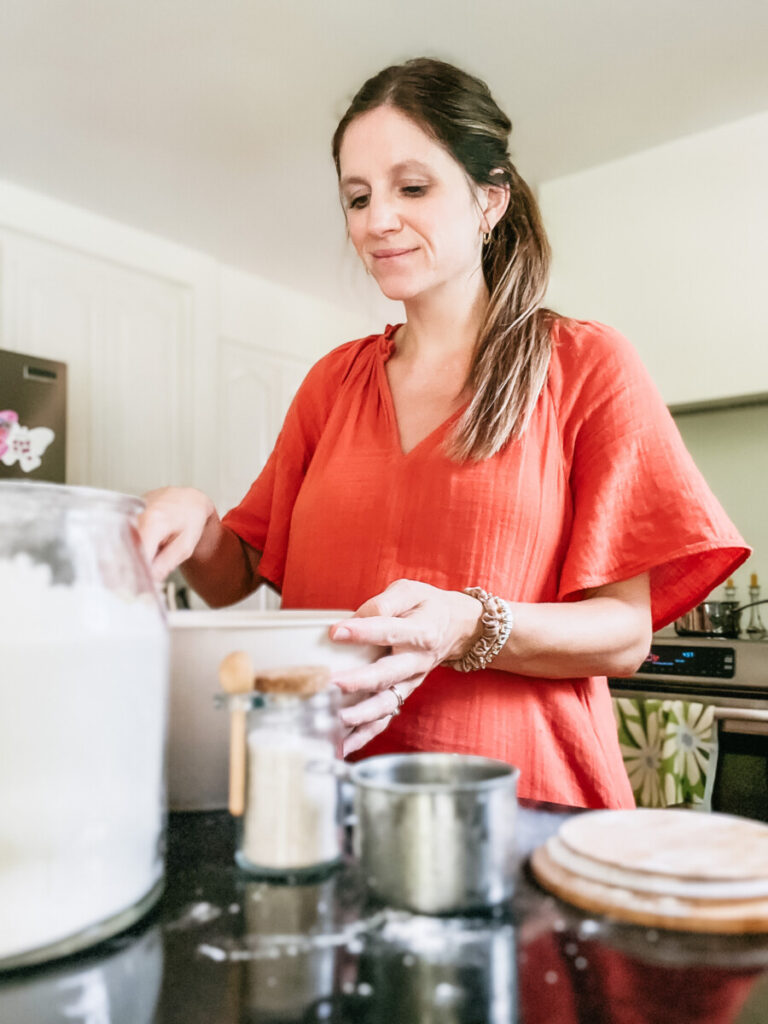
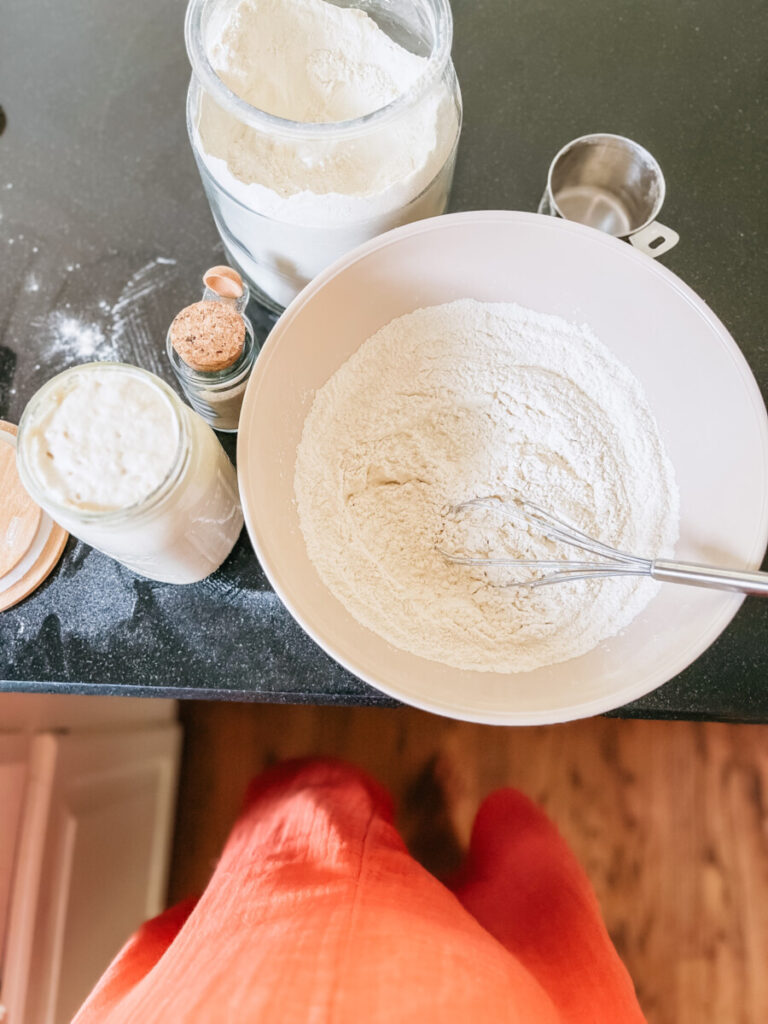
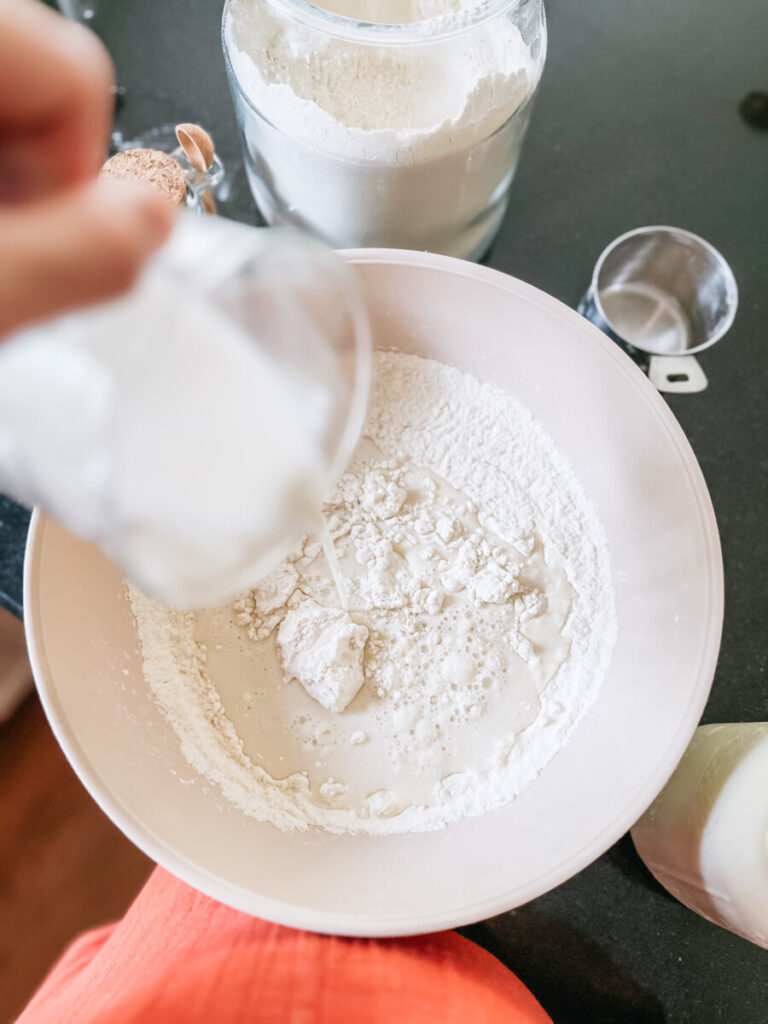
After all of the ingredients are in the same bowl, swap the whisk for a large wooden spoon and slowly but thoroughly mix everything together — eventually I use my hands to not actually “knead” the dough but make sure it’s all together. Note: don’t form a perfect or dense ball out of the dough with your hands. If the dough is sticky sprinkle more flour and blend it together with your hands.
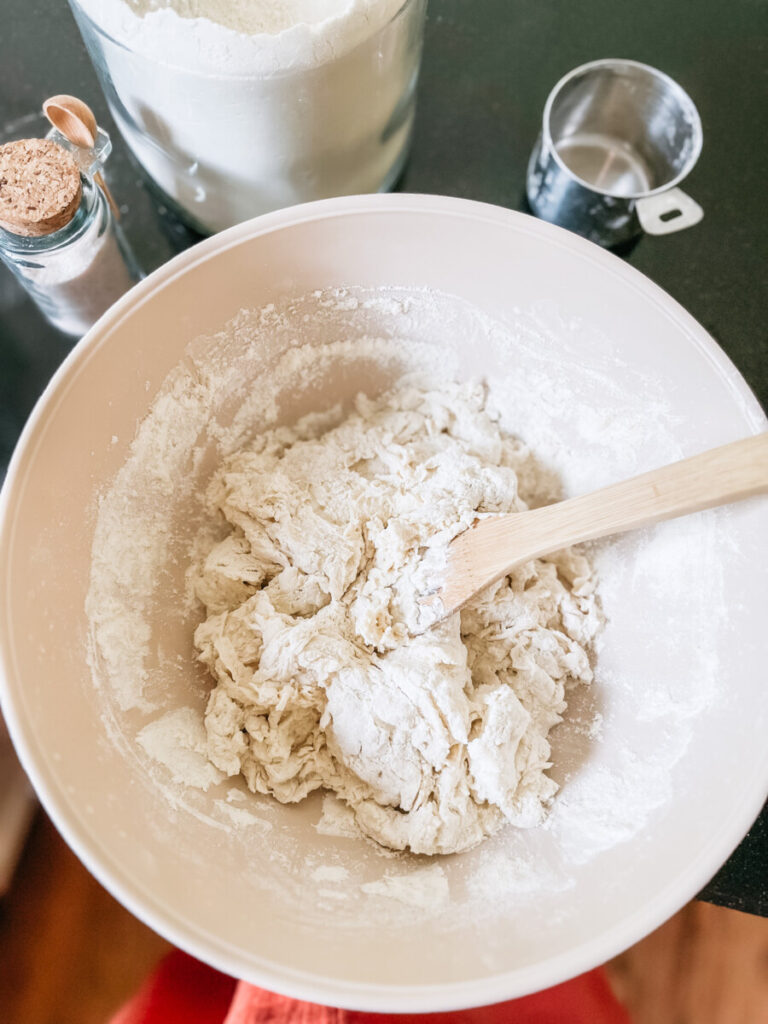
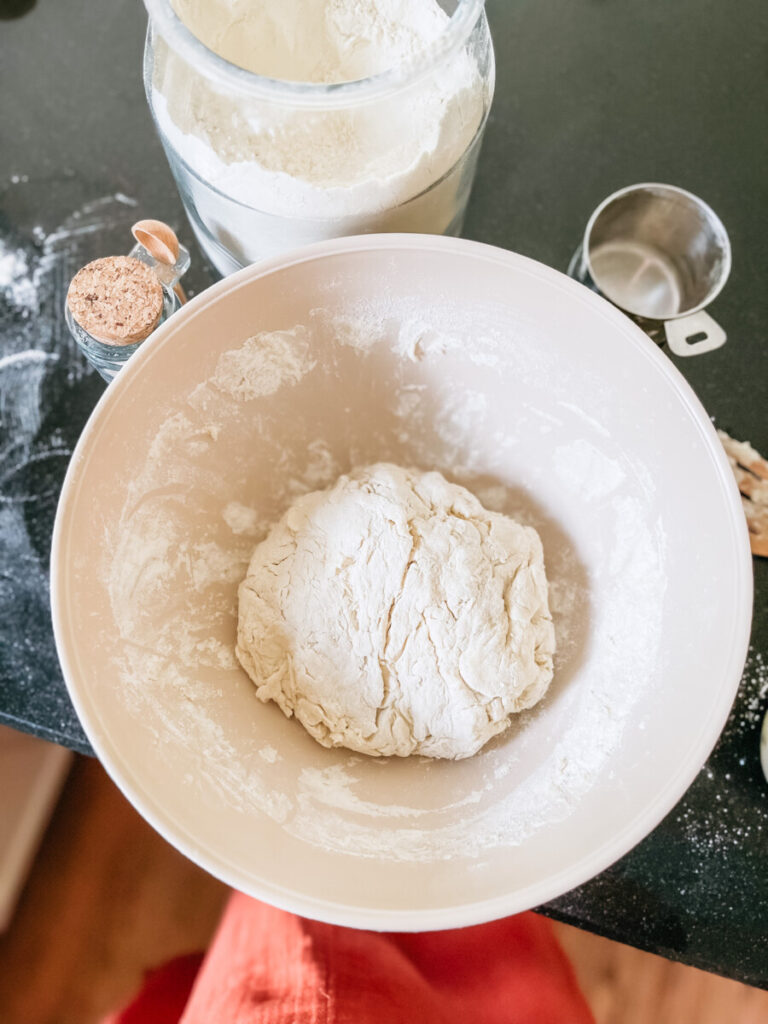
Once your dough is complete, cover the bowl with plastic wrap (I often cover it with a large plastic bread bag and fasten it with a rubber-band, nothing fancy!). And let it sit on your counter for 8 hours or up to overnight.
After the dough is covered, feed your starter. Simply scoop 1 cup of flour into the remaining starter in your jar and then pour 1/2 cup of warm water on top of the flour and mix thoroughly with a metal spoon. Put the lid on and let it sit out on the counter for an hour or overnight before placing back in the refrigerator.
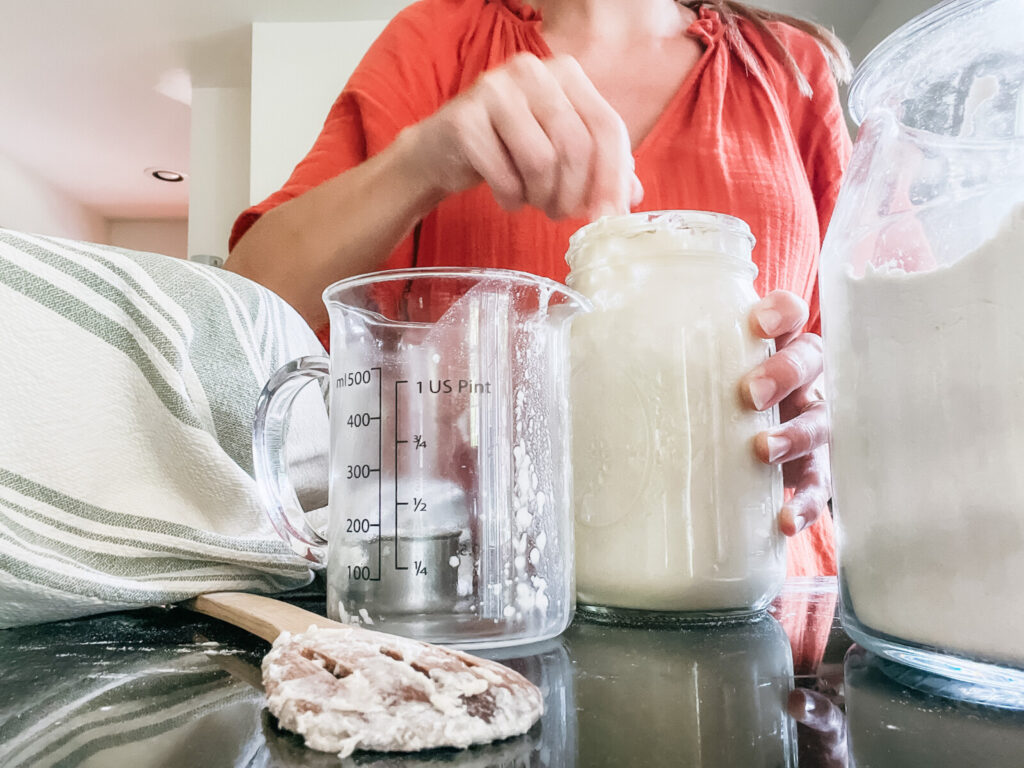
The next morning, the dough should be nice and fluffy. With flour on your fingers, gently scrape the dough out of the bowl and place onto a lightly floured surface and turn two times. Cover with plastic and let sit for 15 minutes. Then move the dough to a lightly floured towel, use your hands to mold it into a ball and cover with the towel for 1+ hours.
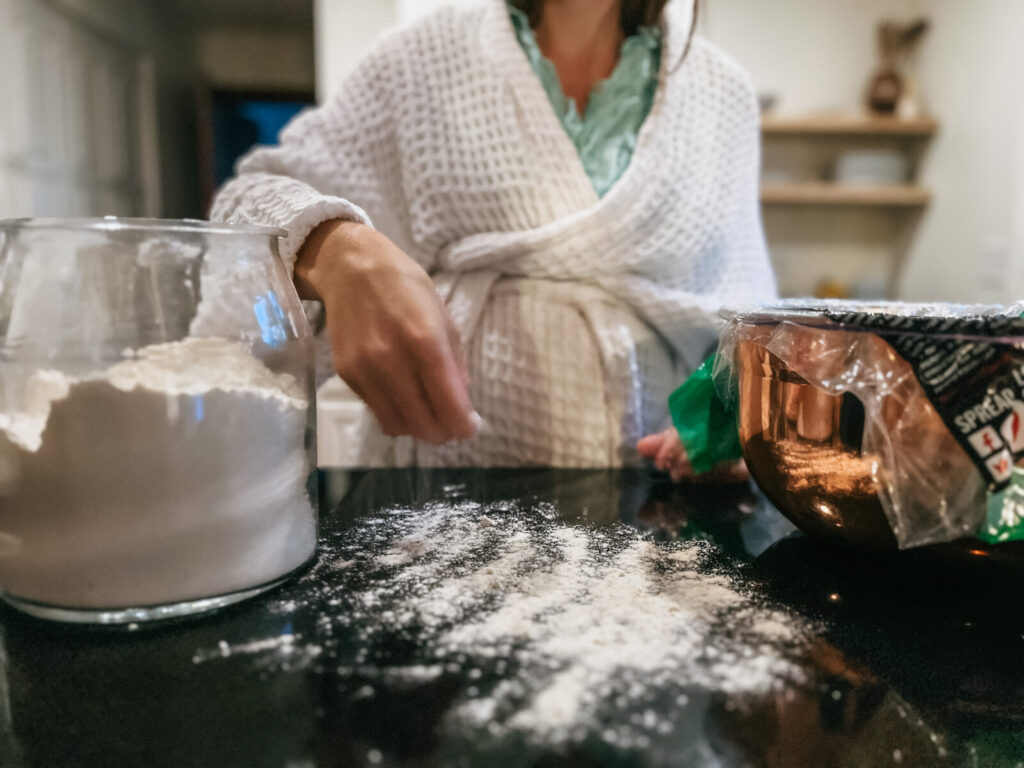
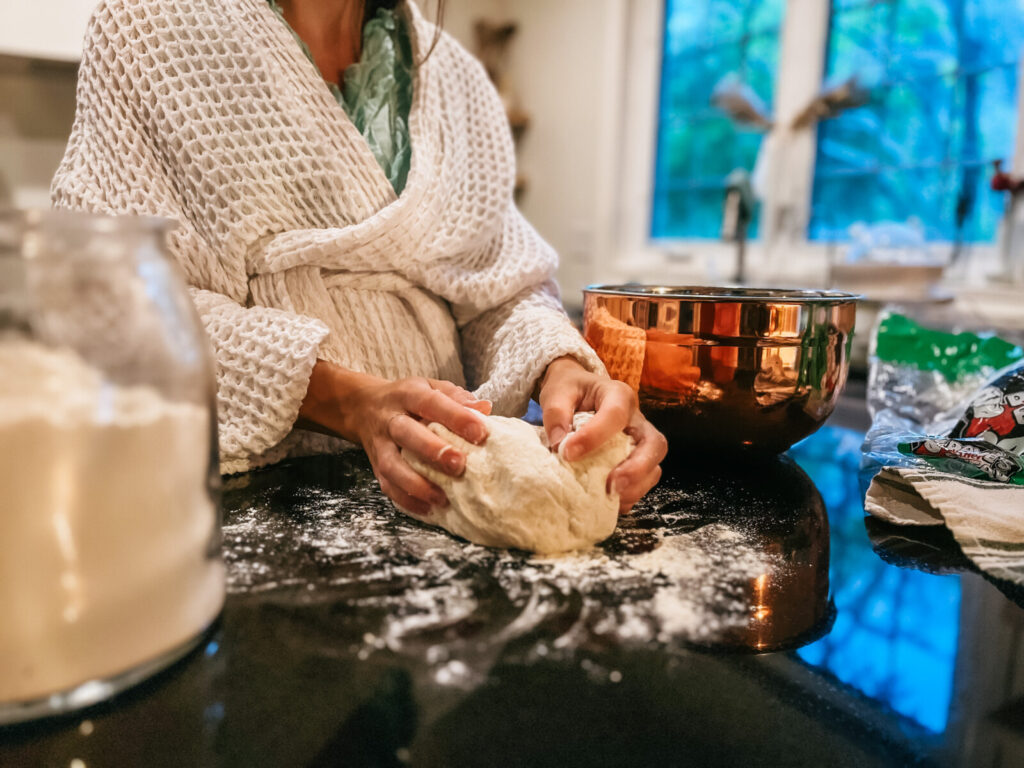
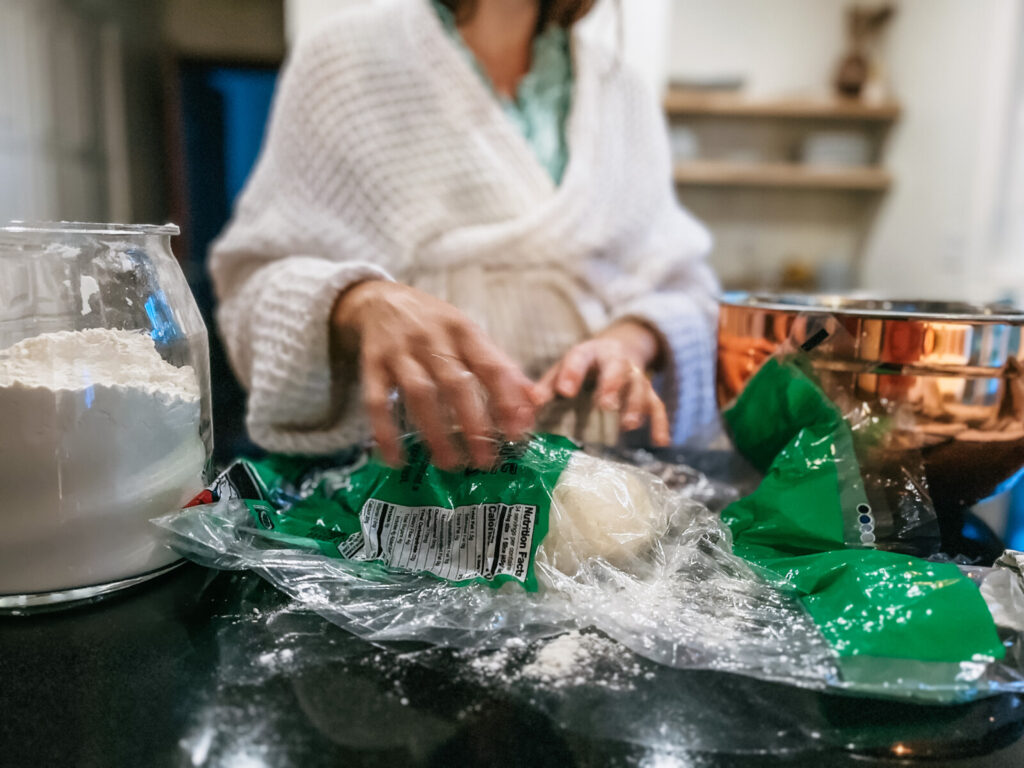
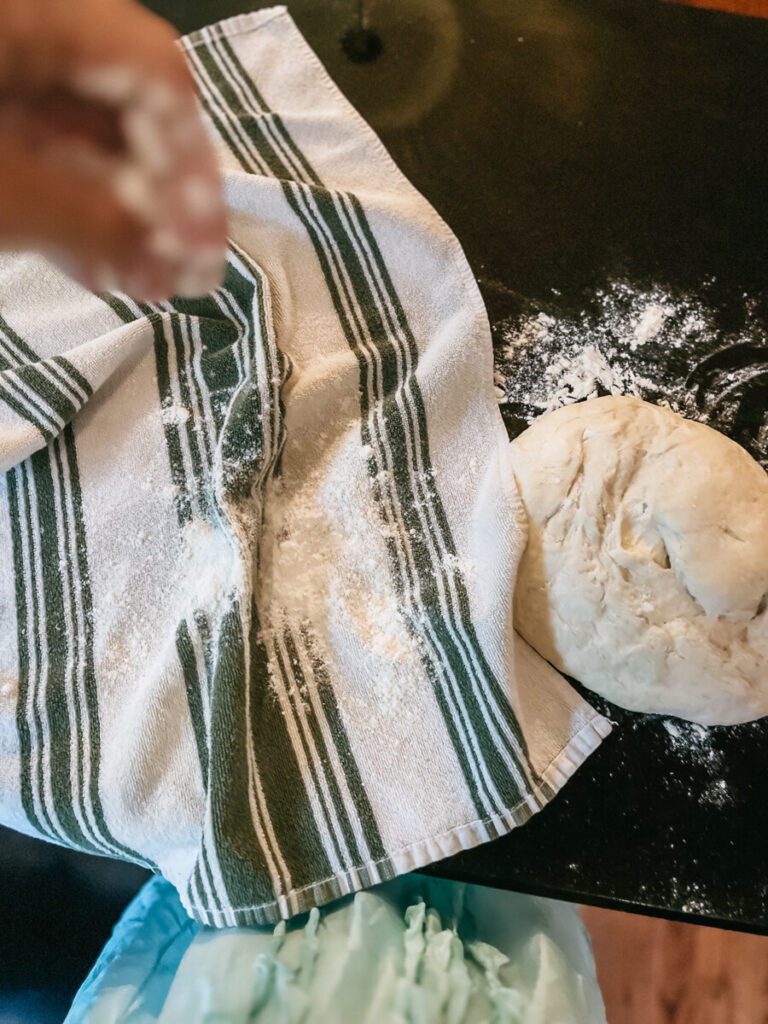
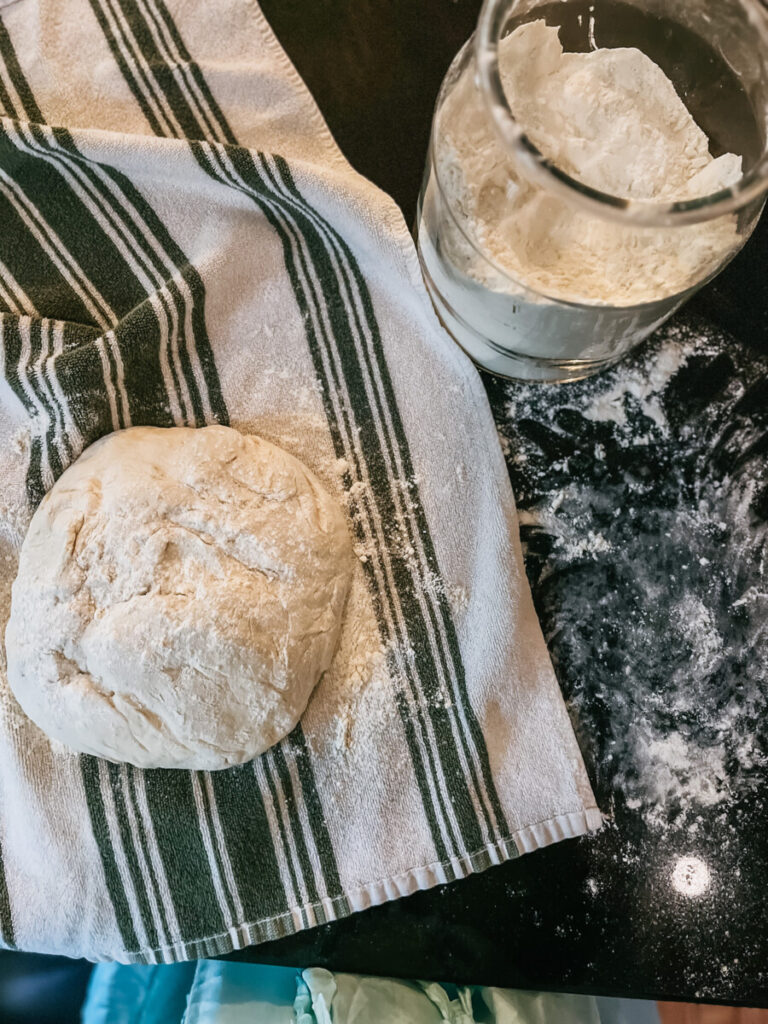
After 1+ hours of letting the dough rise on the counter, it should be twice the size, preheat oven to 450 degrees (maybe 425 depending on your oven) and place a covered dutch oven pan in oven for the last 10 minutes of the preheat process. Remove pan when oven is fully heated, slide dough into hot pan, cover and place in oven to bake for 35 minutes. Remove the cover and bake for an additional 5-15 minutes (be sure to not burnt he bottom of your loaf). Remove pan from oven and let loaf cool on a rack for up to 2 hours.
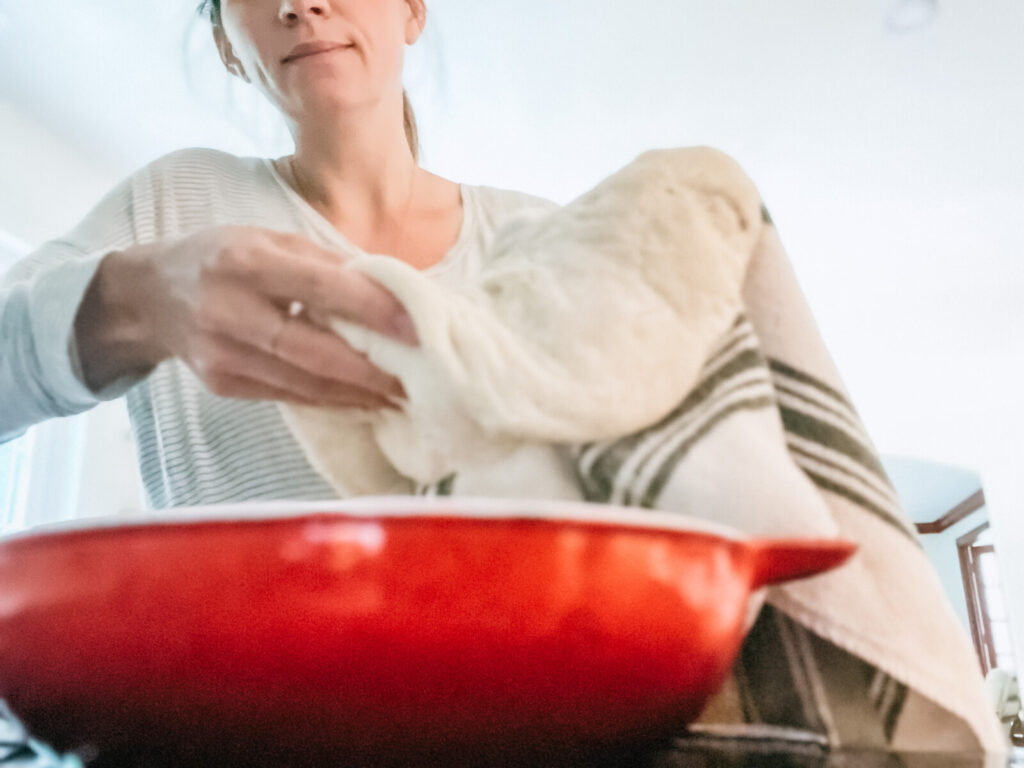
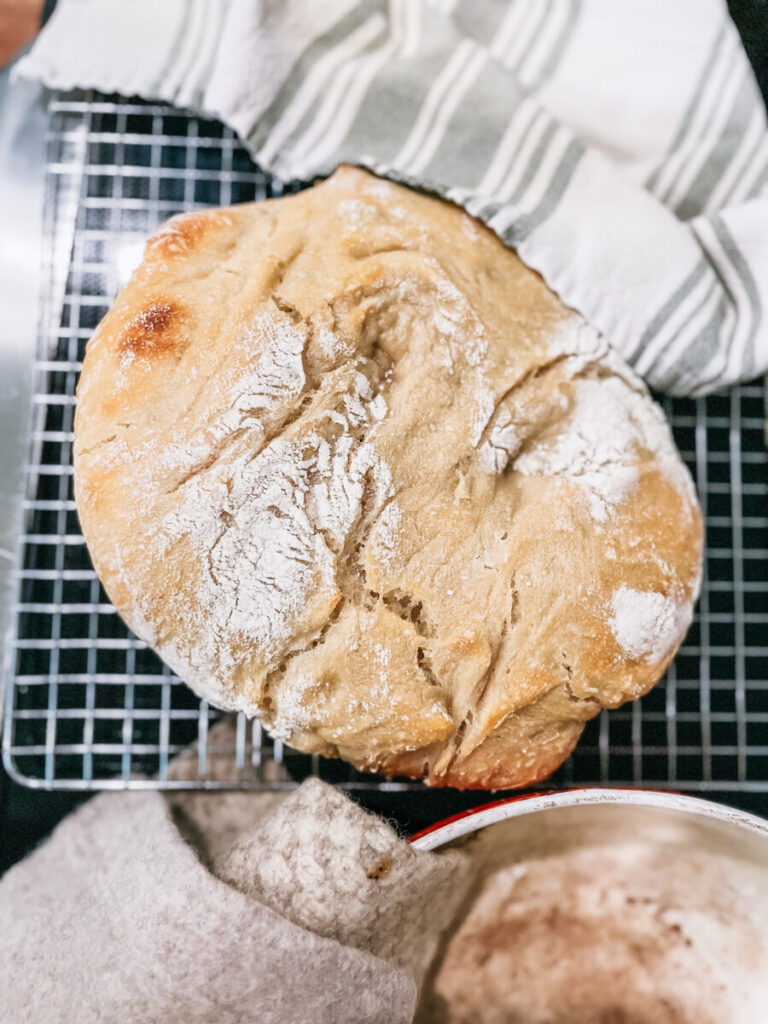
Voila! You’re officially a sourdough bread baker. I hope you enjoyed this process as much as I do. To get access to how-to videos for making your loaf from start to finish, along with how to feed and care for your starter, click here.
Make More Sourdough with Halie Ramsey
If you love this recipe, let me know by giving it 5 stars!