Fresh milled flour sure has become popular, and rightly so. We have seen a shift in our culture over the last few years towards demanding better ingredients and approaching health at a cellular level. And milled flour is part of that.
I began learning about milling my own grains a few years ago, but it seemed like an extra step to the process. But after a little research I was hooked, I was in the rabbit hole as my friend recently told me. And after the initial intimidation after getting my grain mail, I’ve come to really enjoy the process of adding this extra step before I make any bread recipe, pancakes on Saturday morning and feeding my sourdough starter.
If you enjoy milling your own flour, then you’ll love my Everyday No-Knead Sourdough Bread recipe and my Hearty No-Knead Sourdough Bread recipe as well! Both of which I’ve also made into a step-by-step class to walk you through if you’re new to sourdough with printable recipe cards. Every recipe can be substituted with fresh milled flour, see tips below for adjusting the recipes.
Why Fresh Milled Flour
Health benefits – commercial, all-purpose flour is often fortified with vitamins that were lost when processing. But freshly milled grains are packed with those nutrients and amazing flavor, and the fermentation of sourdough gives it extra health benefits especially for your gut.
Easy to work with – despite what others may say, fresh milled grains are pretty easy to work with, it might be a slight learning curve, but don’t fret just experiment and enjoy the process of working with something new
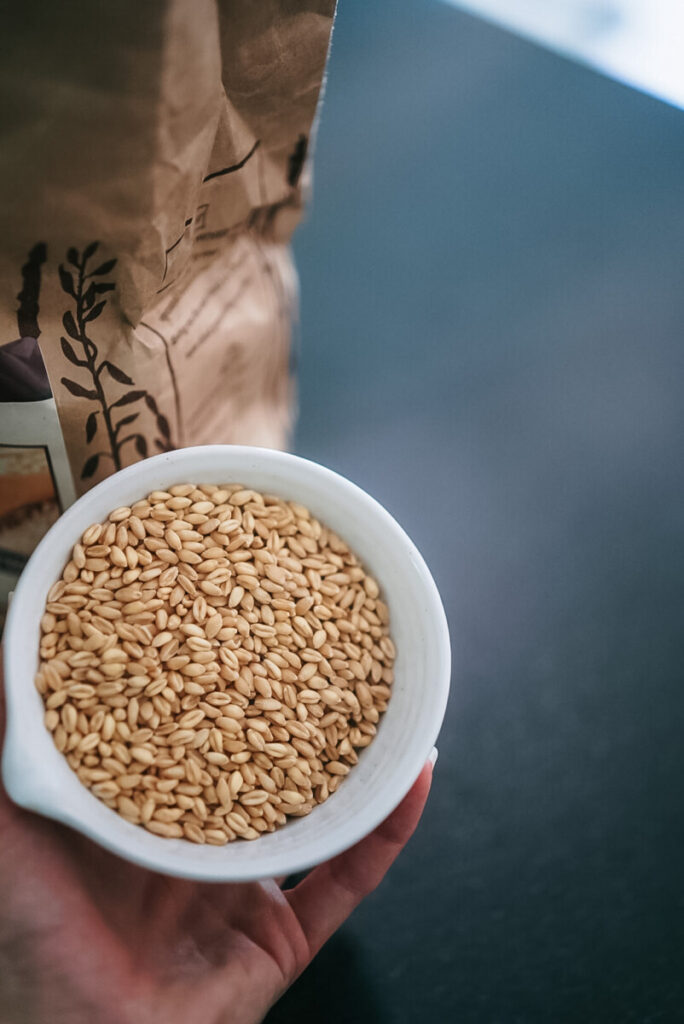
Accessible – Finding organic wheat berries to grind at home is wildly accessible. You can find any ancient grains at a local health food store or looking into Azure Standard, Ancient Grains or ordering directly through Mockmill’s website.
Why You Will Love This Recipe
Healthy, simple ingredients – There are so many additives in store-bought waffle/pancake mixes, you know all the ingredients in homemade recipes. This recipe is sweetened with honey and I bet you already have all of the other ingredients in your pantry.
Easy to make – Your little kids can help crack eggs and measure everything!
Delicious — Some sourdough waffle recipes are so tangy, this recipe is the perfect tang with sweet!
prep time: 10 minutes
rest time: 5 minutes, up to 1 hour
bake time: 5 minutes per waffle (depending on the waffle iron)
total time: 20+ minutes
What You Will Need
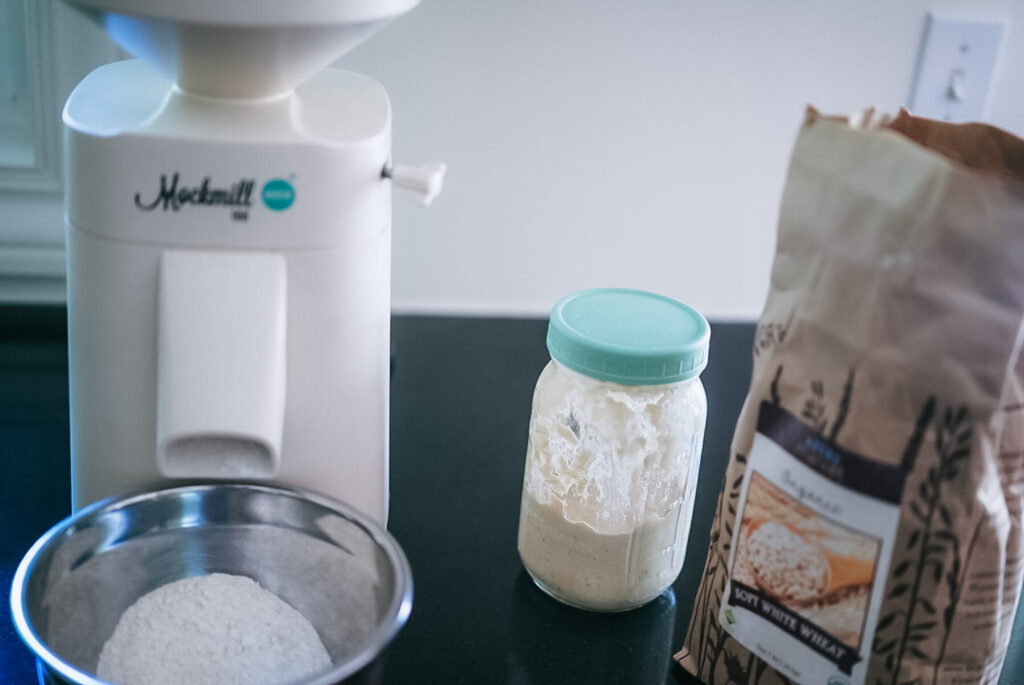
Grain mill (I have the Mockmill 100, but the NutriMill off Amazon is a good option too)
Large mixing bowl
Whisk or wooden spoon
Basting brush
Laddel
Waffle iron
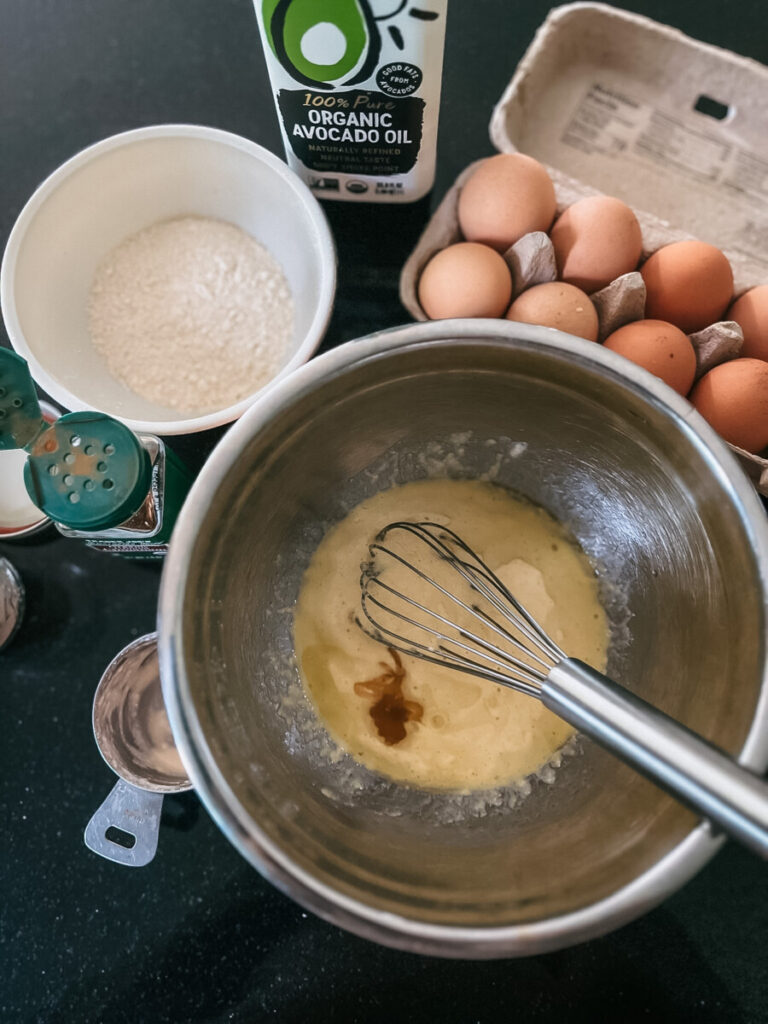
Ingredients
1 cup sourdough discard
1-1 1/2 cups freshly milled flour (I usually use soft white wheat berries)
1/2 cup milk
2 large eggs
1/4 cup avocado or coconut oil (plus some for the waffle iron)
2 Tbsp honey
1/2 tsp salt
Cinnamon (to taste)
Splash of vanilla extract
1 tsp baking soda
How to Make
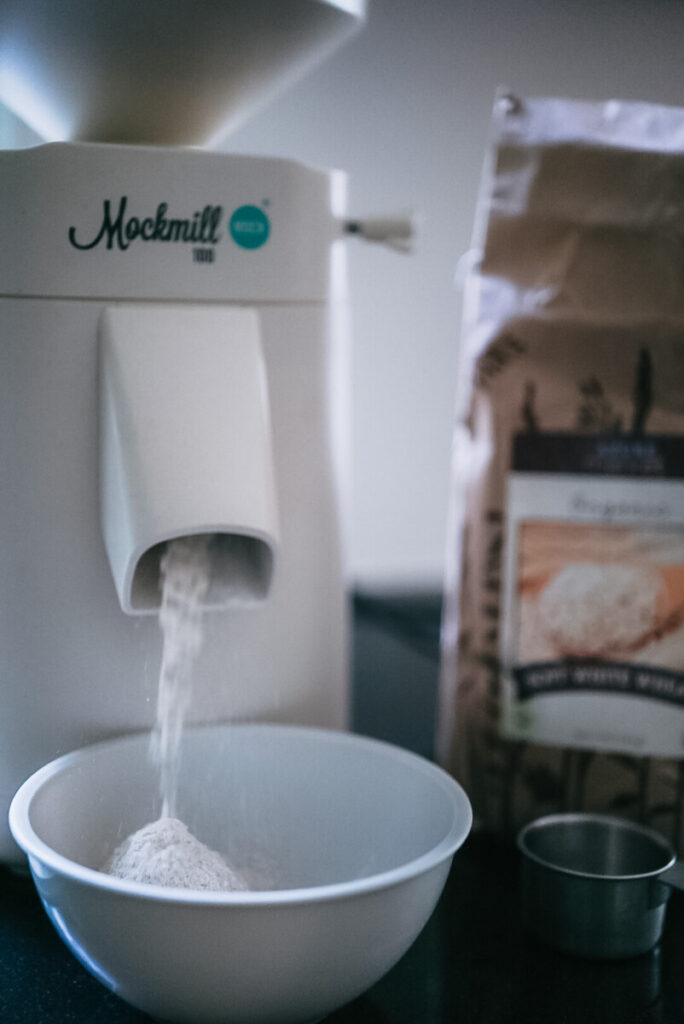
Step One: Mill your flour. For a recipe like this I like to mill about 3 cups of soft white wheat berries, therefore I have enough to feed my starter
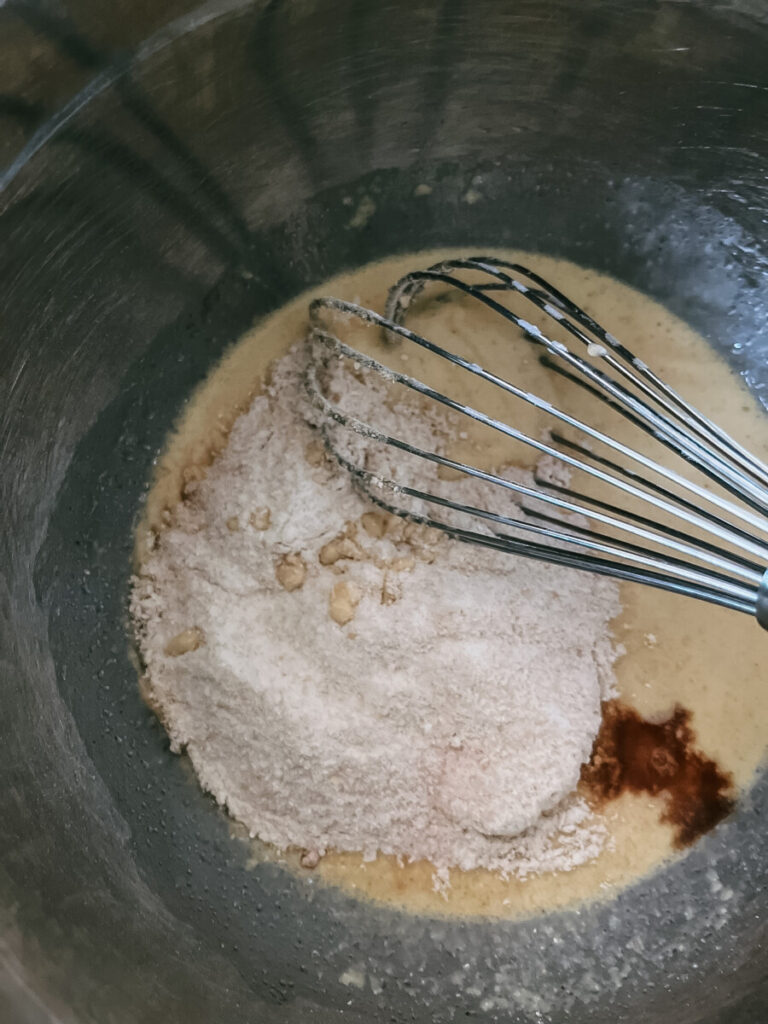
Step Two: Add all the ingredients *read note for flour (except baking soda) in a large mixing bowl, mix well to combine. Note: When working with milled flour, you will need to base how much you need off of the consistency. When I make a similar waffle recipe with all-purpose flour I use 1 cup, but with freshly milled flour I tend to use between 1 cup and 1 1/2 cups. Simply add a little at at time. If you added too much just add a little more milk.
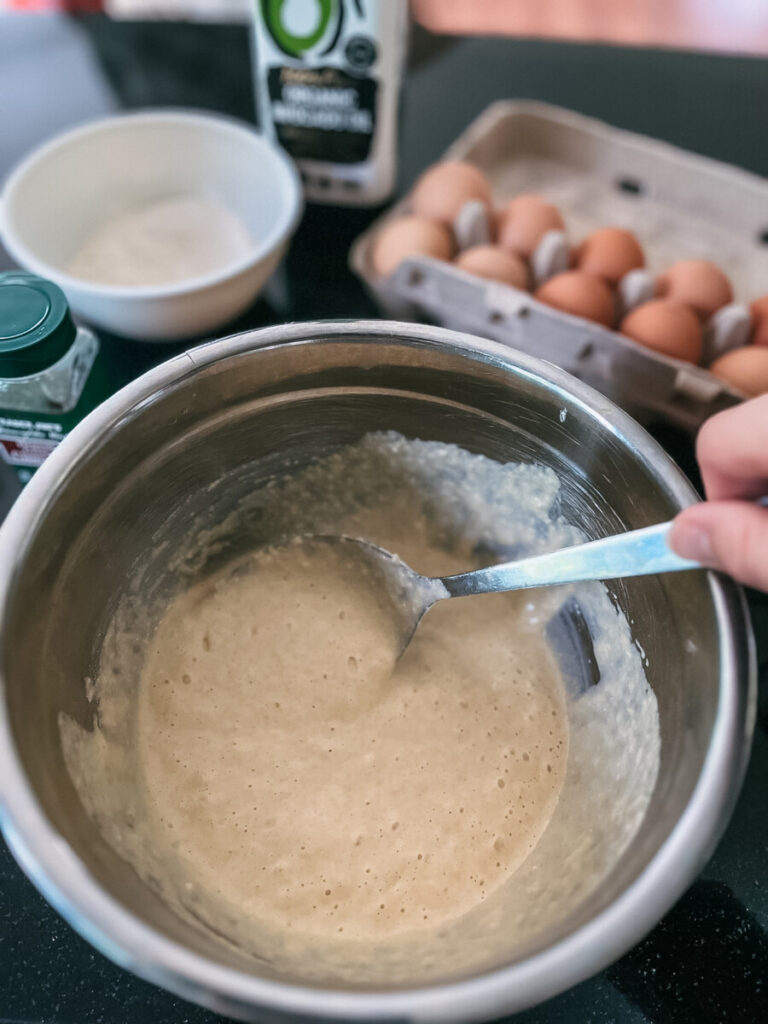
Step Three: Add the baking soda, mix to combine, cover with a tea towel, let sit for 5 minutes or up to 1 hour
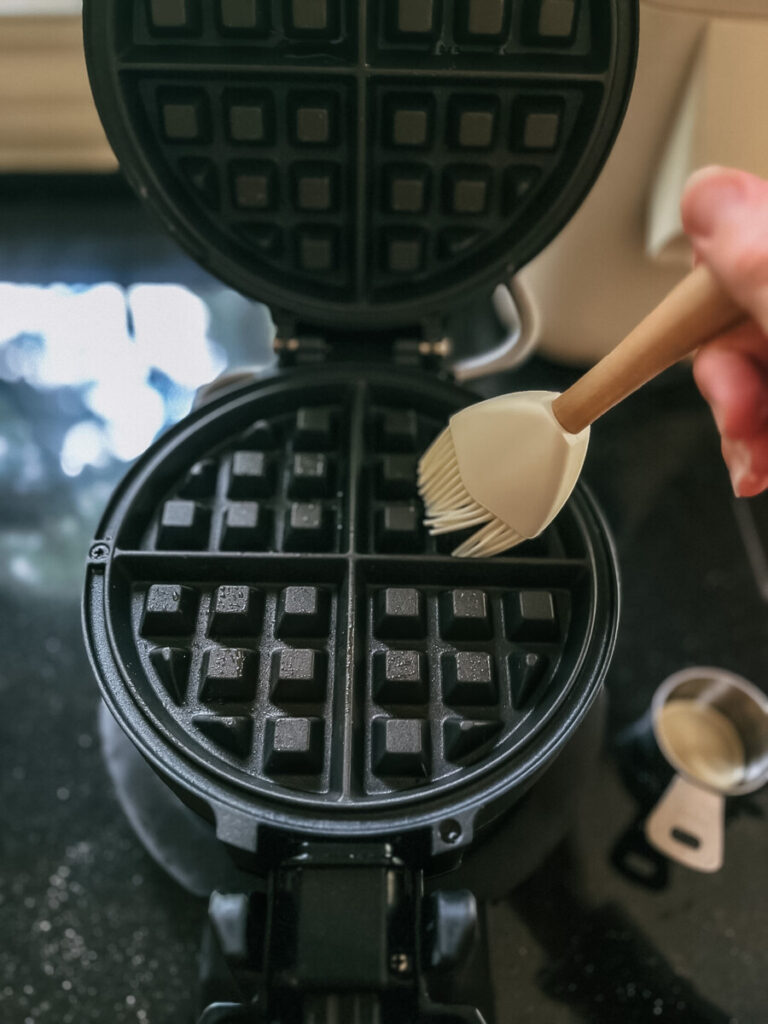
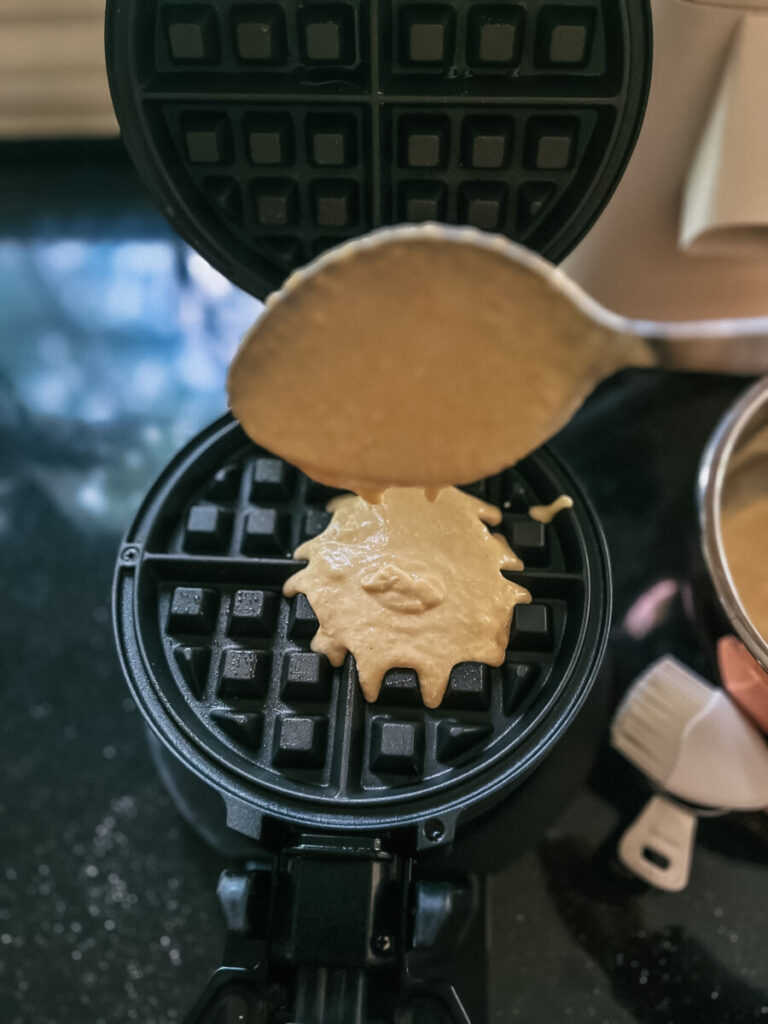
Step Four: Once the waffle iron is hot, use basting brush to brush waffle iron with oil
Step Five: Ladle 1 spoonful of waffle batter into waffle iron
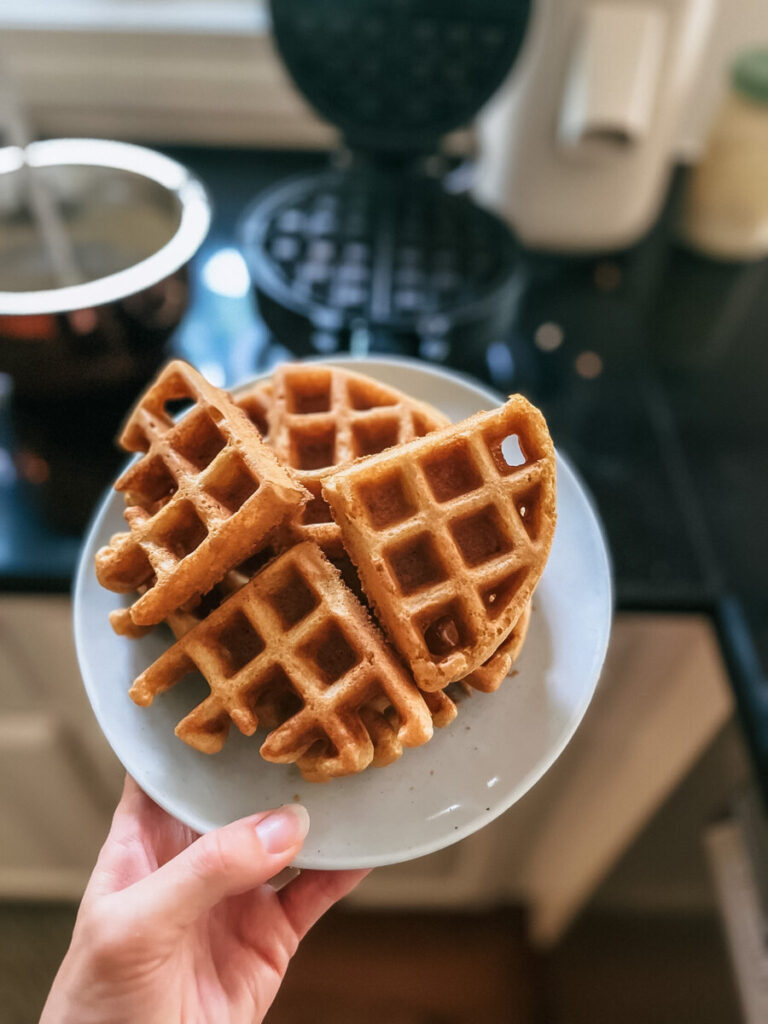
Step Six: When light goes off (about 3 minutes) take waffle out of waffle iron
Step Seven: Top with fresh berries, homemade whipped cream, chocolate chips or other toppings, serve warm with maple syrup
Step Eight: Enjoy!
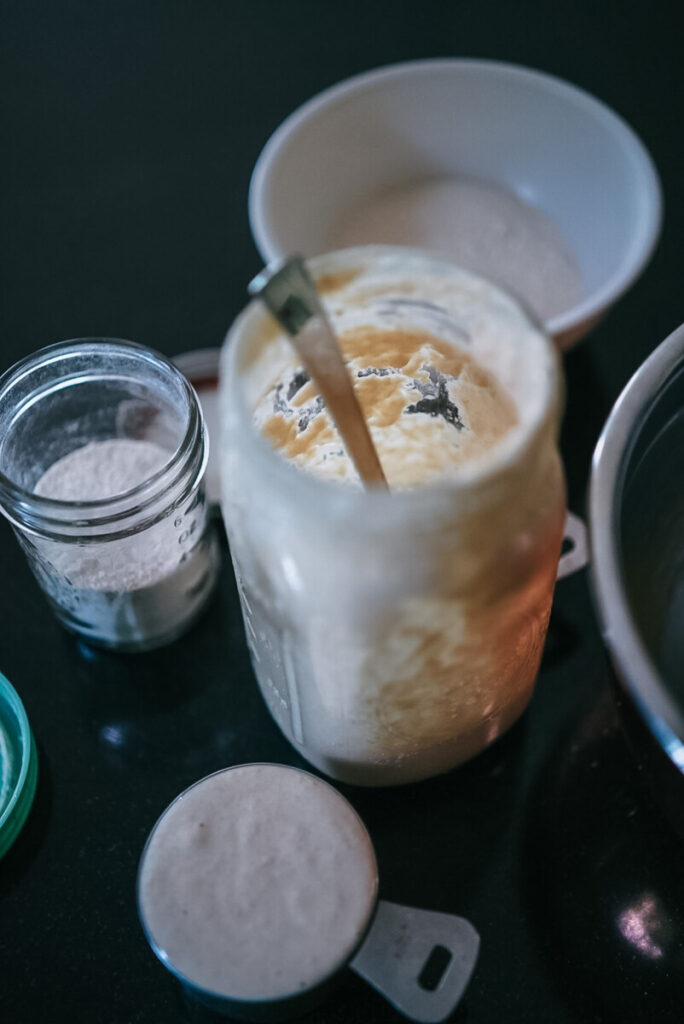
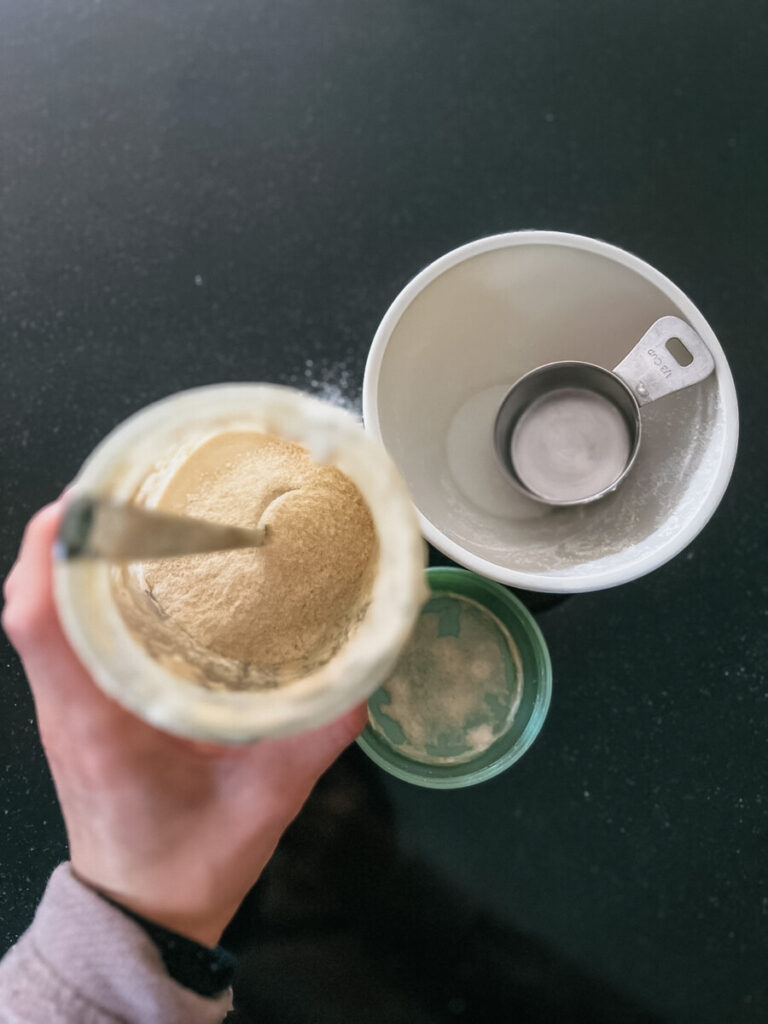
Feeding Your Starter
I’ve noticed with fresh milled flour it’s more of an experiment and knowing what’s best for your starter than a direct ratio. Start by scooping 1 cup of flour into the remaining starter in your jar and then pour 1/2 cup of distilled water on top of the flour and mix thoroughly with a metal spoon. If it’s dry, add more water; if it seems to wet, add a little more flour until it’s a good consistency. Put the lid on and let it sit out on the counter for an hour or overnight before placing back in the refrigerator. Another thing to note when feeding your starter with fresh milled flour: the flour soaks up liquid differently than all-purpose flour, so be sure to keep an eye on your starter. Feel free to feed it more often or simply mix it well every few days if not making a recipe.

Make More Recipes with Halie Ramsey
- Sourdough Discard Pancakes (reindeer style)
- Hearty No-Knead Sourdough Bread
- The Best and Easiest Homemade Granola
If you love this recipe, let me know by giving it 5 stars!
