Fresh milled flour sure has become popular, and rightly so. We have seen a shift in our culture over the last few years towards demanding better ingredients and approaching health at a cellular level. And milled flour is part of that.
I began learning about milling my own grains a few years ago, but it seemed like an extra step to the process. But after a little research I was hooked, I was in the rabbit hole as my friend recently told me. And after the initial intimidation after getting my grain mail, I’ve come to really enjoy the process of adding this extra step before I make any bread recipe, pancakes on Saturday morning and feeding my sourdough starter.
If you like this recipe, then you’ll also love my Everyday No-Knead Sourdough Bread recipe and my Hearty No-Knead Sourdough Bread recipe as well! Both of which I’ve also made into a step-by-step class to walk you through if you’re new to sourdough with printable recipe cards. Every recipe can be substituted with fresh milled flour, see tips below for adjusting the recipes.
Why Fresh Milled Flour
Health benefits – commercial, all-purpose flour is often fortified with vitamins that were lost when processing. But freshly milled grains are packed with those nutrients and amazing flavor, and the fermentation of sourdough gives it extra health benefits especially for your gut.
Easy to work with – despite what others may say, fresh milled grains are pretty easy to work with, it might be a slight learning curve, but don’t fret just experiment and enjoy the process of working with something new
Accessible – Finding organic wheat berries to grind at home is wildly accessible. You can find any ancient grains at a local health food store or looking into Azure Standard, Ancient Grains or ordering directly through Mockmill’s website.
prep time: 15 minutes
rest/rise time: 1.5 hours
bake time: 20-25 minutes
total time: 2+ hours
makes 15-20 buns
What You’ll Need
Grain mill (I have the Mockmill 100, but the NutriMill off Amazon is a good option too)
Large, non-plastic mixing bowl
Whisk
Wooden spoon
Tea towel
Plastic wrap
Baking sheet
Basting brush
Ingredients
1 1/4 cup warm milk
6 Tbsp. melted butter
3 tsp. yeast
1 egg (lightly beaten)
3 Tbsp. honey
1 cup sourdough starter (active or discard)
2 tsp. salt
4+ cups of milled flour (if you don’t have fresh milled, you can use all-purpose, but start with half the amount of flour and gradually add more)
Egg wash: 1 egg, lightly beaten with water and sesame seeds to top
Before starting this recipe, measure and mill your grain. I do this the night before when making a pancake or waffle recipe since it’s loud, otherwise I simply measure/weigh the grain and mill it to use right away. You can use a scale to measure in grams, or estimate by using cups. For this specific recipe, I mill 5 cups of soft white wheat berries (you can also use hard white wheat but the buns don’t turn out as soft). I make sure to have enough milled flour for the recipe and to feed my starter with after. I typically mill at either the 2 or 3 on the milling grade for breads, or between 1-2 for cakes, pancakes, waffles and these buns.
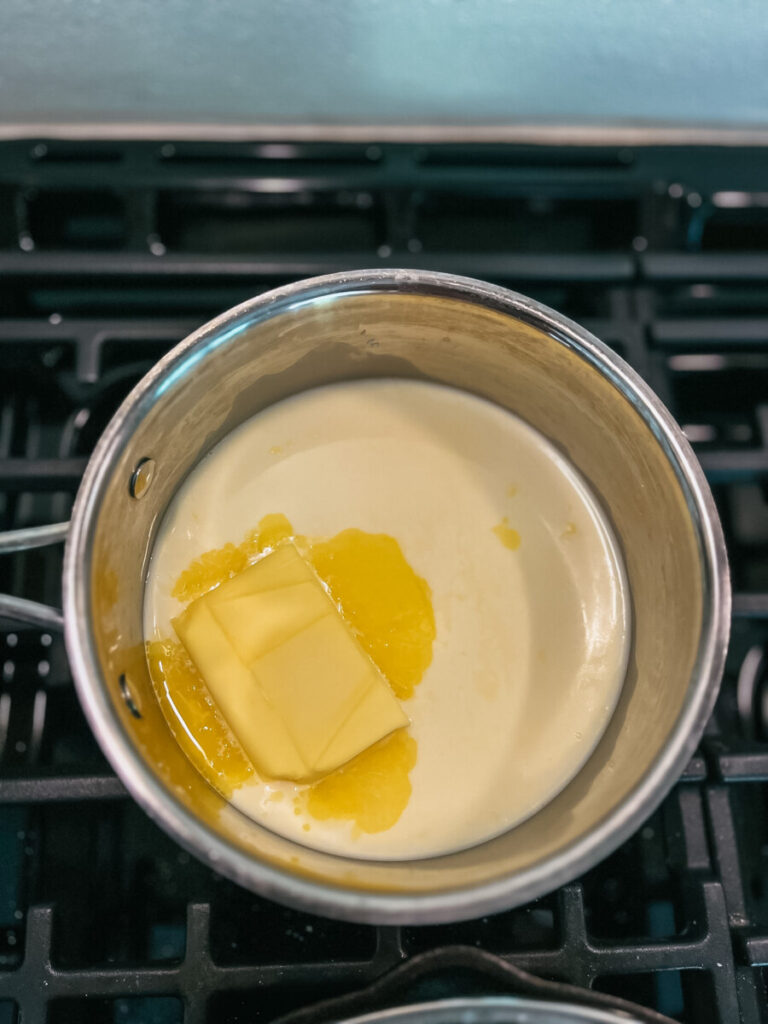
Step One: melt butter while milk is warming, I usually do this on the stovetop
Step Two: pour warm milk and butter into bowl and whisk in the yeast, let sit for 5 minutes
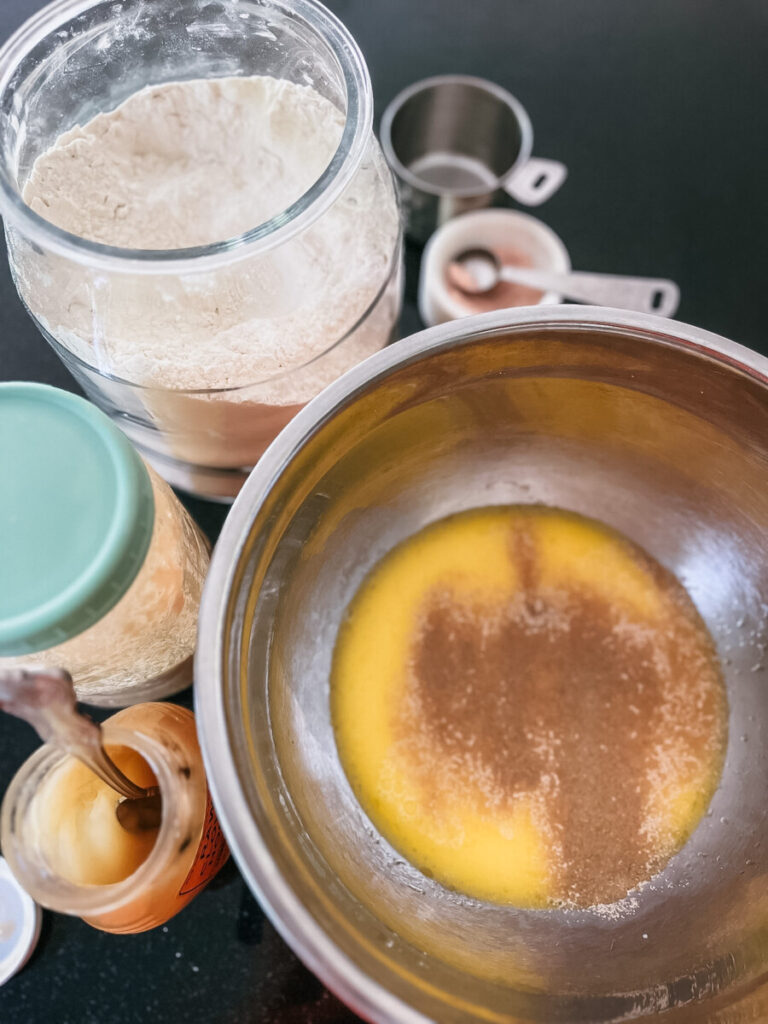

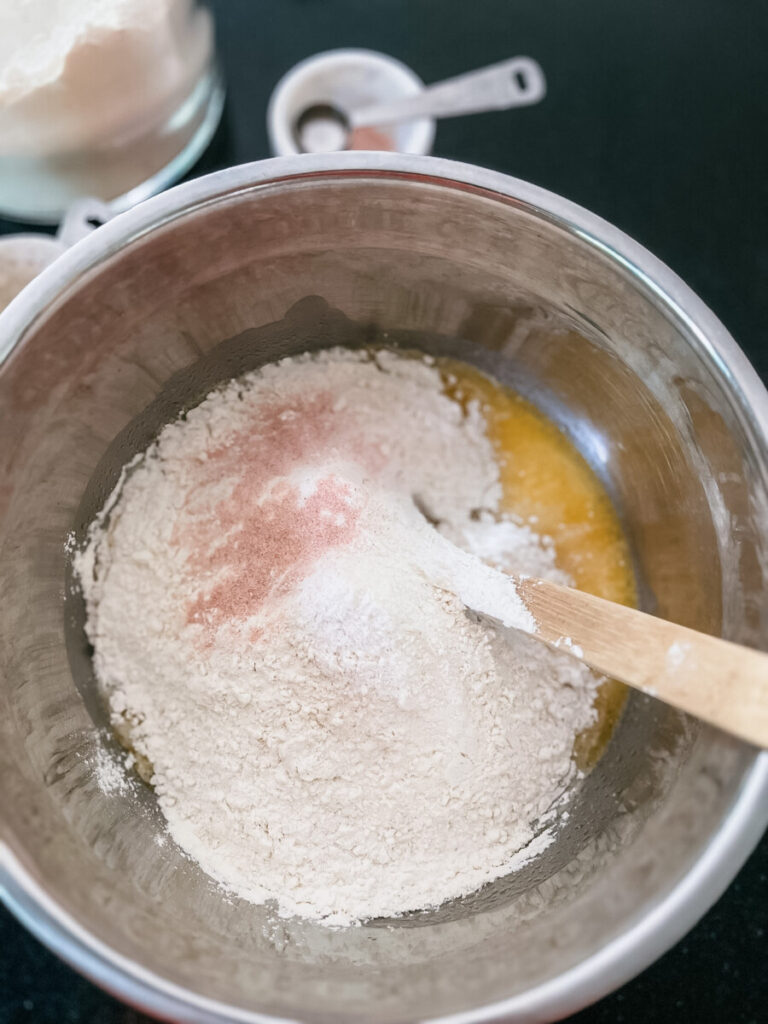
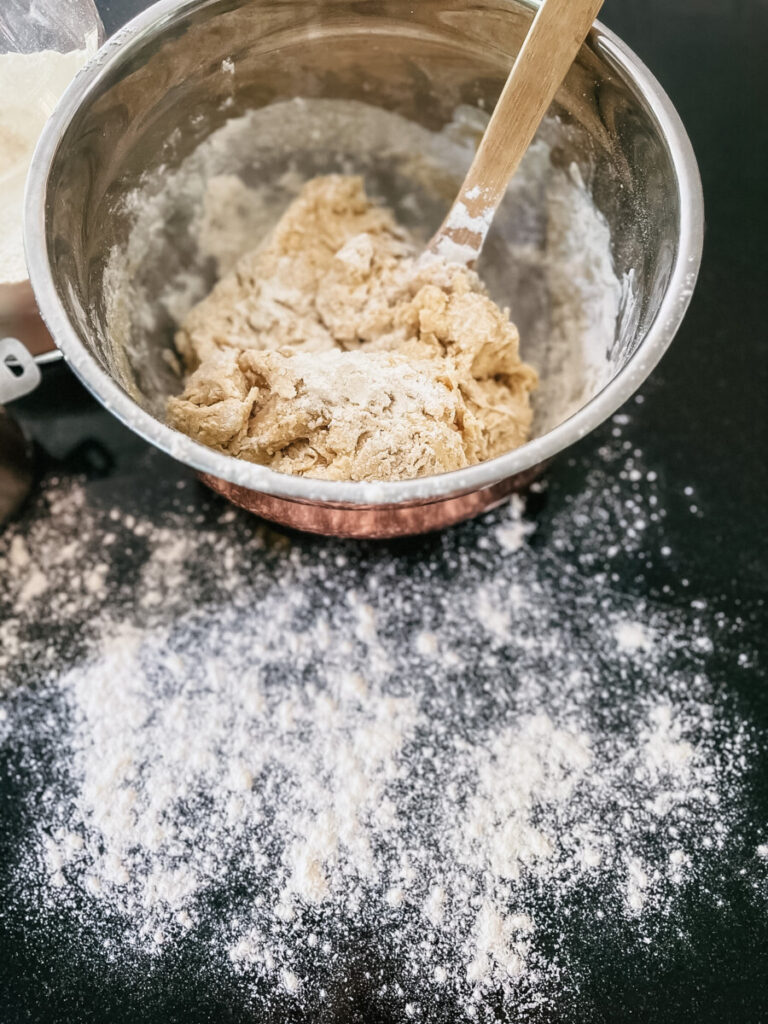
Step Three: add the egg, honey, sourdough starter and salt to bowl, mix well with a whisk and then the flour and mix until combined with a wooden spoon. Add more flour if necessary. The dough shouldn’t be sticky.
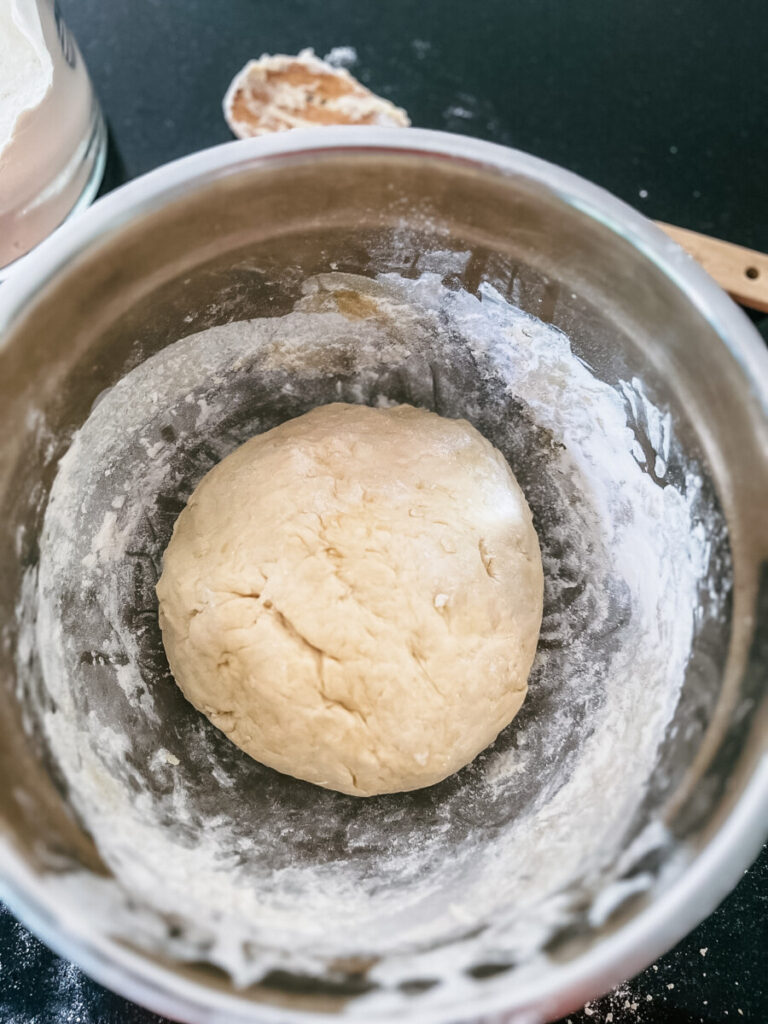
Step Four: turn dough out onto countertop that is sprinkled with flour, knead for 5 minutes.
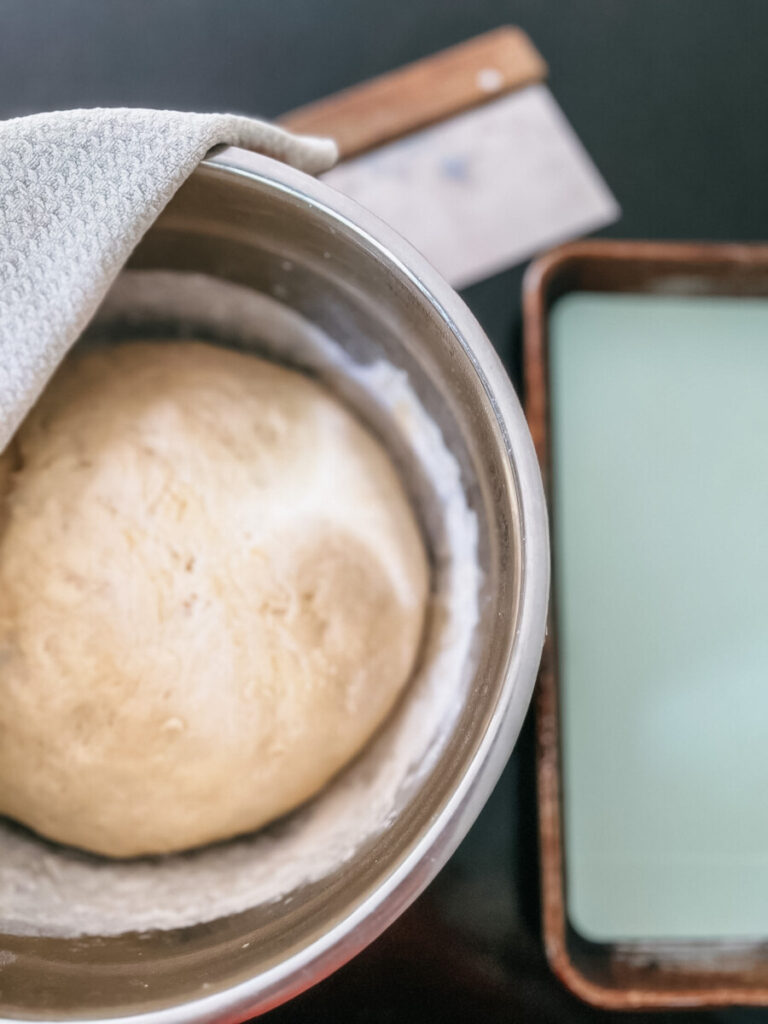
Step Five: form into a ball and put back into a bowl with a little oil, cover with plastic wrap and let rise for 1 hour (any longer and the dough starts to dry out)
After the dough is covered, feed your starter. I’ve noticed with fresh milled flour it’s more of an experiment and knowing what’s best for your starter than a direct ratio. Start by scooping 1 cup of flour into the remaining starter in your jar and then pour 1/2 cup of distilled water on top of the flour and mix thoroughly with a metal spoon. If it’s dry, add more water; if it seems to wet, add a little more flour until it’s a good consistency. Put the lid on and let it sit out on the counter for an hour or overnight before placing back in the refrigerator. Another thing to note when feeding your starter with fresh milled flour: the flour soaks up liquid differently than all-purpose flour, so be sure to keep an eye on your starter. Feel free to feed it more often or simply mix it well every few days if not making a recipe.
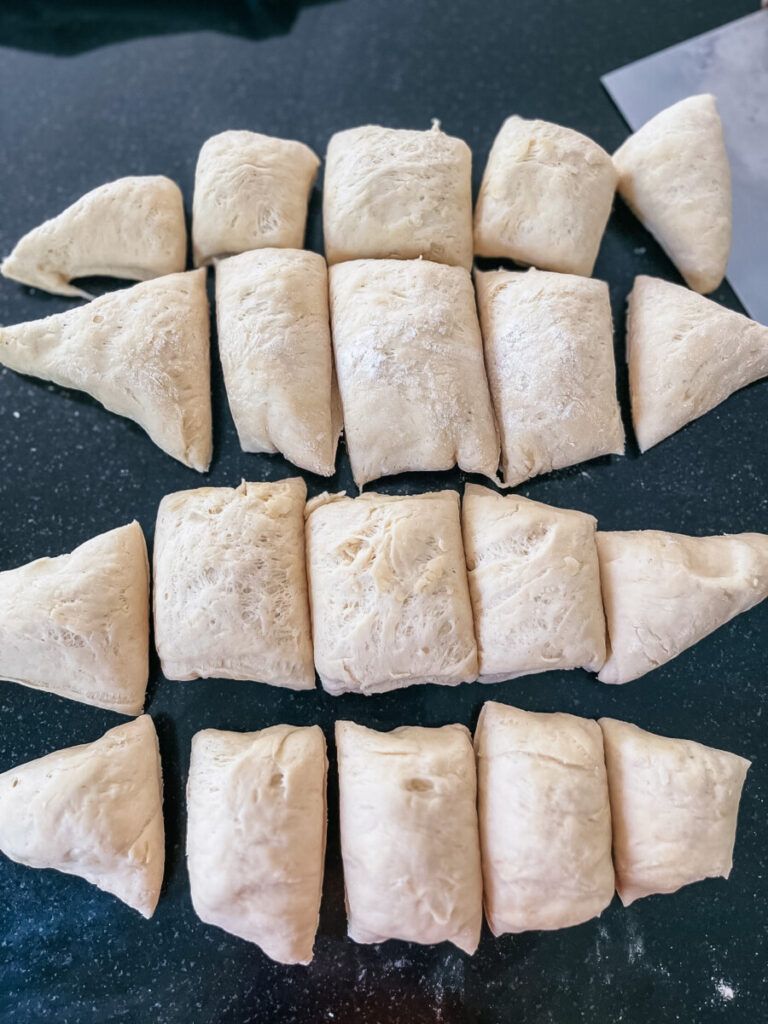
Step Six: after about an hour, turn dough out onto the counter again and cut into 15-20 portions (I honestly enjoy having different sized buns because of kids and different meals)
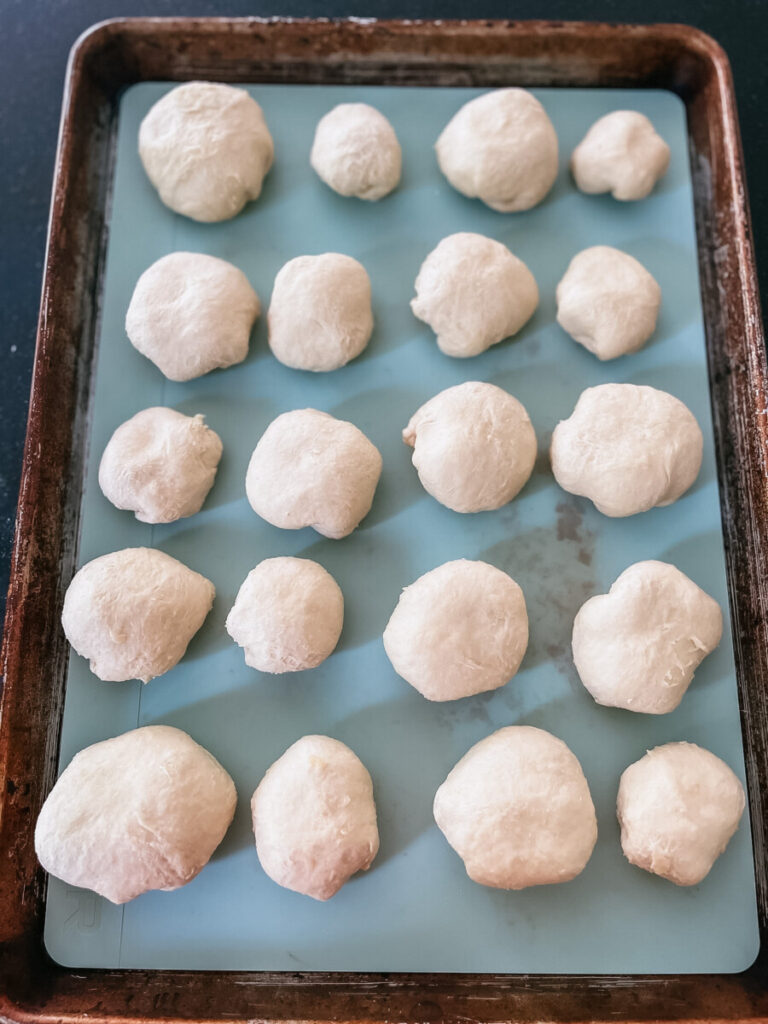
Step Seven: prepare a baking sheet with wax paper or silicon mat
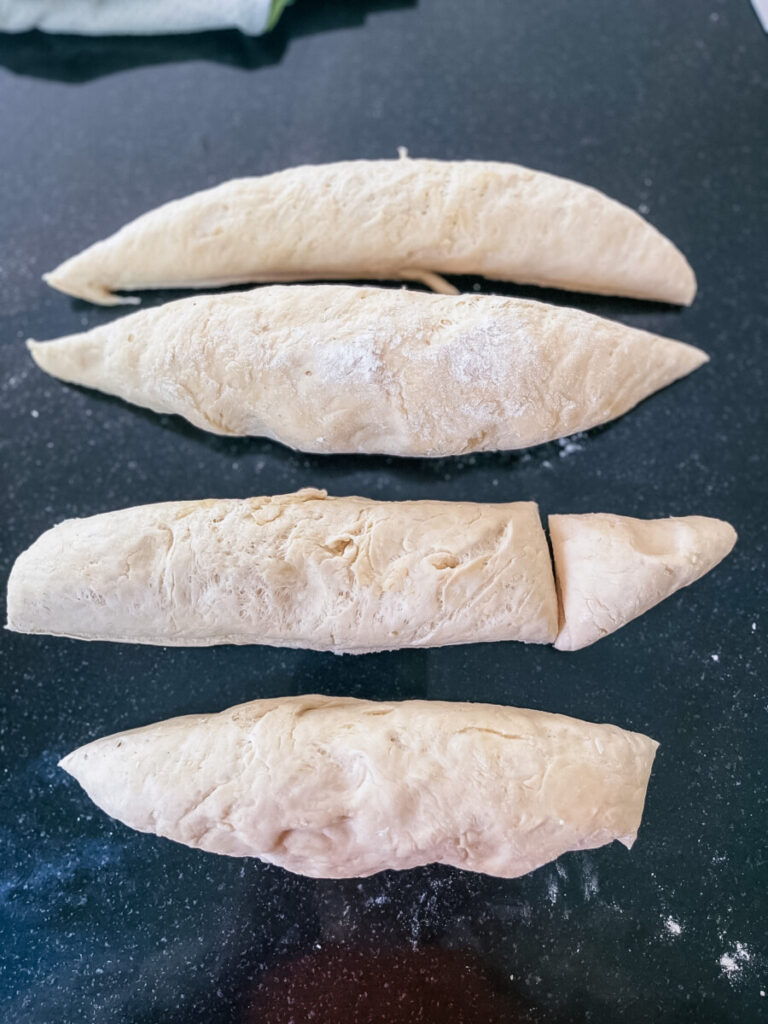
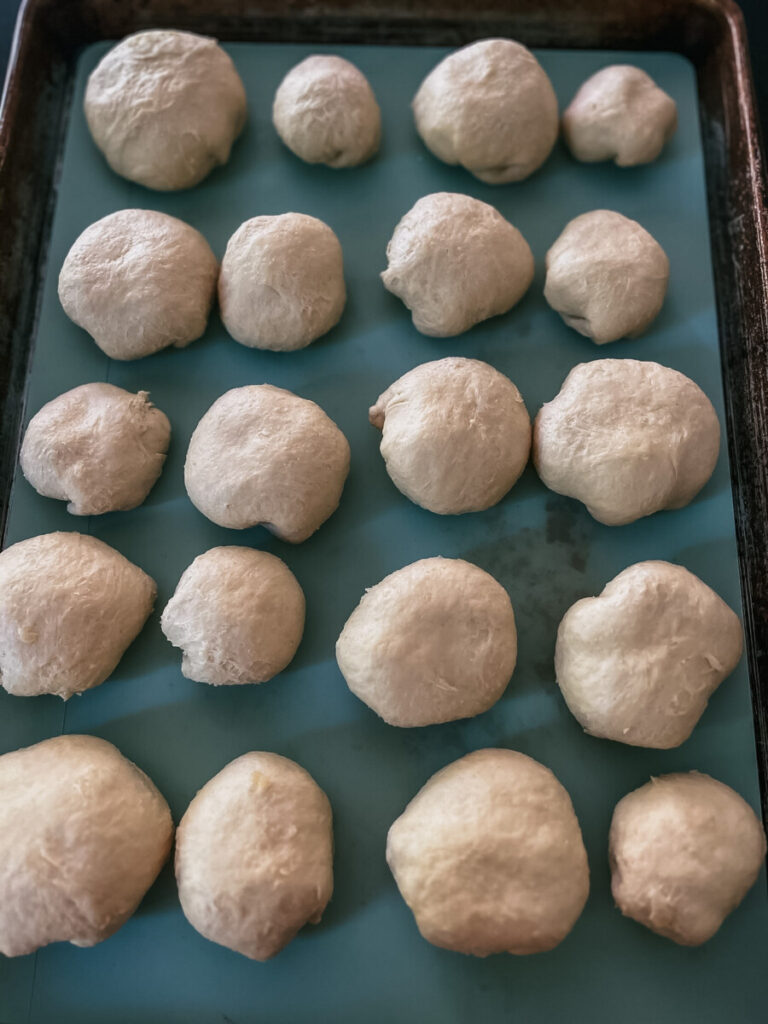
Step Eight: fold edges and pinch the bottom of each bun and place them on the baking sheet, let rise for 30 minutes (again, any longer and the dough becomes dry)
Step Nine: after 30 minutes, preheat oven to 350 degrees. While it is preheating, prep your egg wash by mixing a lightly beaten egg with a dash of water, brush each bun by using a basting brush and sprinkle sesame seeds on top if desired. Once oven is preheated, bake the buns for 20-25 minutes or until golden brown
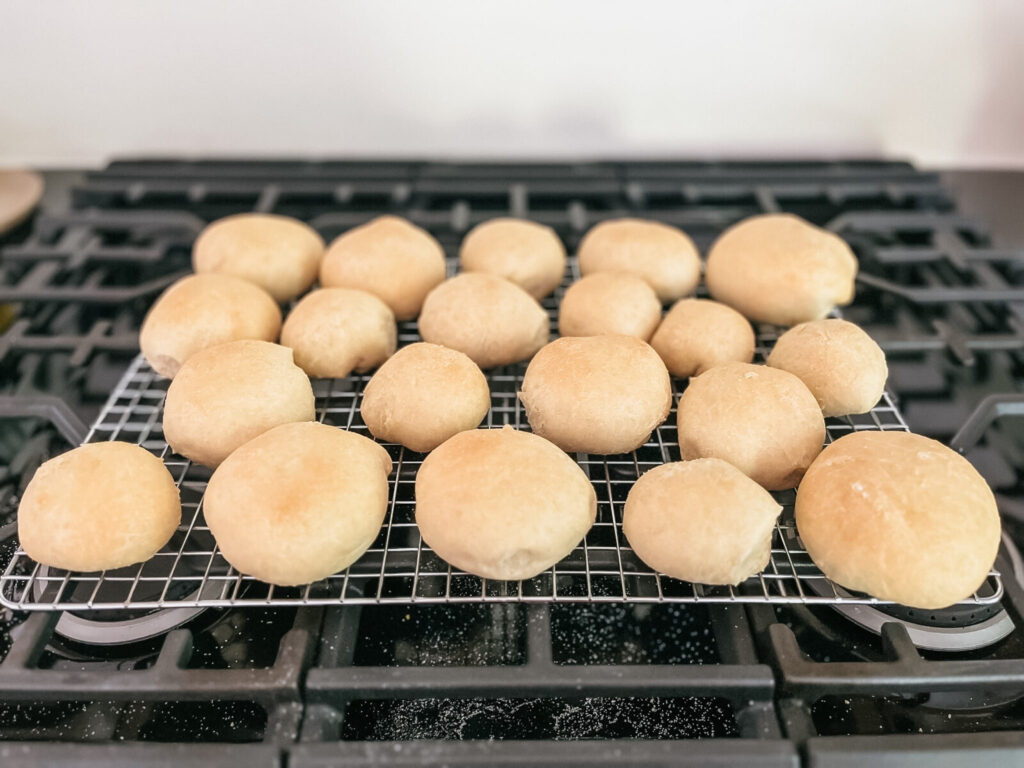
Step Ten: let cool before serving and store in a large plastic bag or beeswax bread bag. I typically use these within a day or I freeze them for easy use in the future. Enjoy!
Our favorite recipes with these buns is sloppy joes and burgers!
Make More Sourdough with Halie Ramsey
- Same Day Sourdough Loaf Made With Fresh Milled Flour
- Sourdough Waffle Recipe Made With Fresh Milled Flour
If you love this recipe, let me know by giving it 5 stars!
